
Andy faces waves of Drake’s forces to defend a strategic asset.
Mission Strategy
For all of the Green Earth maps, you will be able to choose between all three of the Orange Star COs. Each CO has an entirely different map. Unlike the original game, you do not need to do certain missions as certain COs to unlock Drake and Eagle. Both Green Earth COs are unlocked by beating the missions with any CO.
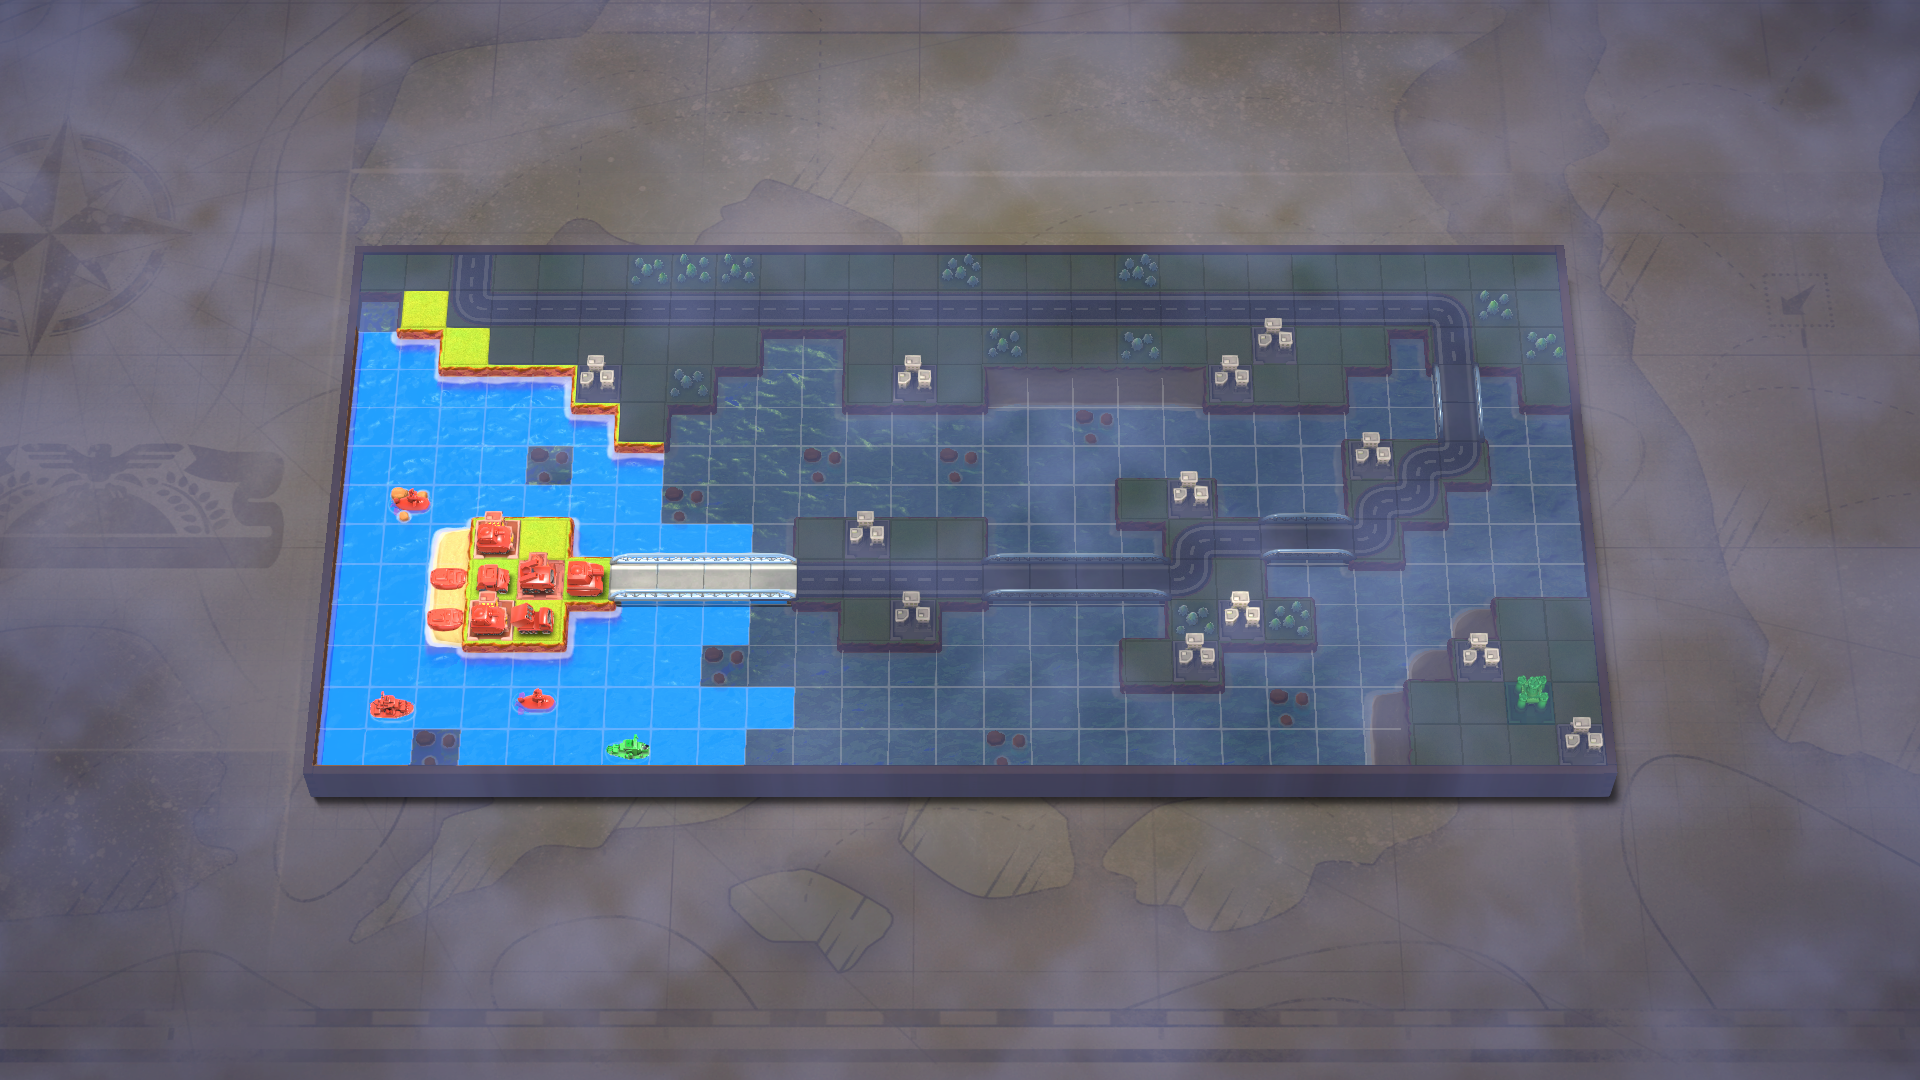
This is the second battle against Drake, the navy specialist. Not only are his sea units strong, they also have +1 movement range and +2 stars of defense. His CO Power does 1 damage to all enemies (but cannot kill) and removes half of their current fuel. All of his units also gain +10% defense during his CO Power.
This mission has an additional victory condition. If your Missile unit survives until Day 10, you win. However, if it is destroyed, you lose. Drake does not have any Infantry or Mechs, so he will not be able to capture your HQ.
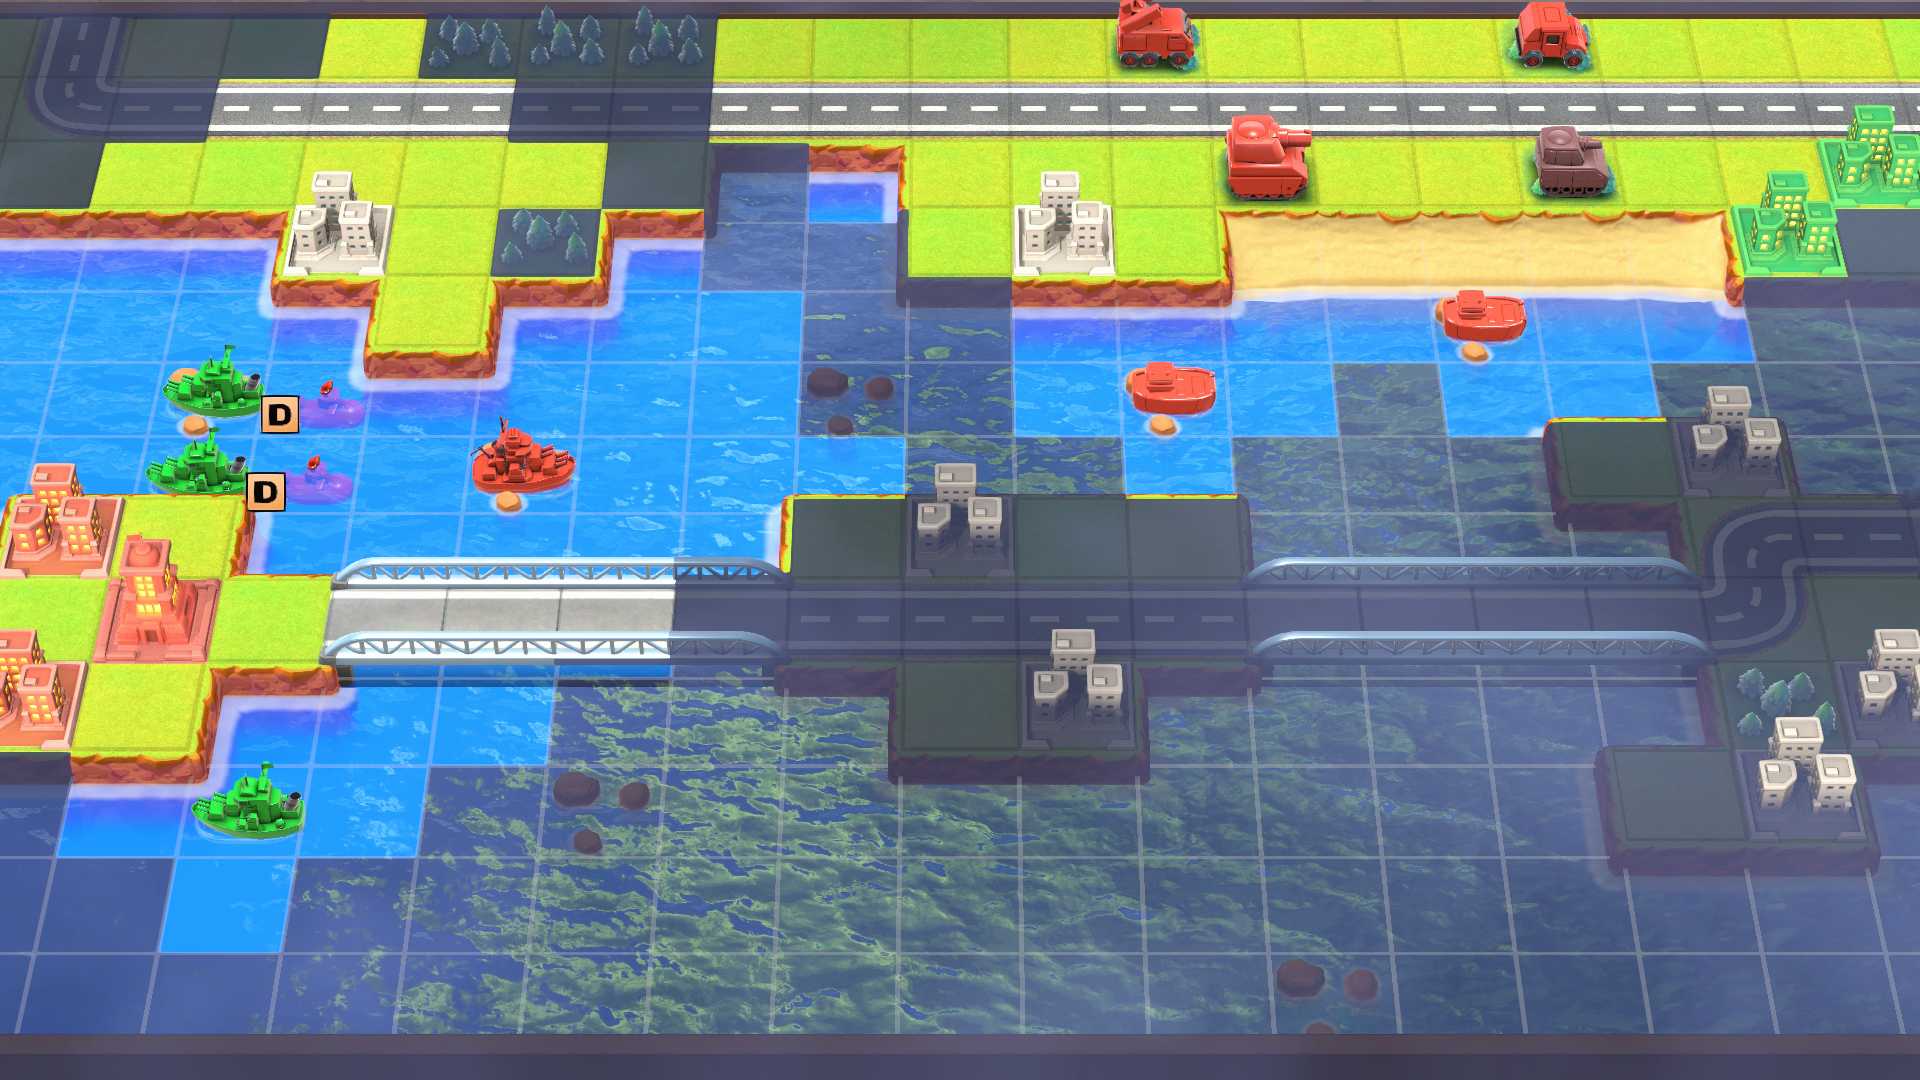
Drake has a large naval force to the south that your small naval force will not be able to compete with. Very quickly, your HQ will be within range of multiple enemy Battleships. The best strategy is to take your Missiles and 3 other units and abandon your HQ, heading north east.
- Power Goal: 2
- Technique Goal: 2
Protect Your Missile Unit Until Day 10: Since you don’t have a Mech or Infantry and you won’t be able to defeat all of Drake’s forces in under 10 Days, this is the only viable option.
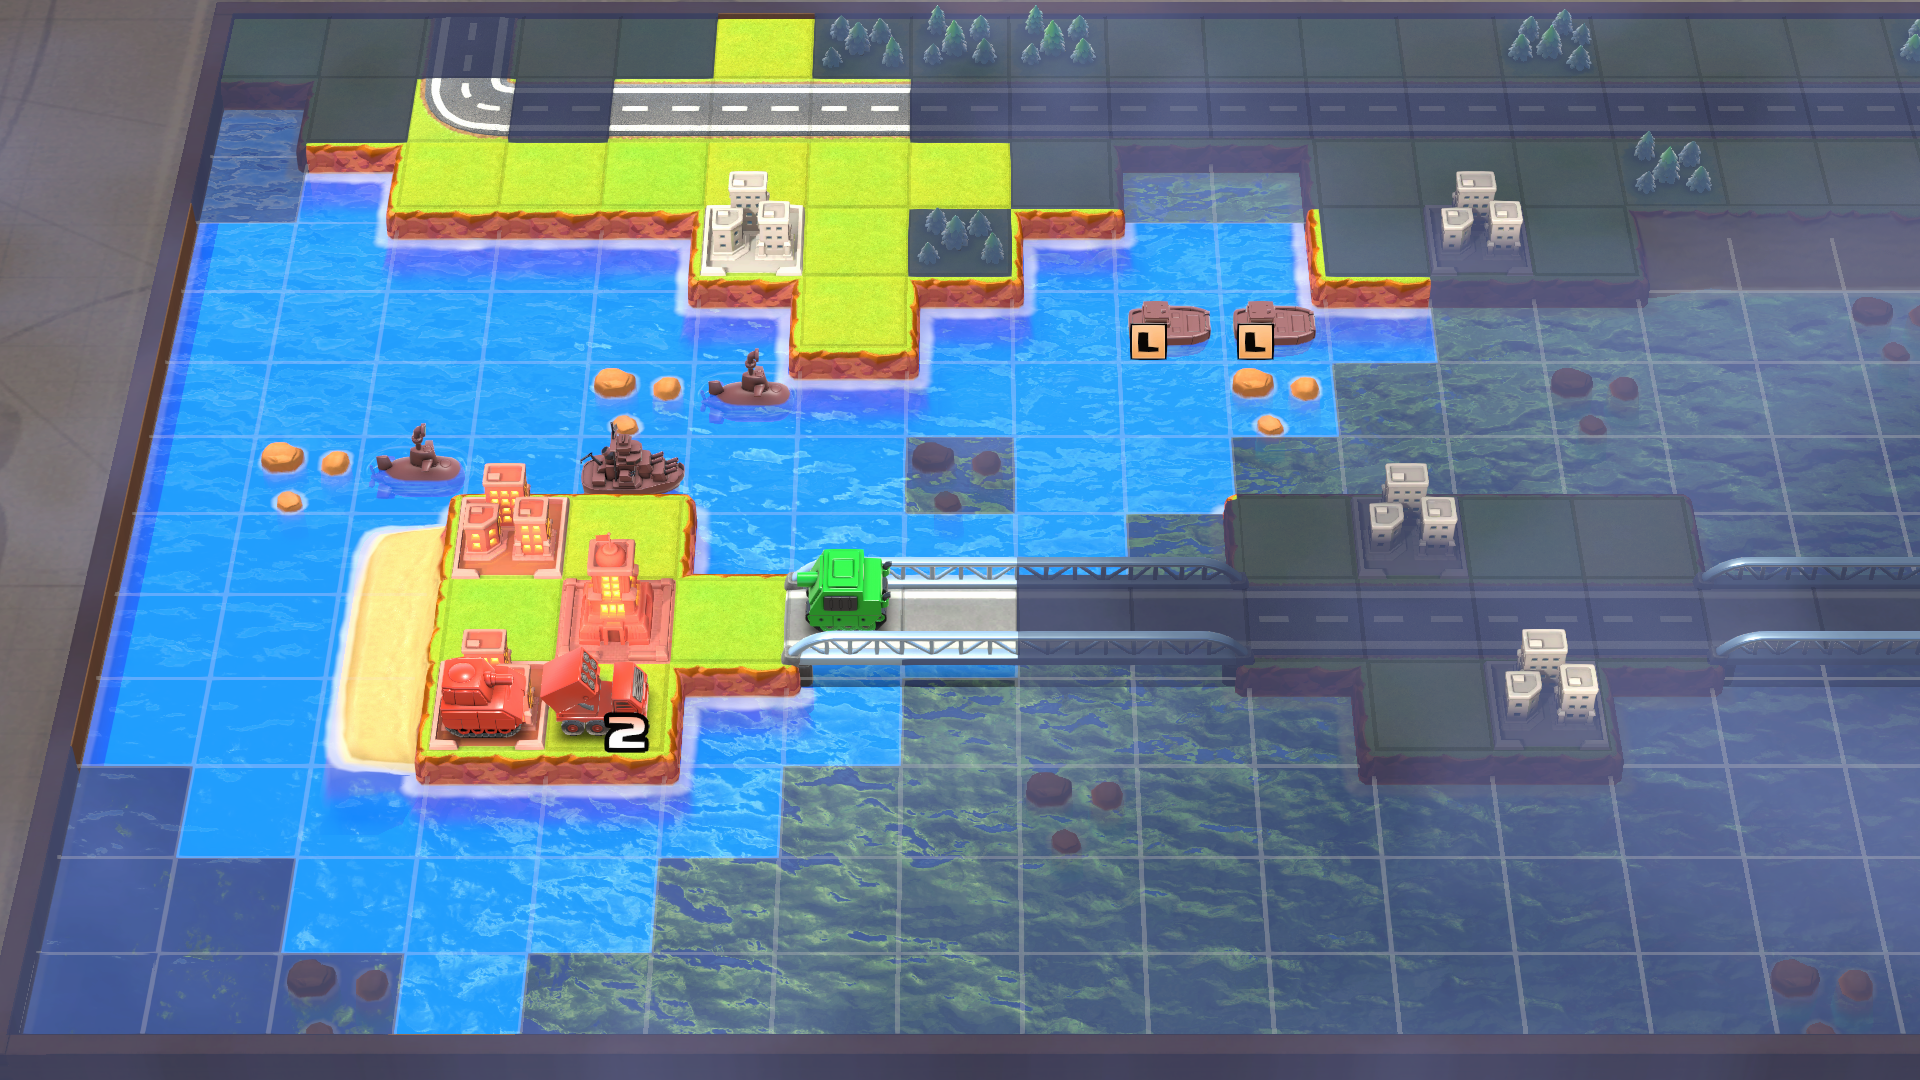
Load your Missiles and a small landing force into your two Landers and take them north. Land at the north east Beach and clear the one Tank defending. After that, hide your Missiles in the Woods to keep it safe.
If you are looking for a perfect score, you’ll need to only lose two units. Since your have six land units near your HQ and only two Landers, the two units you leave behind are the only ones you can lose. Drake’s naval forces will pursue you. You can hide your ground forces in the Woods to avoid his Battleships, but your naval units can’t hide.
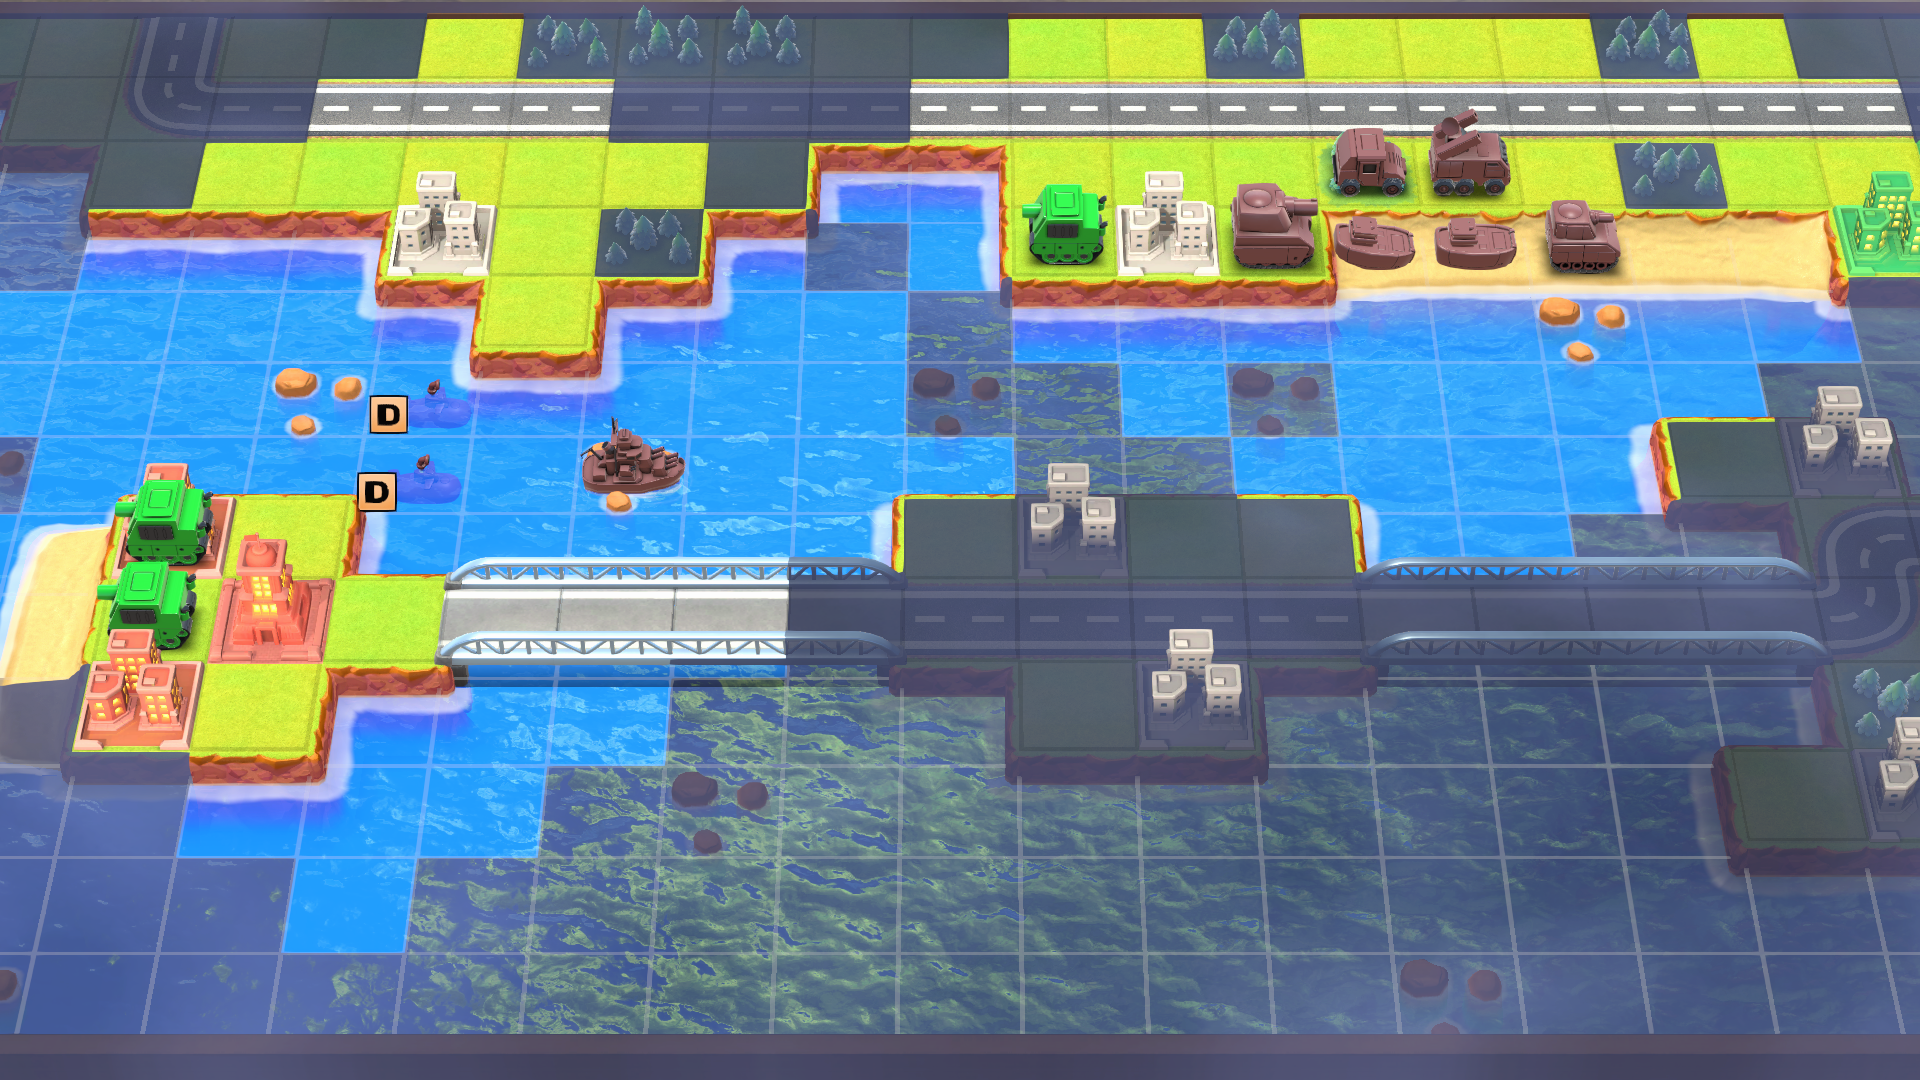
If you attempt to engage the enemy navy near your HQ, you will likely quickly lose your Battleship and Submarines. The better option is to retreat. Once you get your naval units to the north Beach, you’ll only need to hold out against Drake’s naval assault for one to two turns. Also, by that point Drake will have lost his Submarines due to fuel. Be careful that your Submarines don’t meet the same fate. Only Dive them if they need to be hidden.
Once you engage Drake’s navy, keep your Submarines submerged and your Battleship hidden in a nearby Reef. Focus the enemy Cruisers with your Battleship. If you brought your Rockets, they can assist too, but try to keep them hidden in Woods if possible. Hide your Landers behind your Battleship, in Reefs as well if possible. Remember too that Drake does have a Rocket on the land that may threaten your sea units, so be aware of which of your units he can see.
Turn by Turn Walkthrough
Day 1

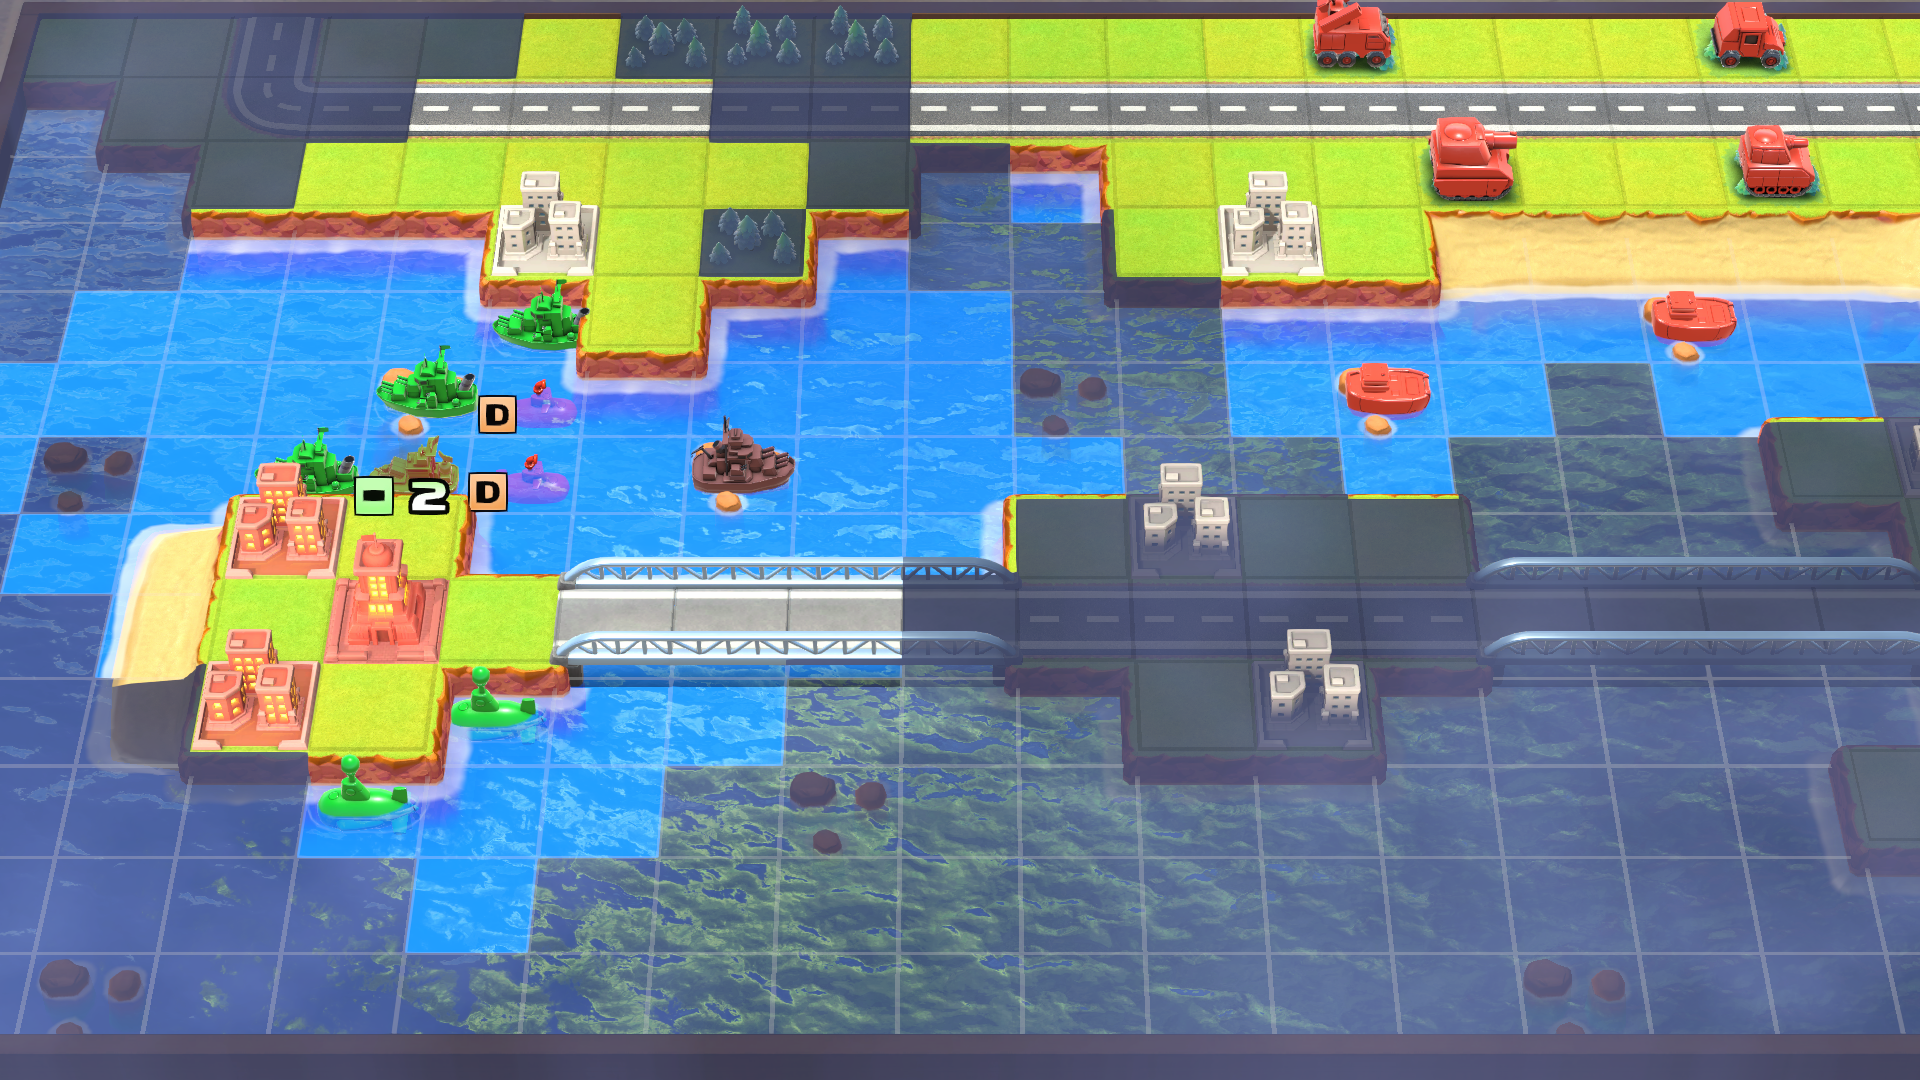
- Load your Missiles and north Tank into the north Lander
- Load your Medium Tank and Recon into the south Lander
- Advance both of your Landers, both of your Submarines (don’t Dive them), and your Battleship
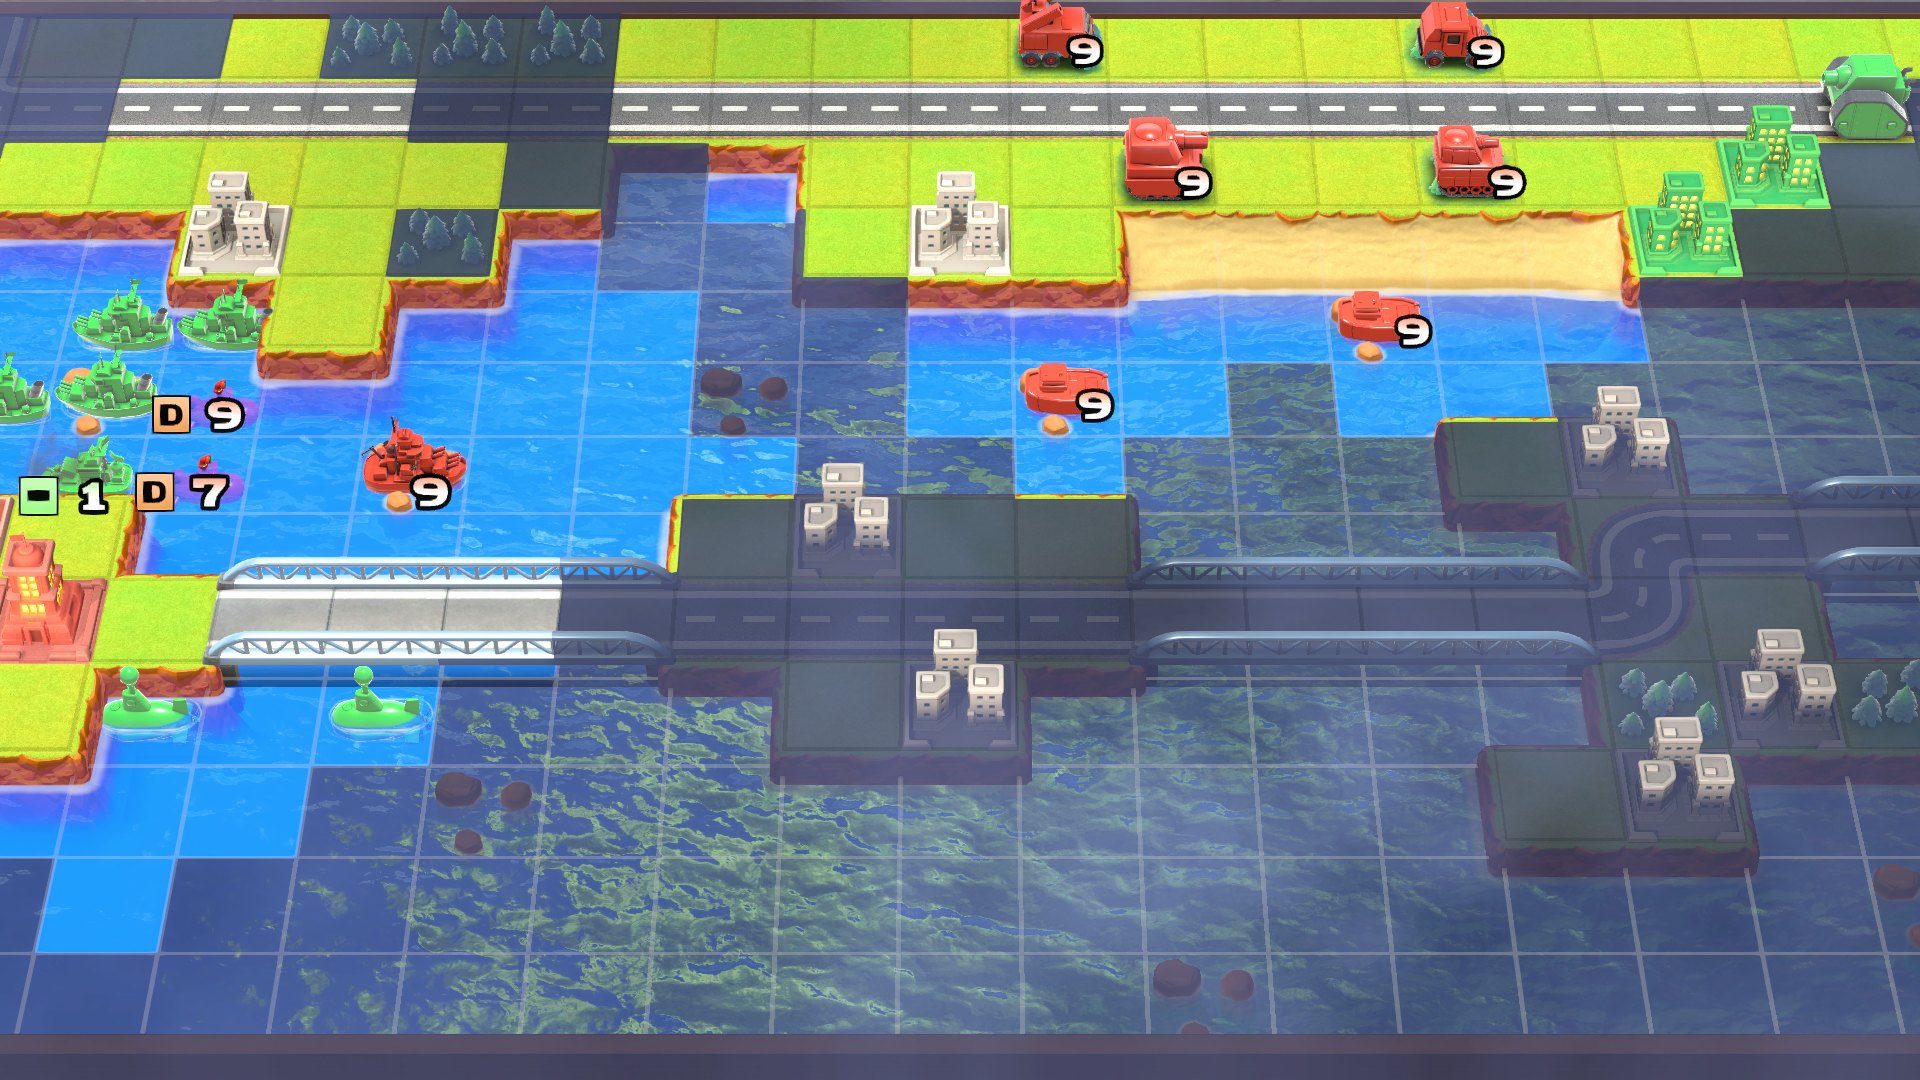
Day 2
- Advance both of your Landers, both of your Submarines (don’t Dive them), and your Battleship
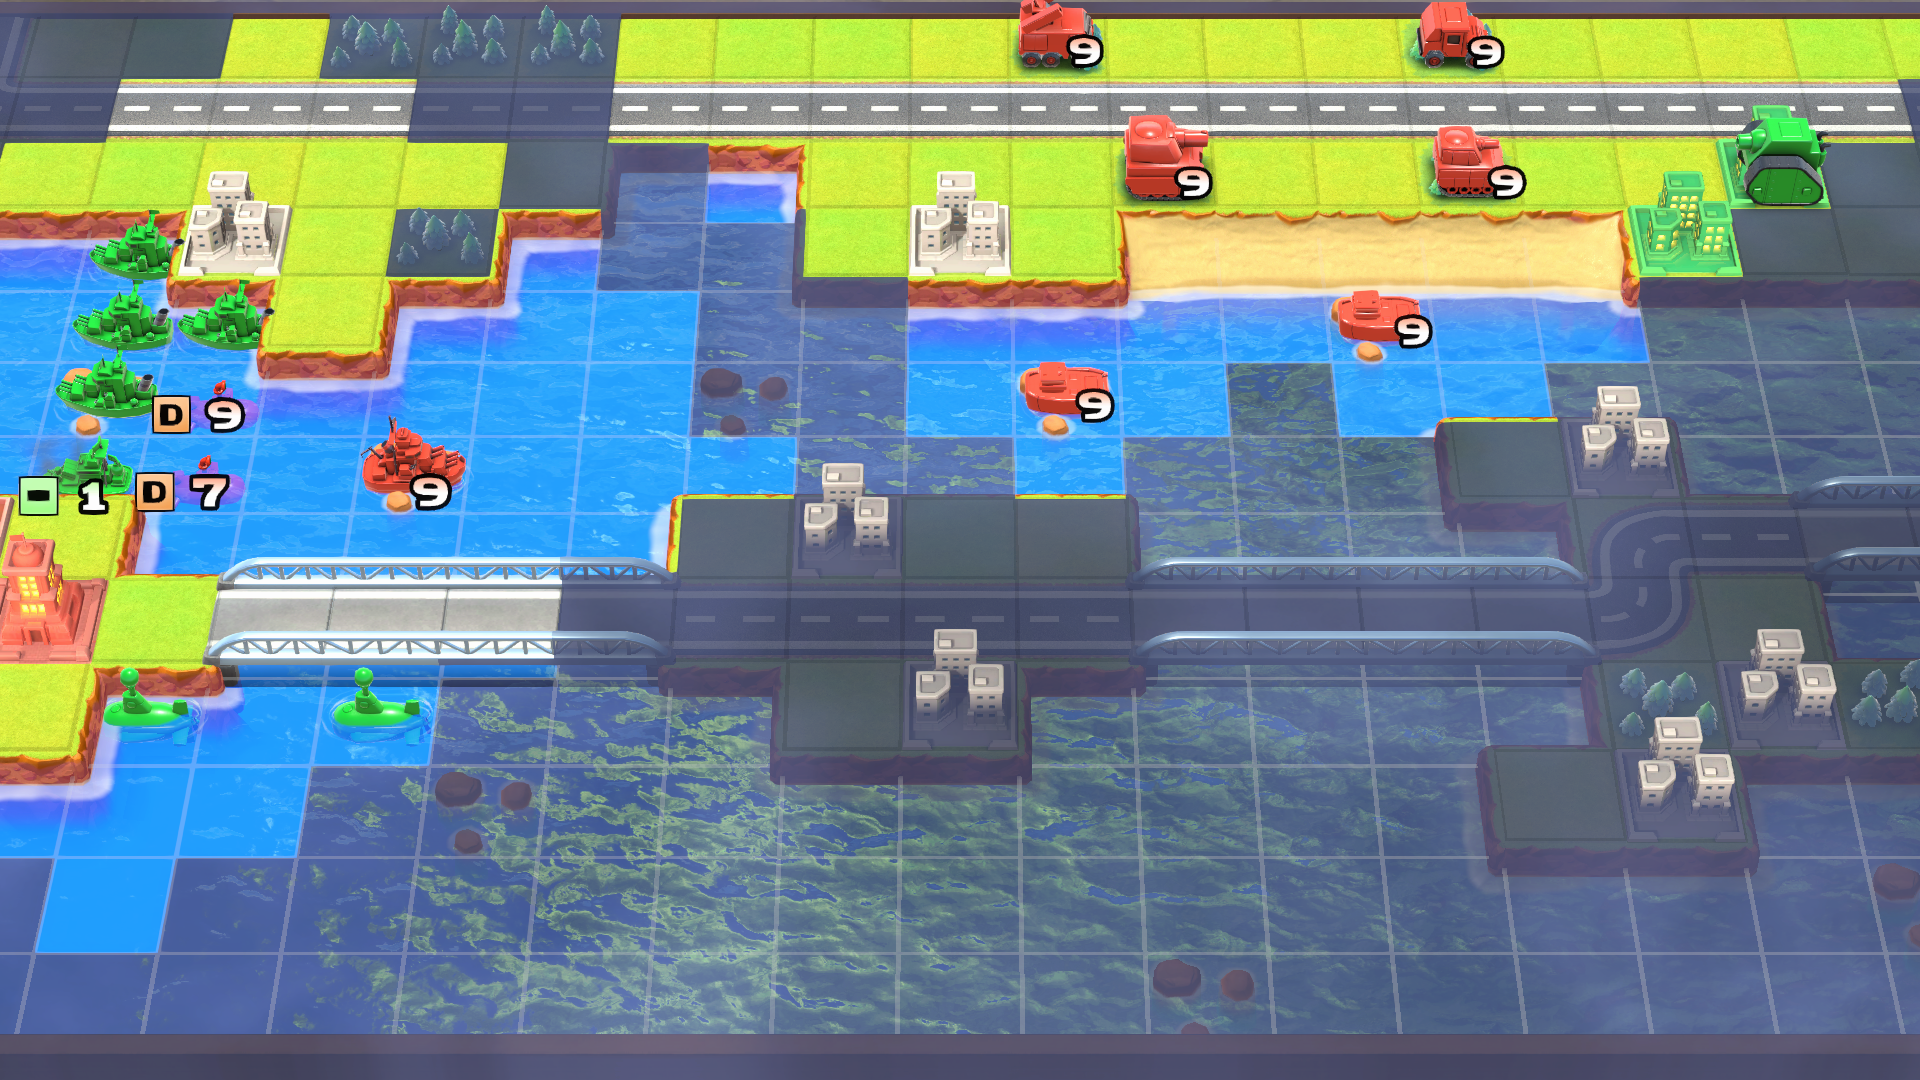
Day 3
- Advance your east Lander, dropping the Tank east and the Missiles north
- Advance your west Lander, dropping the Recon into the Woods and the Medium Tank west
- Advance your Battleship and west Submarine, Diving it
- Dive your north Submarine
Day 4

- Attack the enemy Cruiser with your Battleship
- Advance your Recon and Missiles
- Attack the enemy Tank with your Medium Tank from the east Woods
- Hide your Landers in the Reefs
Day 5
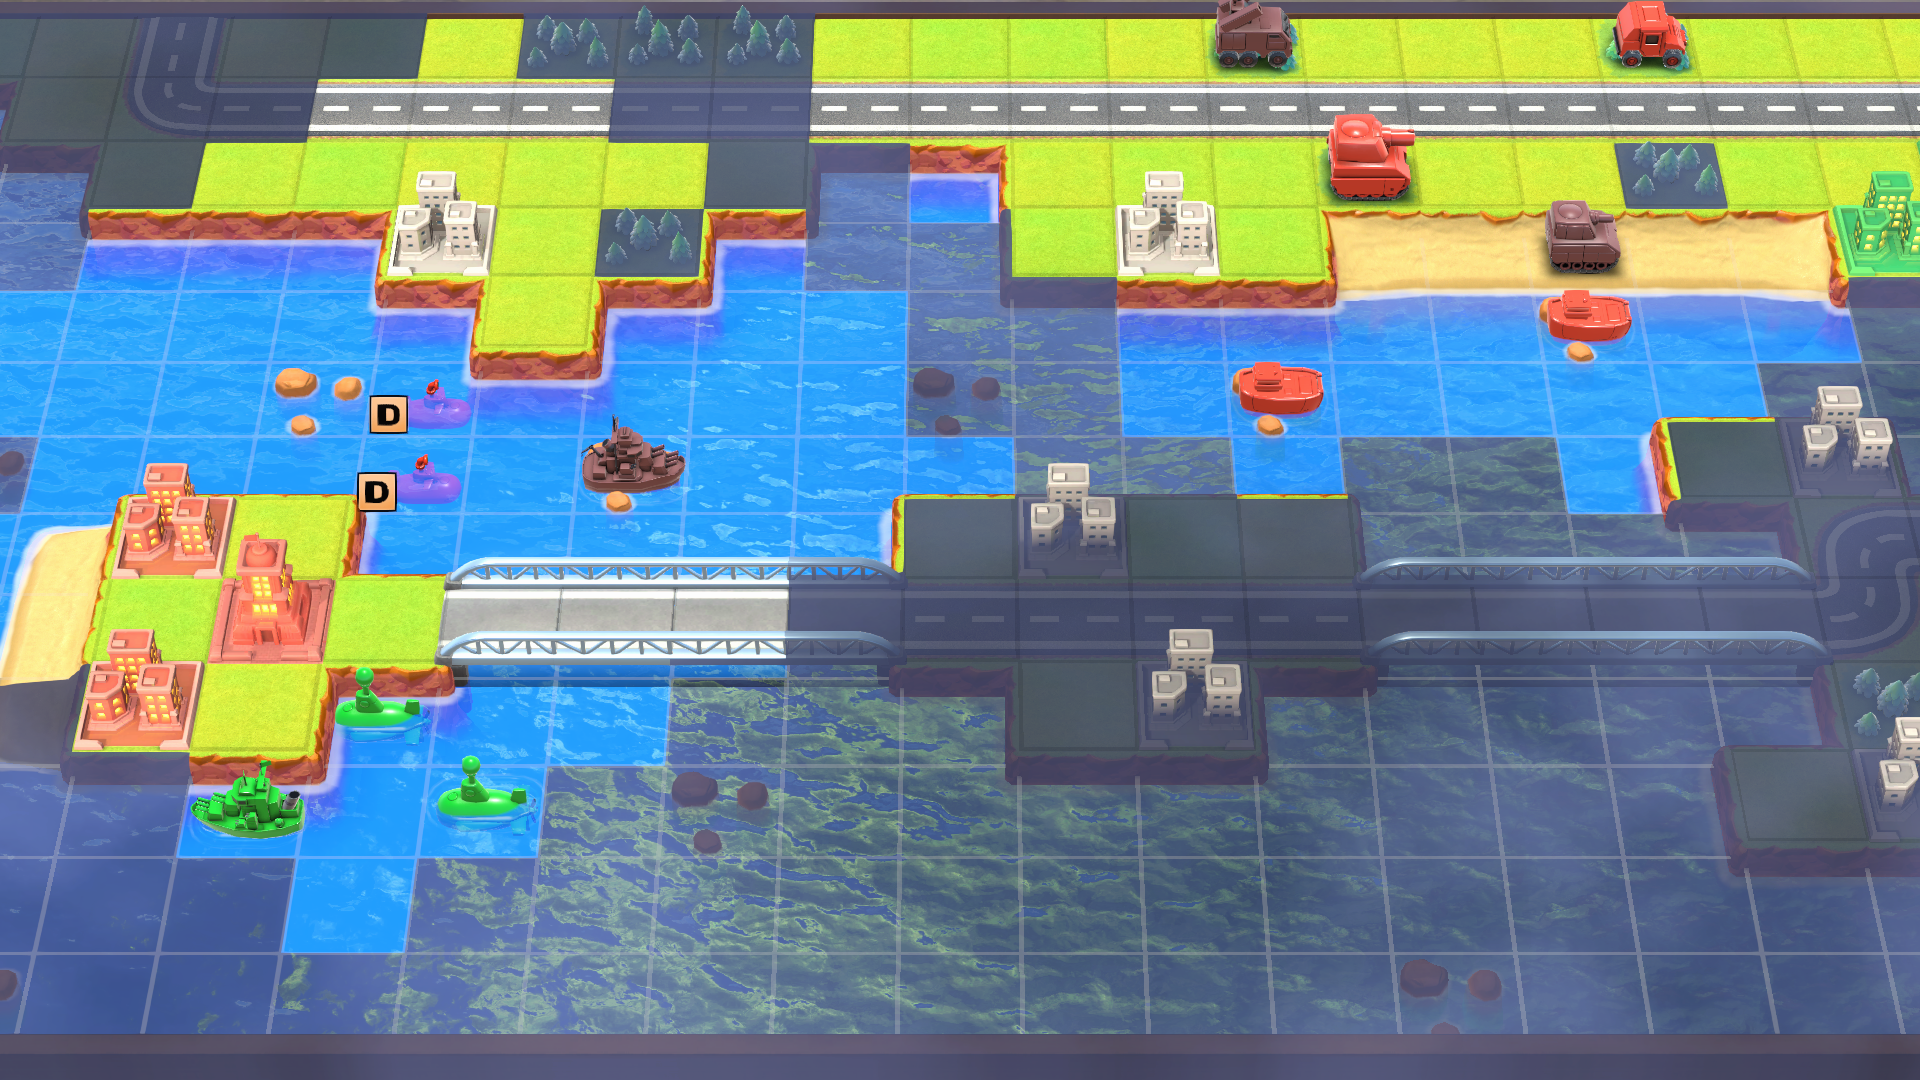
- Destroy the enemy Cruiser with your Battleship
- Destroy the enemy Tank with your Tank
- Hide your Missiles
Day 6
- Hide your Tank
Day 7
- Attack the enemy Cruiser with your Battleship
Day 8
- Do nothing
Day 9
- Do nothing
Day 10


Leave a Reply