
Isolation Vaults are a type of bounty in the Cambion Drift, introduced in the Heart of Deimos update to Warframe. They are the best source of turn-in tokens for the Necraloid Syndicate. They also provide many of the items the Entrati family are looking for, making them an efficient farm and a good way to work on unlocking the Helminth.
Starting Isolation Vault bounties
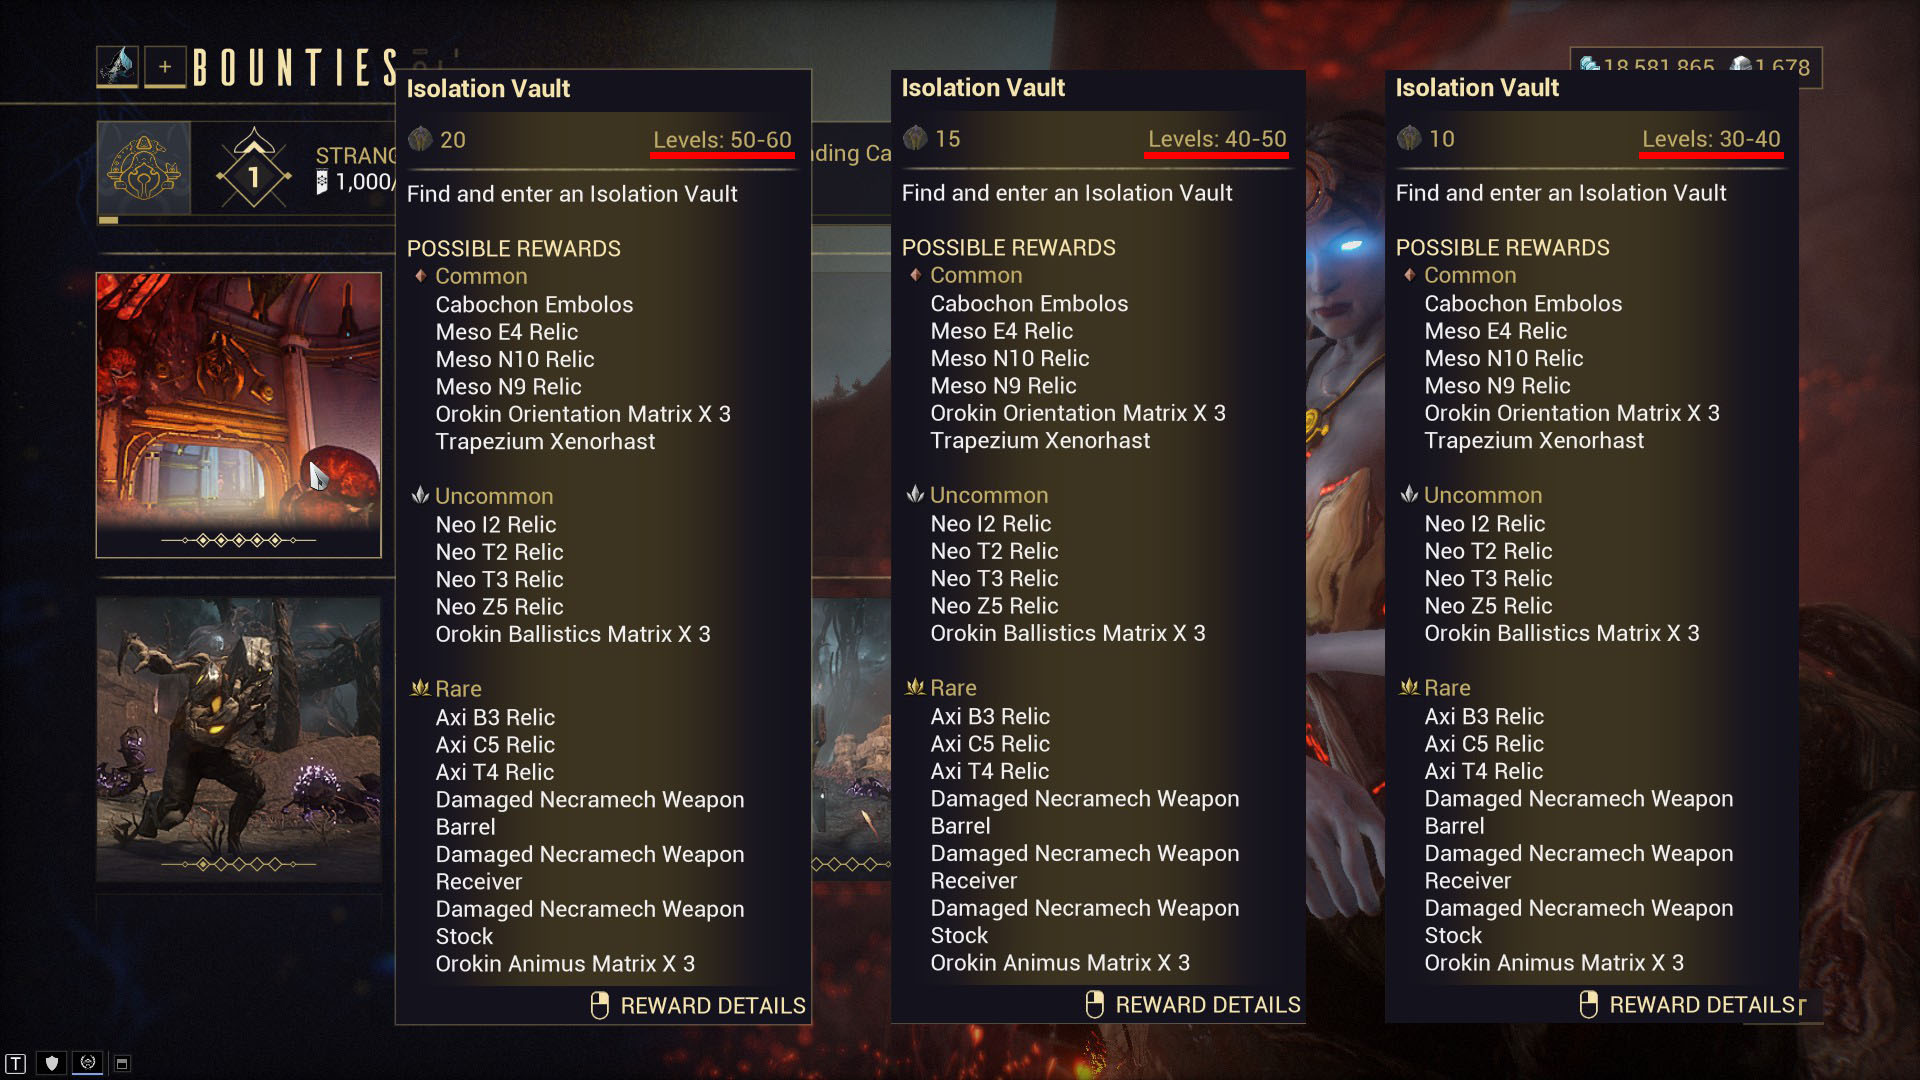
You will need to complete the quest “Heart of Deimos” to unlock the Necralisk and bounties. There are three tiers of Isolation Vault bounties. They all have the same name and same reward table, but the higher tiers have higher enemy levels:
| Tier | Enemy Level |
|---|---|
| T1 | 30-40 |
| T2 | 40-50 |
| T3 | 50-60 |
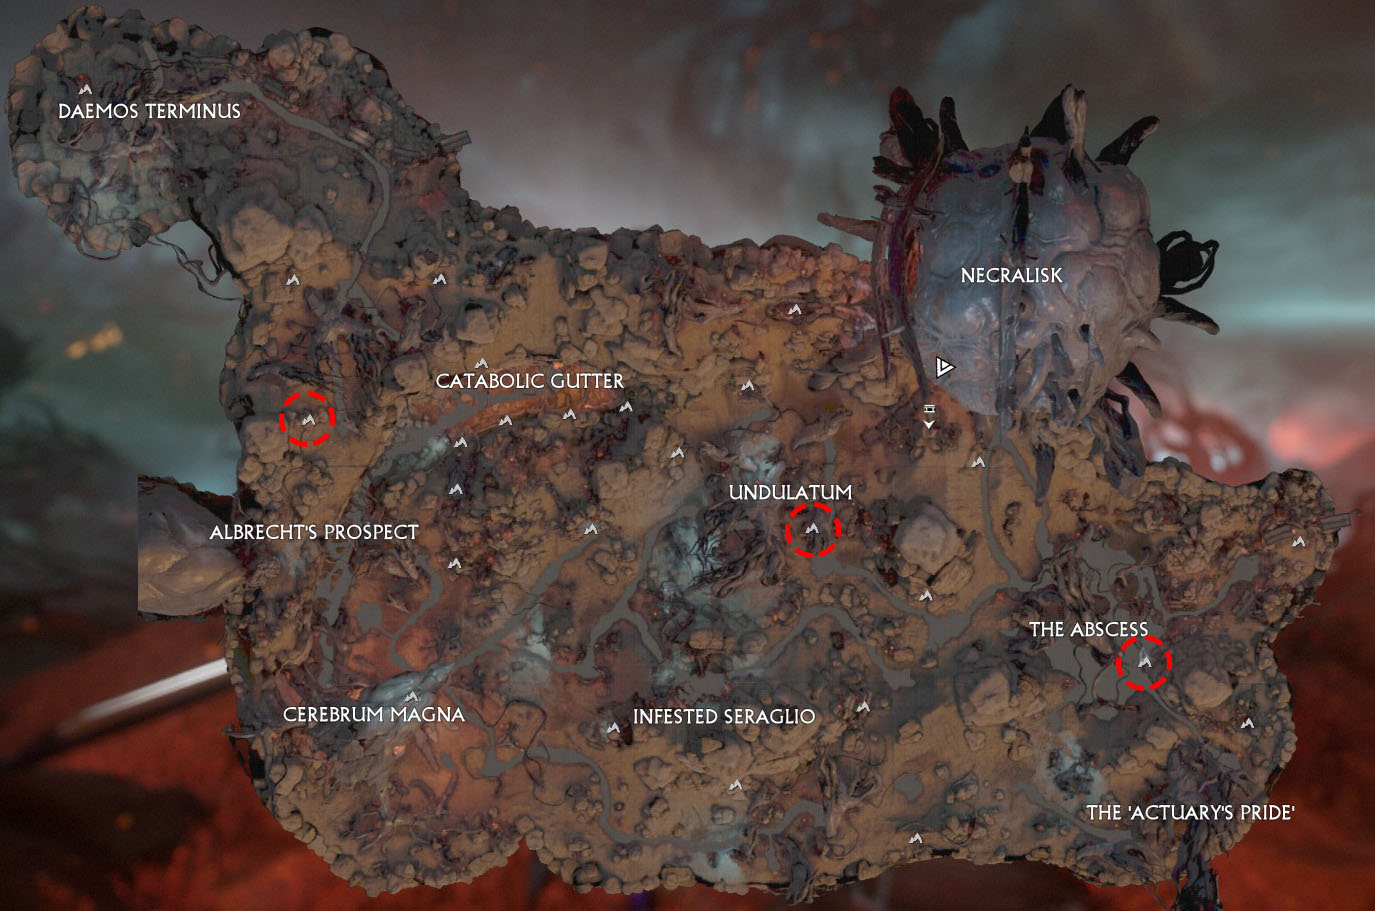
The Tier 1 bounty can be obtained from Mother in the Necralisk. T2 and T3 bounties can only be started following the completion of the lower tier. The higher tiers can only be obtained from Mother in the Cambion Drifts (don’t go back to the Necralisk) at the node nearest a vault entrance. There are three vault entrances, each of which is marked by a normal cave entrance on the map.
Isolation Vault bounty objectives
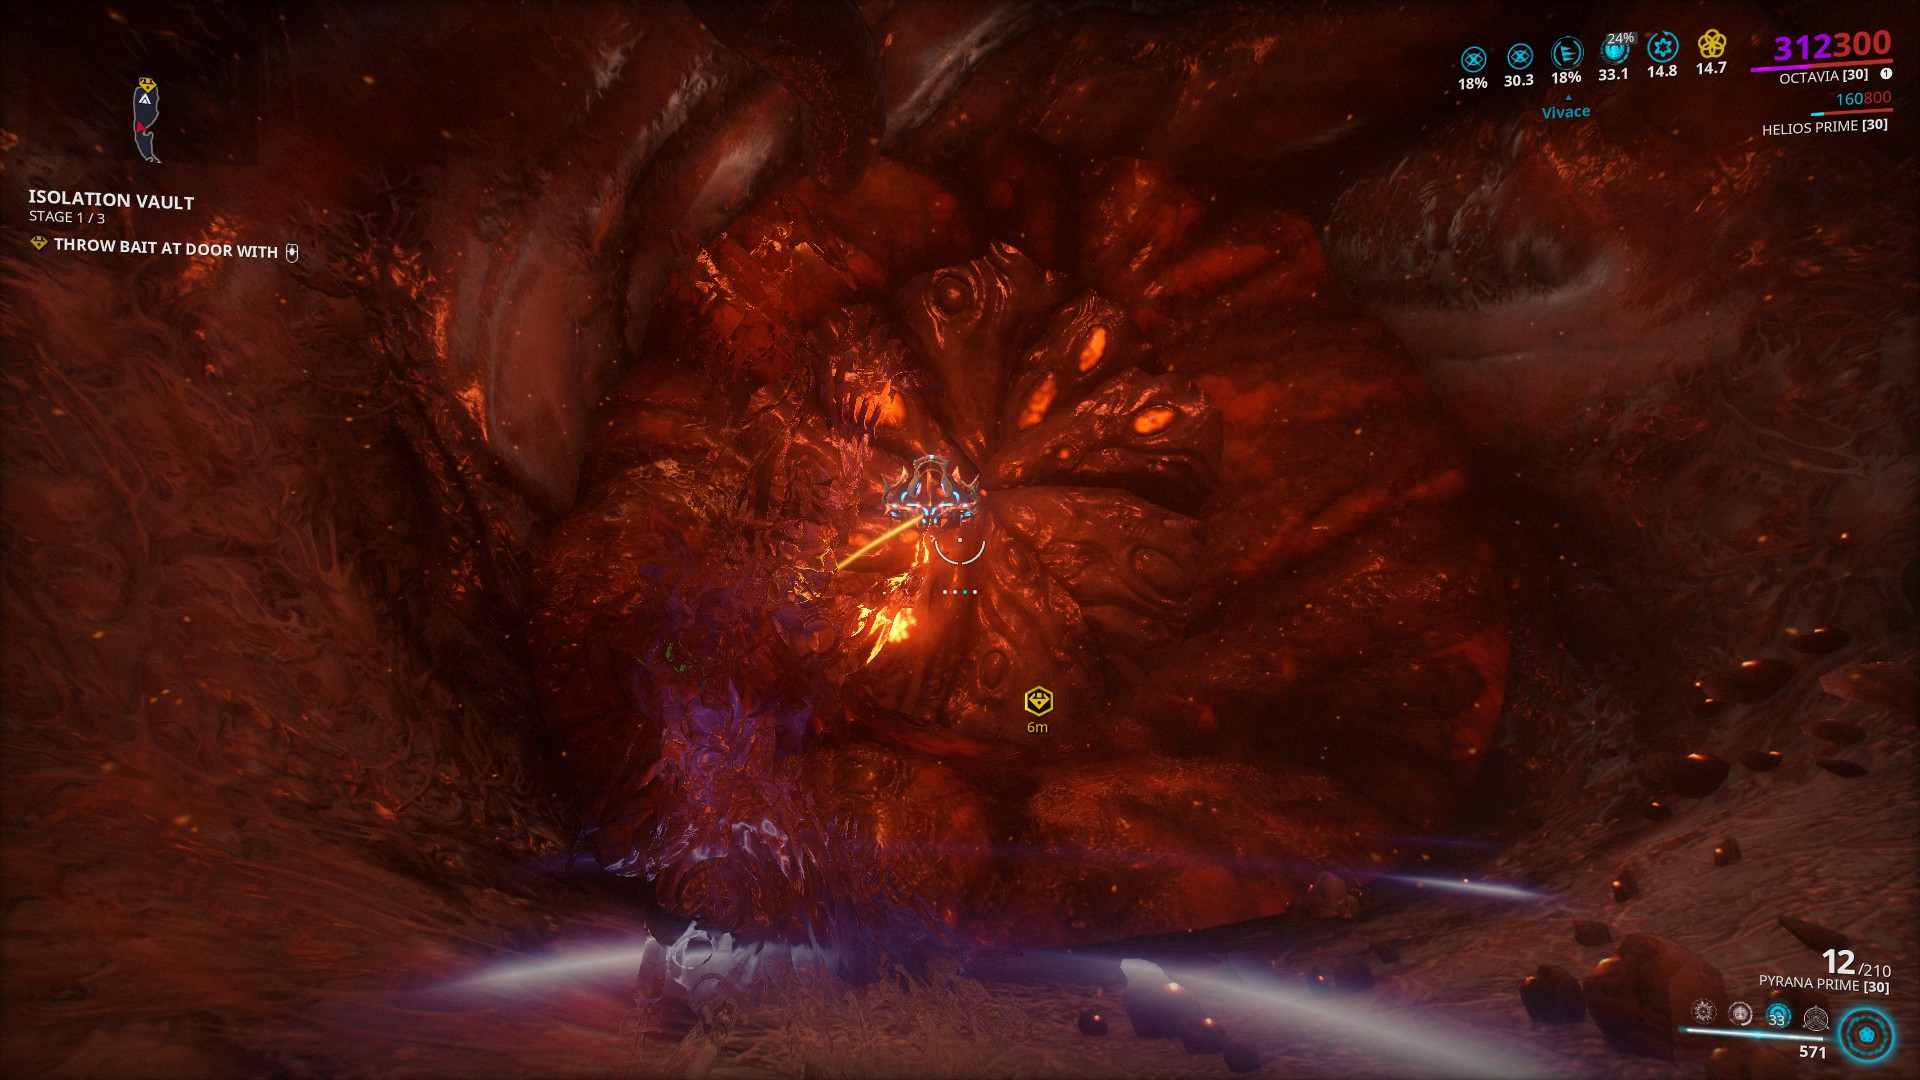
Stage 1 – Making the bait
The first objective is to open the first door by crafting bait. The mission will spawn Vome (Order) or Fass (Chaos) residue depending on the current cycle. You will need to pick up a number of these to craft the bait. The exact number scales on how many players are in your party. This is a great way to farm Vome and Fass residue.
Once you have enough residue, you’ll have to defend a bait station as it crafts the item for one minute. Few Infested spawn during this objective, making the defense relatively trivial. If you’re in a group, this might be a good time to bag a quick Conservation capture.
Once the bait is complete, one player from the group will need to pick it up. Venture into the cave near the bait station and throw the bait at the door (alt-fire, middle mouse button by default) to convince it to open up. This may be fixed soon, but having you melee weapon out instead of your secondary when trying to through does not work, so swap back to your secondary before throwing.
Stage 2 – Finding the vault
Continuing deeper into Deimos, you will encounter another door. This will trigger a three minute survival type objective. Enemies will spawn all over the room, and some of them will drop items that reduce your toxicity. Keep your toxicity below 100 for the three minutes and the door will open.
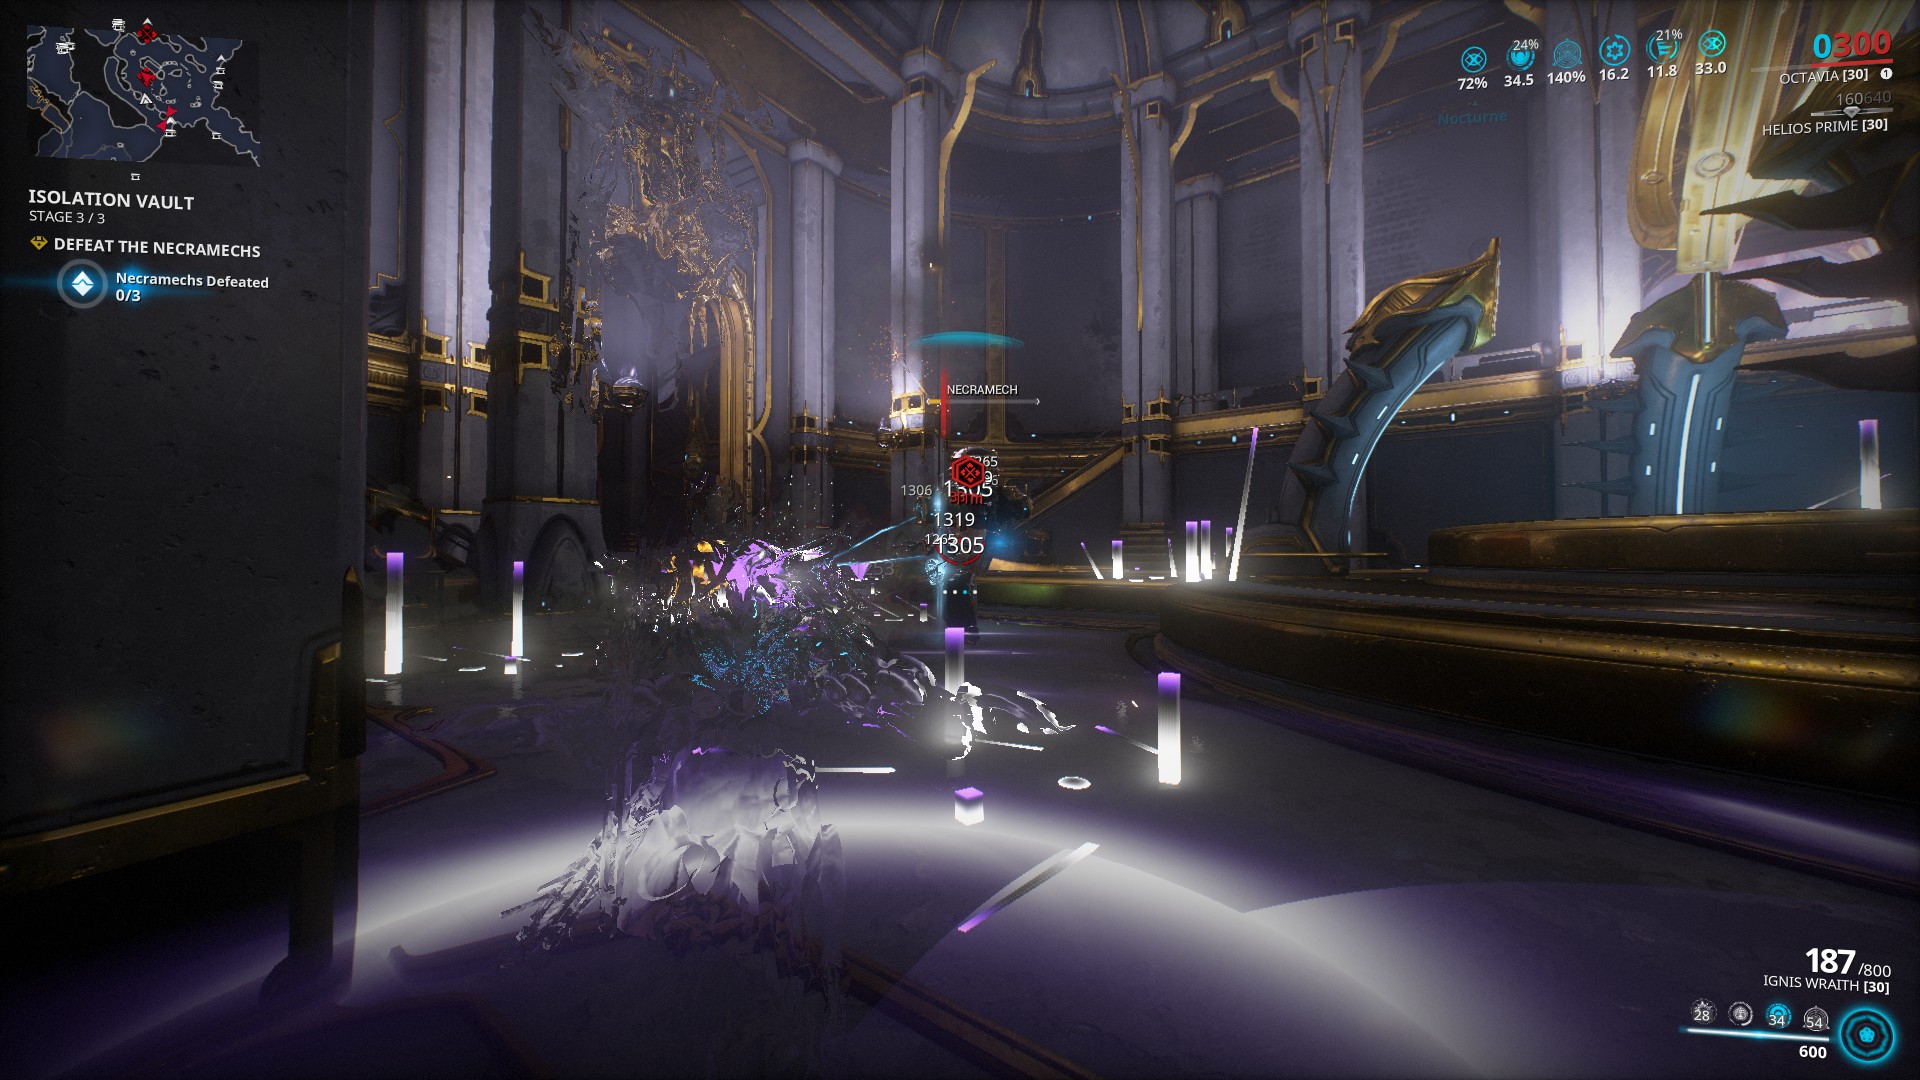
Stage 3 – Defeat the Necramech
Once you find the vault, you will need to defeat the Necramech(s) that are defending it. T1 vaults have only one guard, T2 have two, and T3 have three. These mechs have a chance of dropping damaged Necramech parts needed to build your own Necramech, Necramech mods, and Necraloid syndicate tokens (matrices).
Living loot increases (Ivara, Khora, Hydroid) do not work on Necramechs, but Nekros can Desecrate them for a chance at additional loot.
Bonus stage – Open the vault
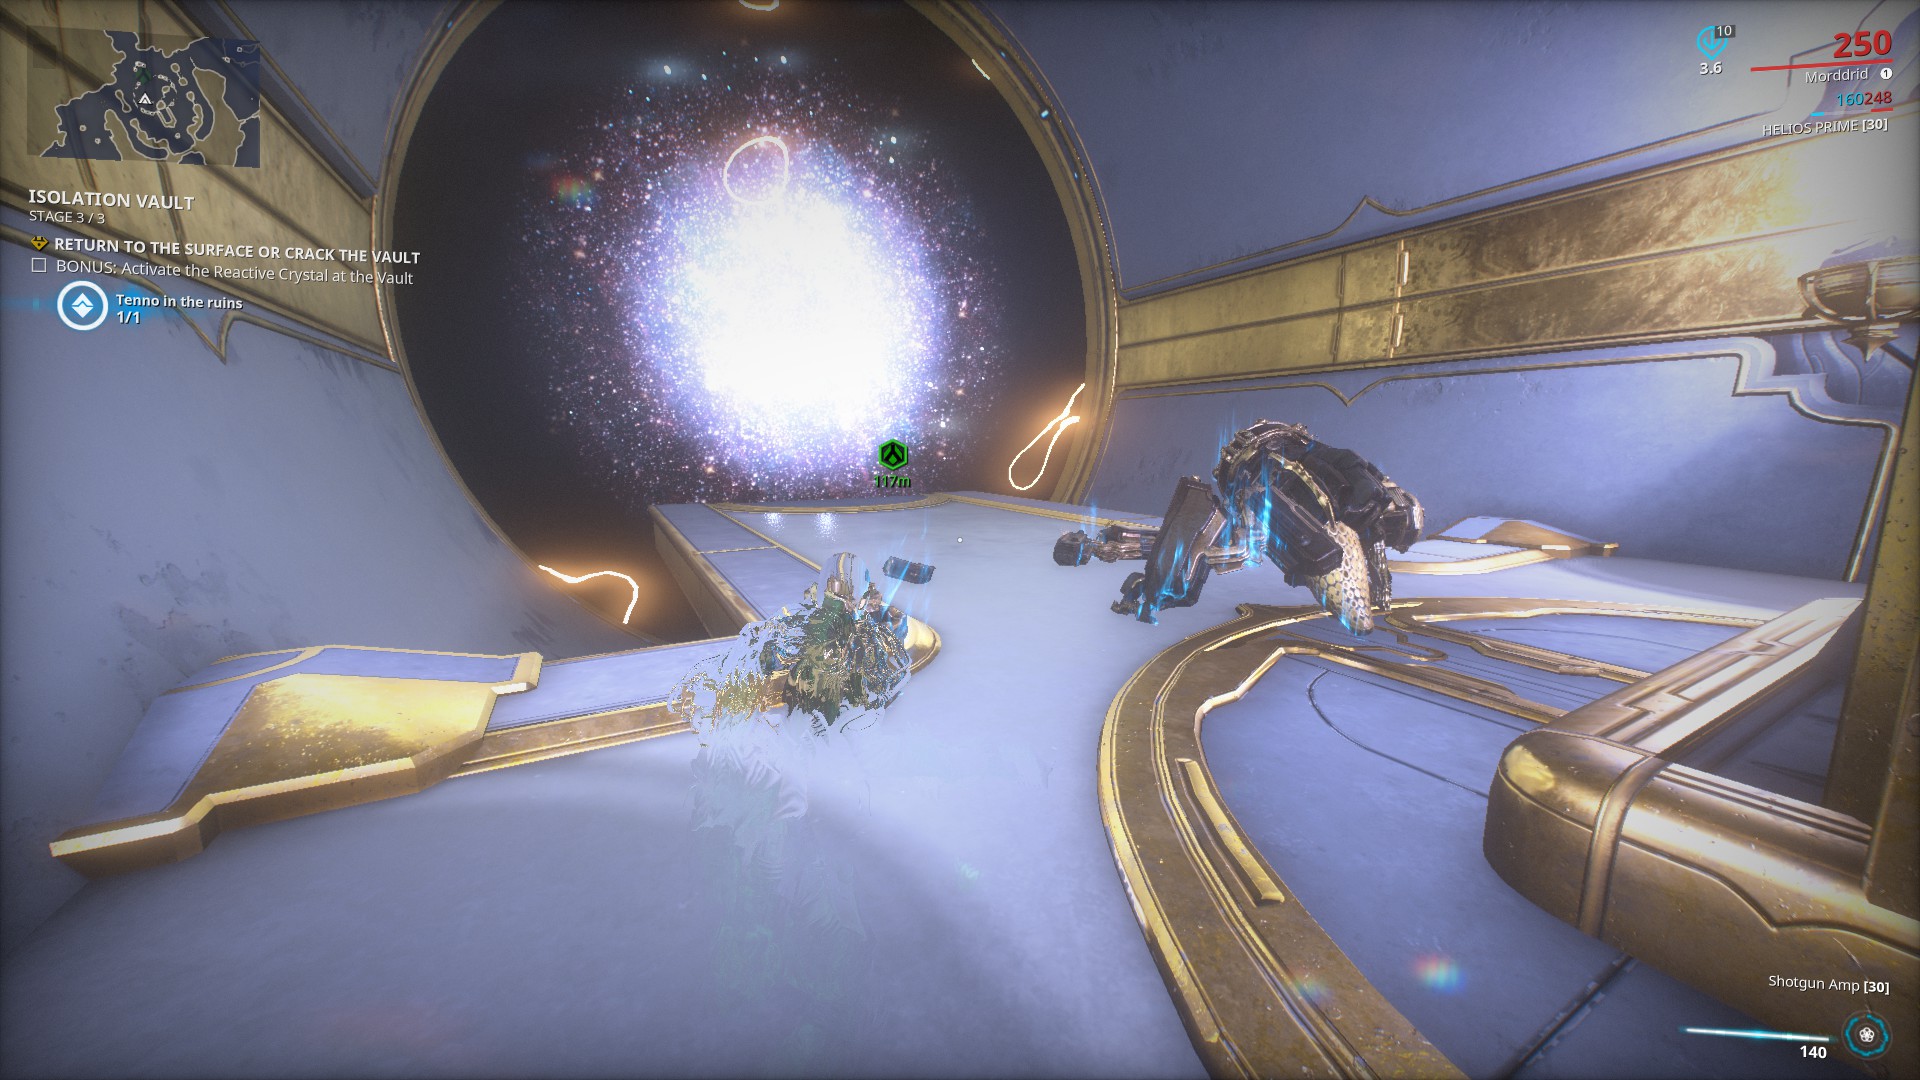
You will have an option to extract at this point or continue on and open the vault. If you are just looking to maximize Necramech kills, it might be worth leaving without opening the vault. Otherwise though, the vault contains many items that the Entrati family collect, making it worth the effort to open.
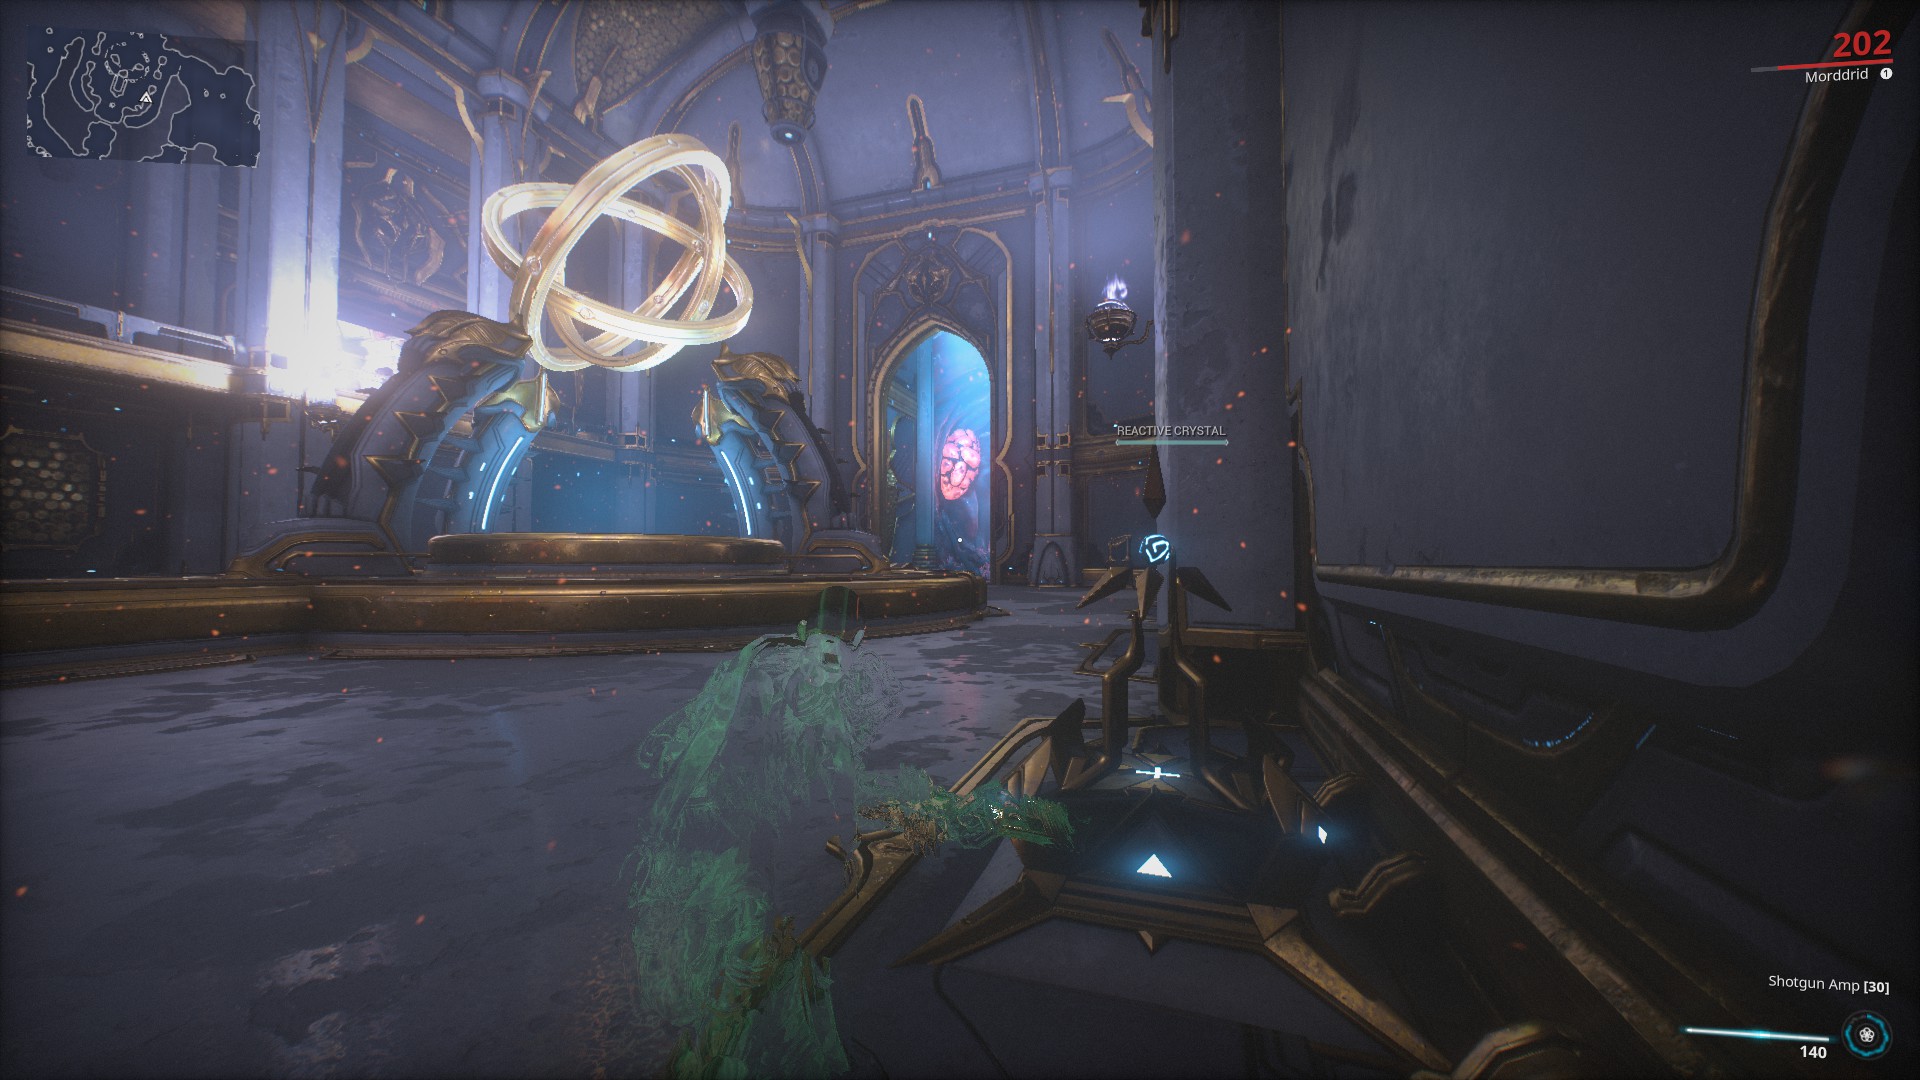
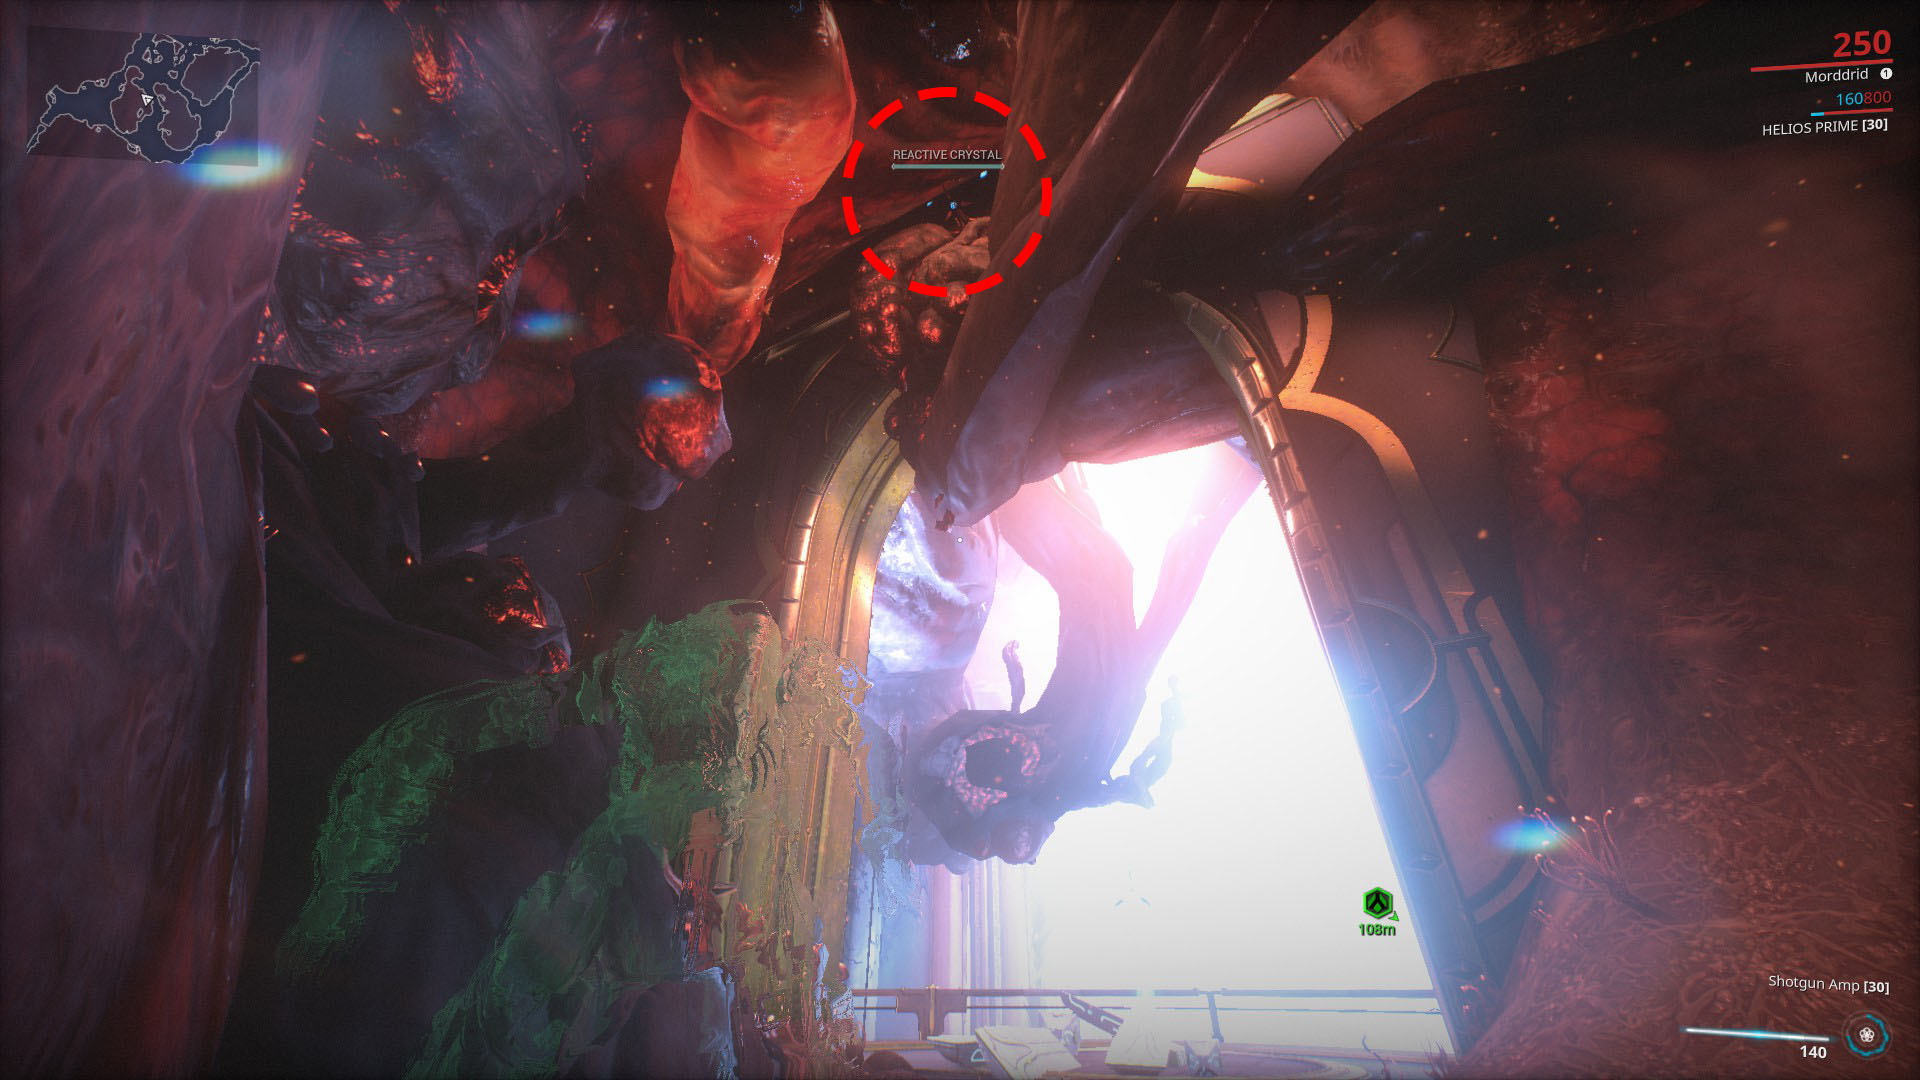
You will first need to find the vault. It will be in a narrow side passage off of the main Orokin ruins. The exact location changes as the vault changes, so it won’t be the same spot every time. Once you find the vault, shoot the Reactive Crystal in front of the door to spawn Loid.
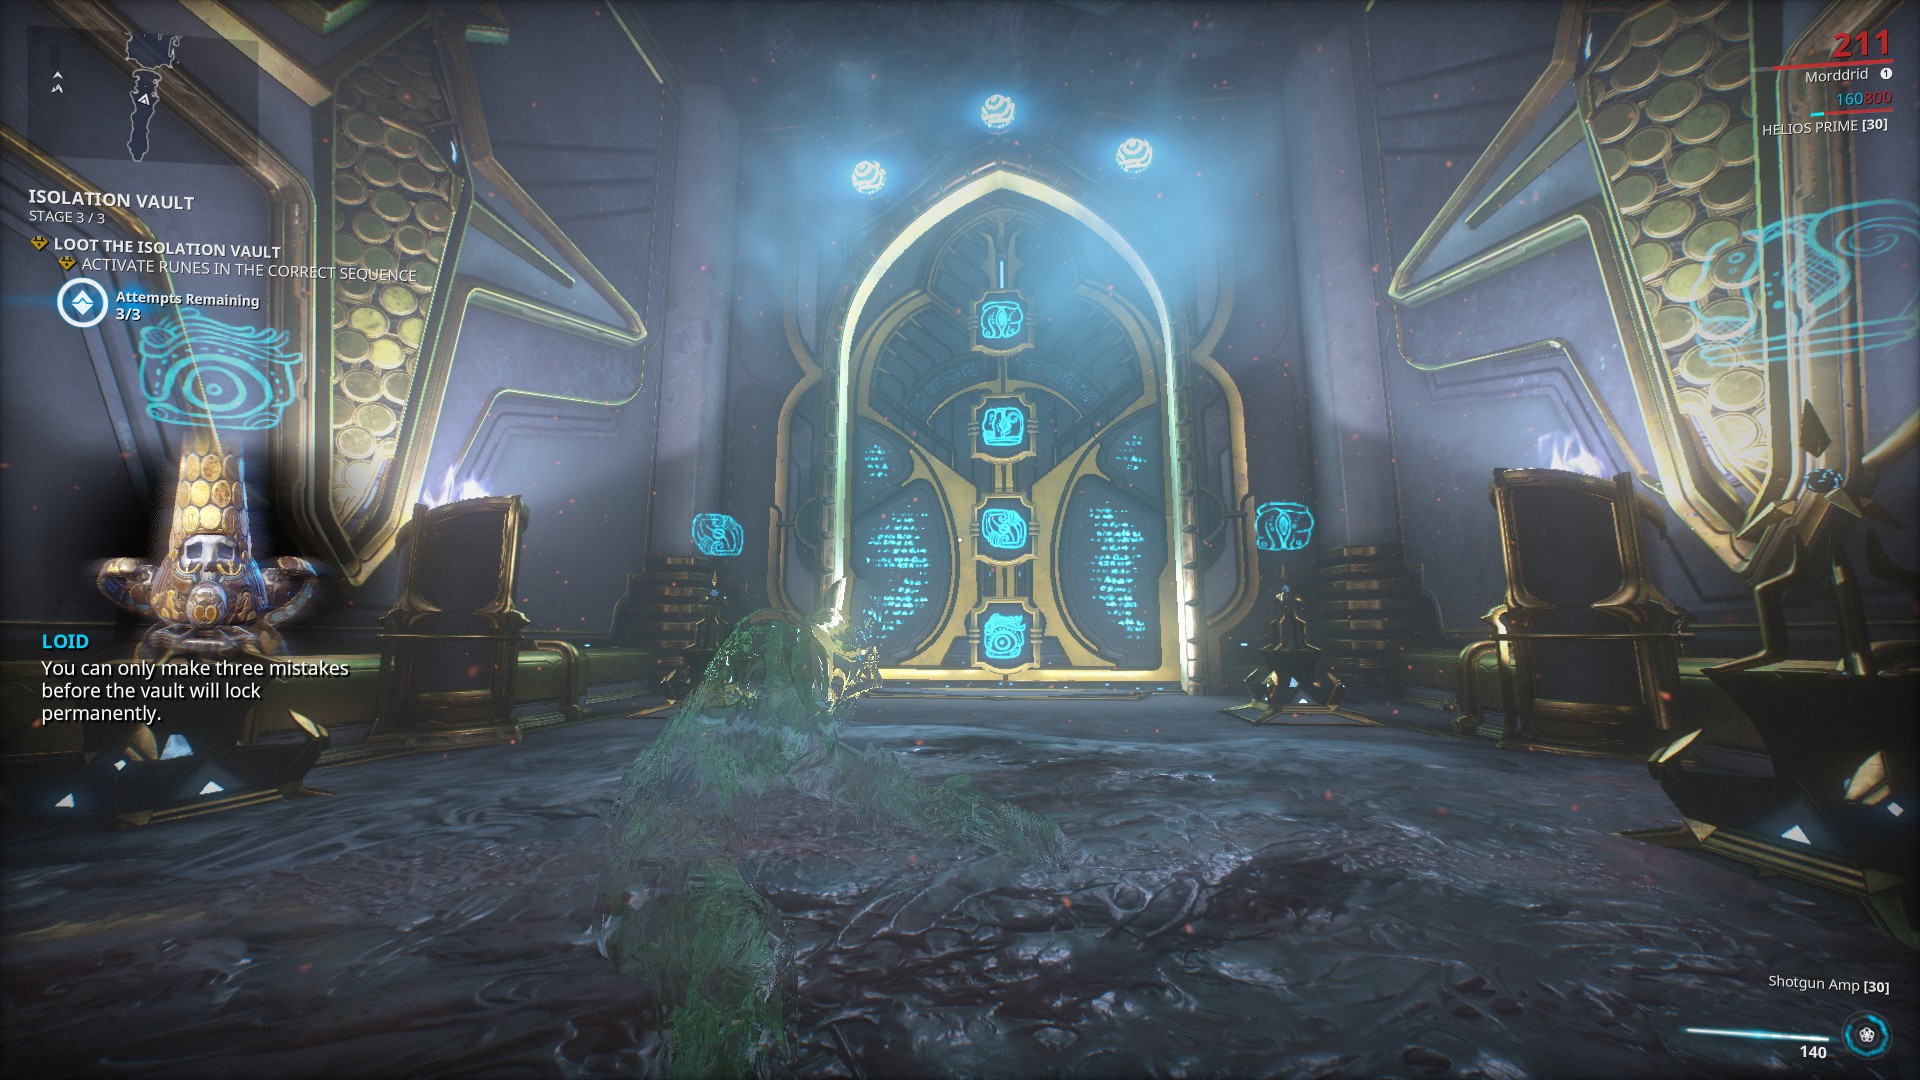
Loid will slowly move to four other crystals, activating them as he goes. You will need to defend him from the Infested that spawn. Unlike the bait defense earlier, this defense can be tough, especially at higher levels. You can activate the obelisks in the area with your Operator that will deal damage to nearby Infested. If Loid gets low on health, you can heal him by shooting him with your Operator’s void beam. Once Loid has activated all four crystals, he will slowly return to the vault door.
Once Loid reaches the vault door, the door will glow four symbols. Similar to how it worked in the intro quest, you will need to shoot the symbols in the order (top to bottom) they are written on the door. Shoot the symbols with your Operator in the correct order and the door will open, letting you get the loot inside.
Locked doors
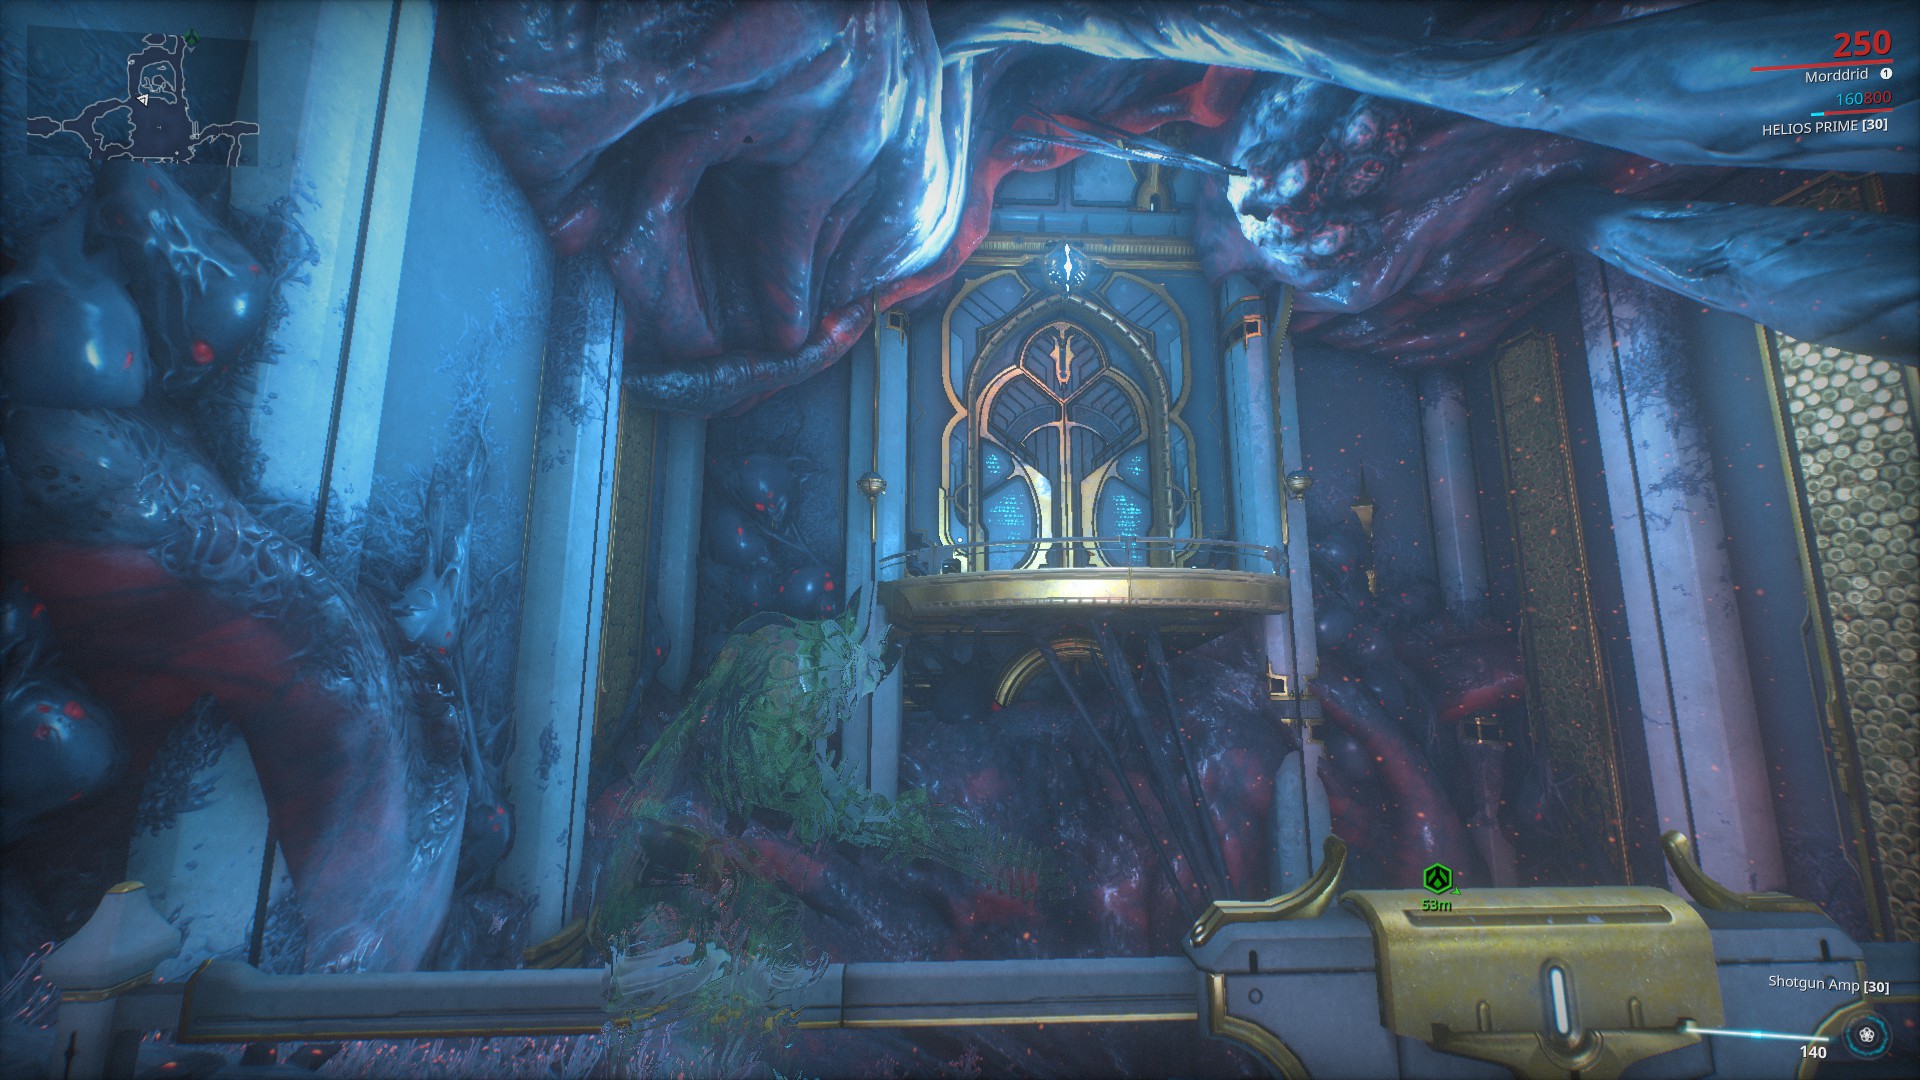
Multiple vaults have ways of obtaining additional loot. Shooting Reactive Crystals found in the Orokin ruins will open up areas otherwise inaccessible. Since vaults move, I won’t be able to tie them to the entrance itself, but these pictures should give you enough context for which vault you are in.
Vault A
This vault is distinguished by the spinning rings in the main room. Once open, these rings will form a portal allowing you to enter the secret room. In this room is a Necramech that can be taken over. When this friendly Necramech dies, it drops loot like a normal Necramech, so try get it killed before leaving it.
The reactive crystals are all around the main room. You can find them either along the wall or on the ceiling of the corridors.

Vault B
Vault B has multiple big rooms. It also contains destructible small statues that drop a but of loot. This vault took me the longest to figure out, so hopefully these pictures help you find those hidden crystals.
Vault C
Vault C is one big room with stairs going down on each side. Both sides of the main room have large doors, one being locked. The two switches are at the top of these two side rooms. The first switch will open the door to the second.

Best builds for Isolation Vaults
A Smeeta Kavat’s Charm ability can double the resources you gain from vaults, and if playing solo you can wait as long as you want for it to give you the buff before looting. Once you open the vault, work on opening the locked doors while you wait for your cat to do its job.
If going with a group or relying only on you weapons, the best ability to bring is Nekros’s Desecrate. This will give you another roll on loot from any Necramechs you defeat. It will also give you a bunch more resources from all the Infested you’ll be killing.
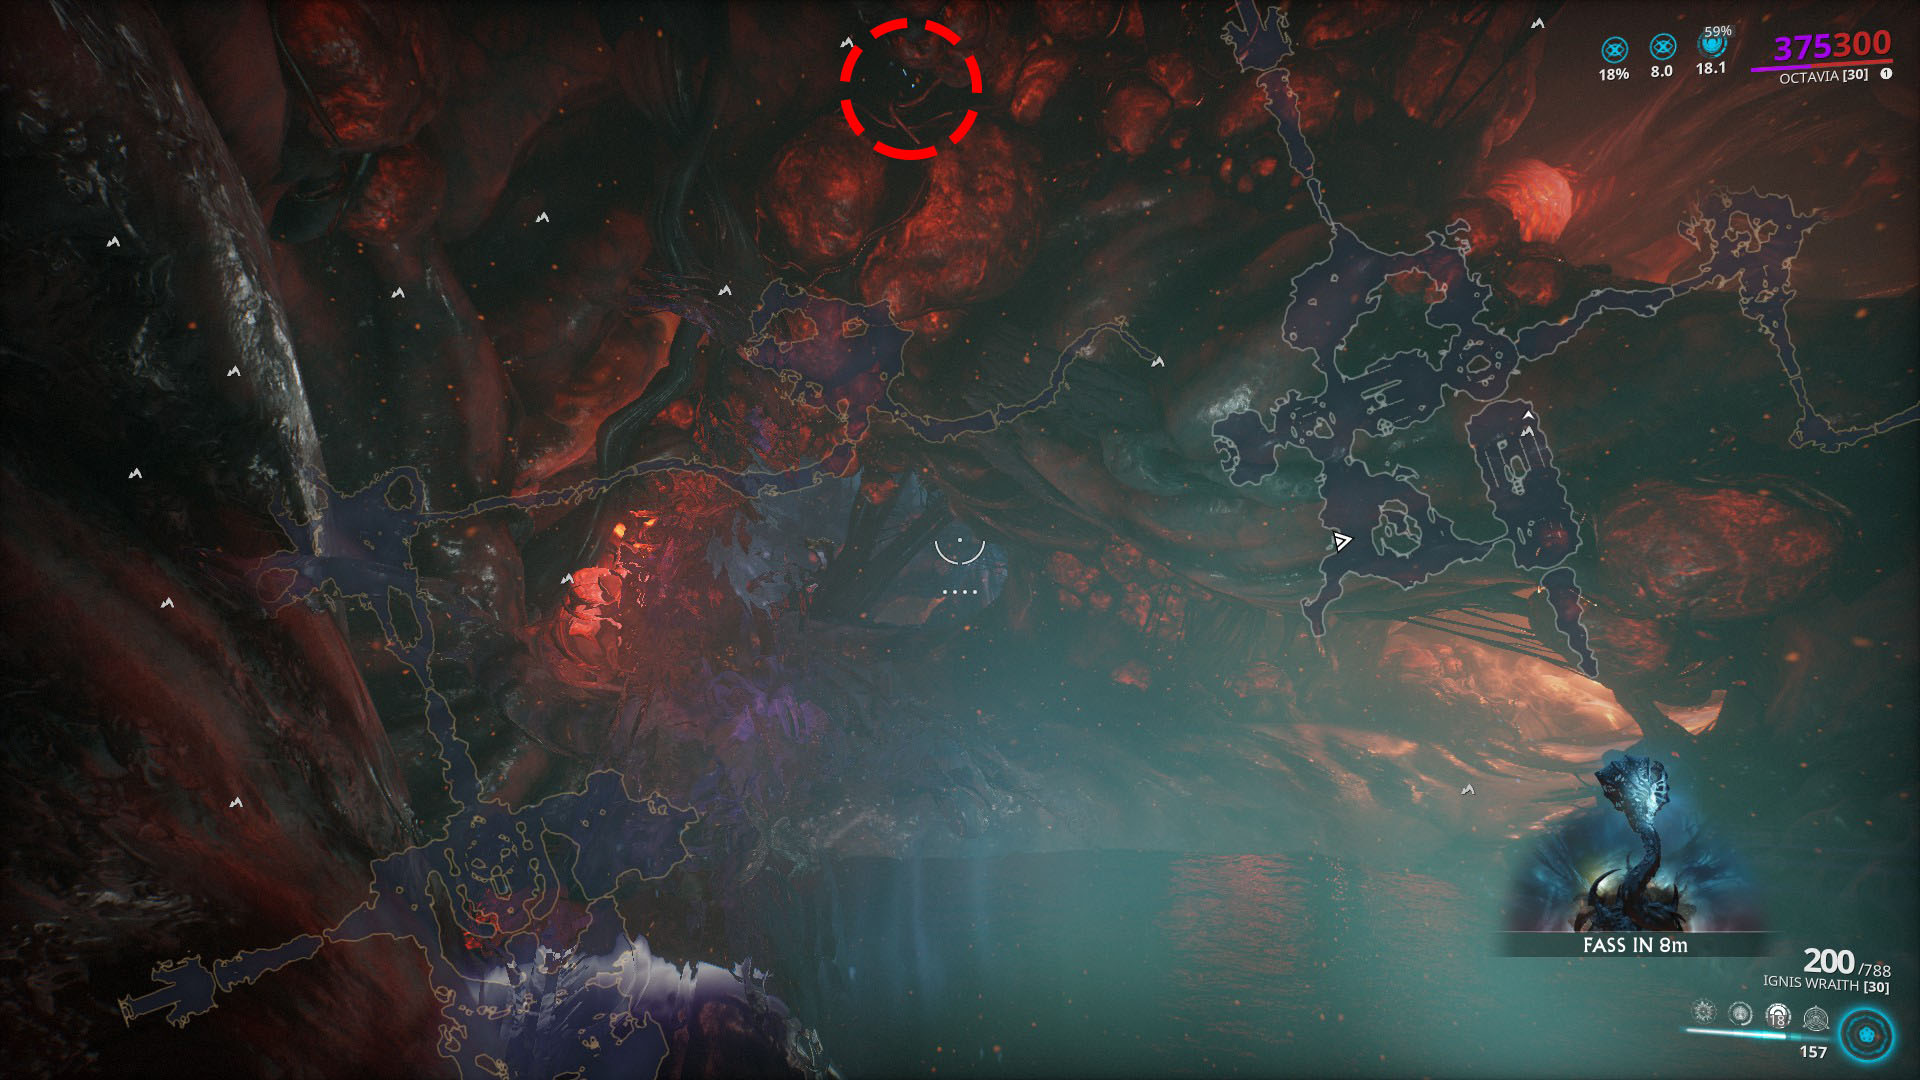
If looking to solo through T3 vaults, Octavia is a great choice. Mallet and stealth is a perfect combination to kill the Necramechs. I use a small deviation from my long survival build, changing out the Blind Rage for a Primed Flow, since energy is more of an issue.
Leave a Reply