The final conflict has arrived! Stop the enemy’s missile from launching!
Mission Strategy
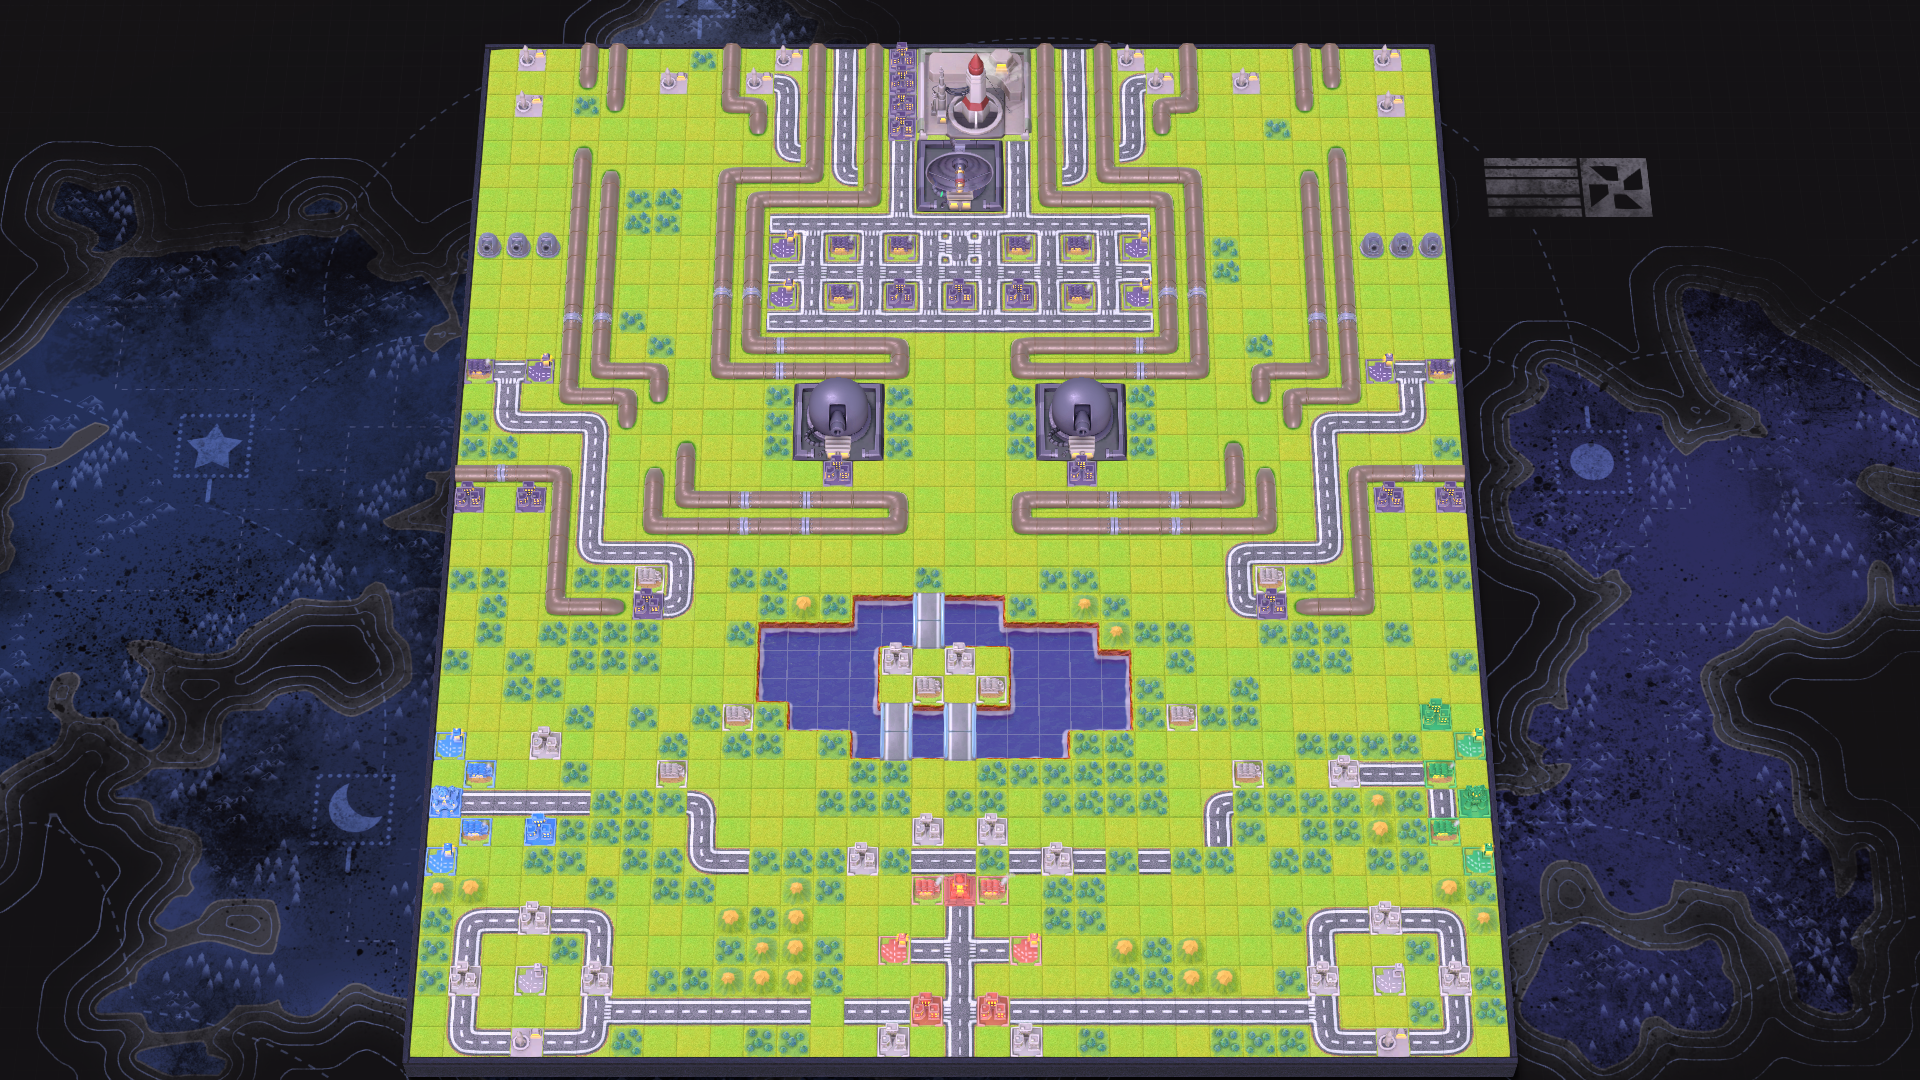
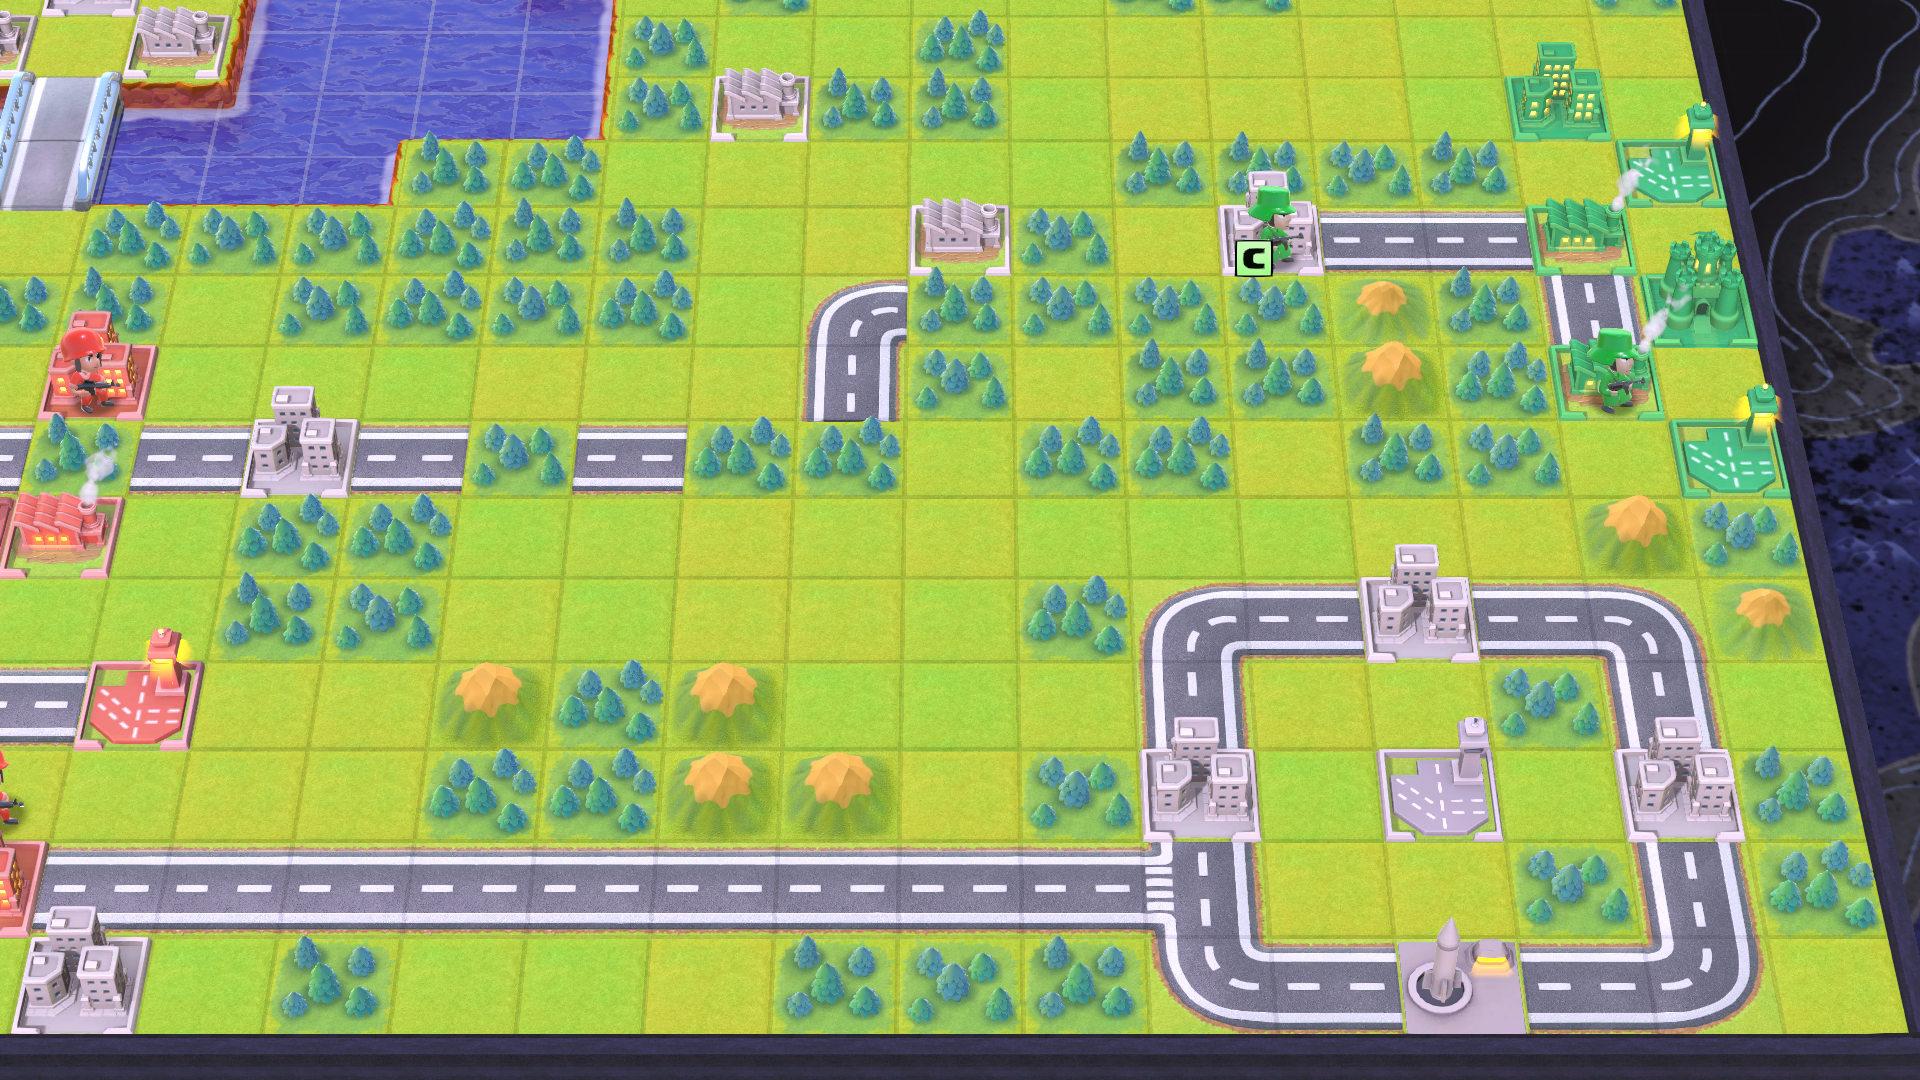
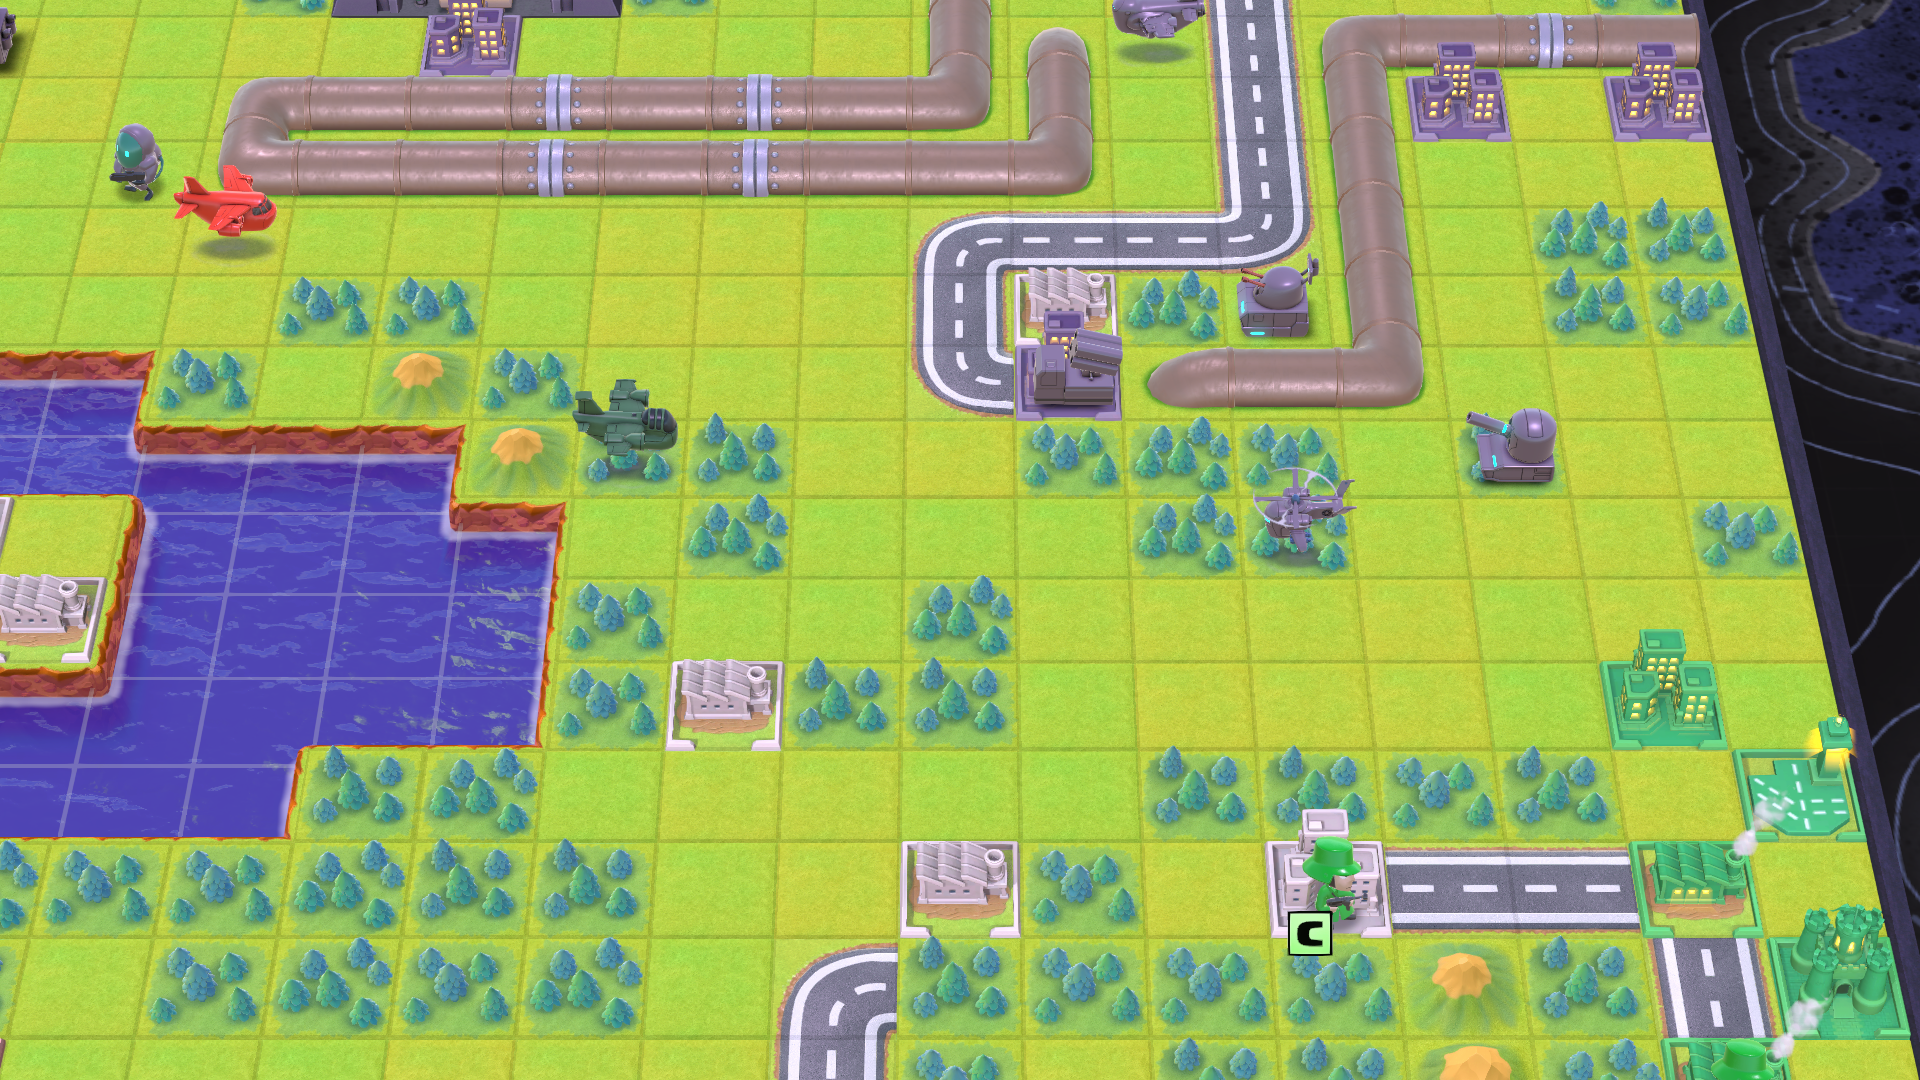
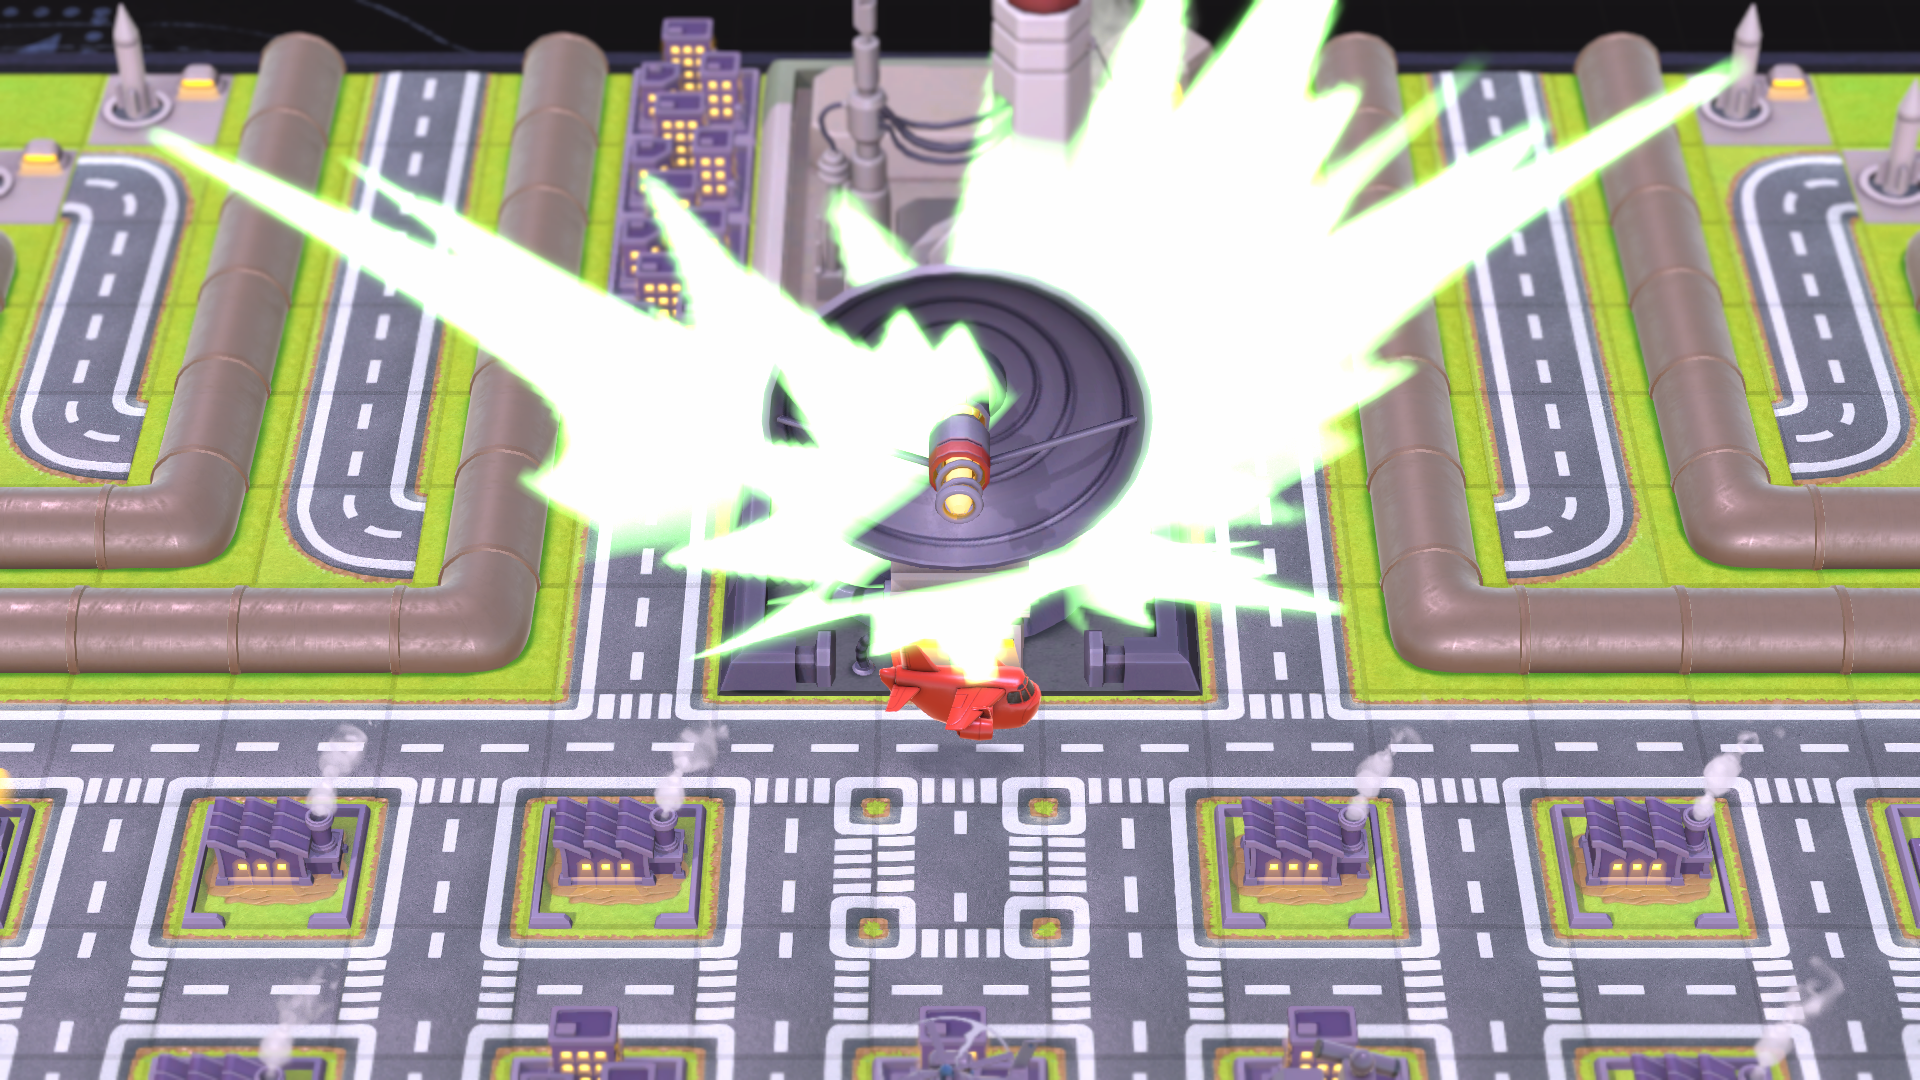
This is the last mission for the Advance Wars 2 campaign. Your goal is to destroy the enemy Deathray at the top of the map. Similar to other structures, it has 99 health and can be damaged from the central south tile. It has comparable defenses to a Neotank, so Medium Tanks, Rockets, and Bombers are your best best for damaging it. You also have a time limit of 30 Days. If you have not destroyed the Deathray by then, you lose.
You can pick all three of your COs for this mission. You can select any of the COs you have played through the campaign, but only one per nation. The order you select them is important. The first CO you select will be in the center position, the second in the western position, and the third in the eastern position. There are only Bases and Airports on this map, so choose your COs accordingly.
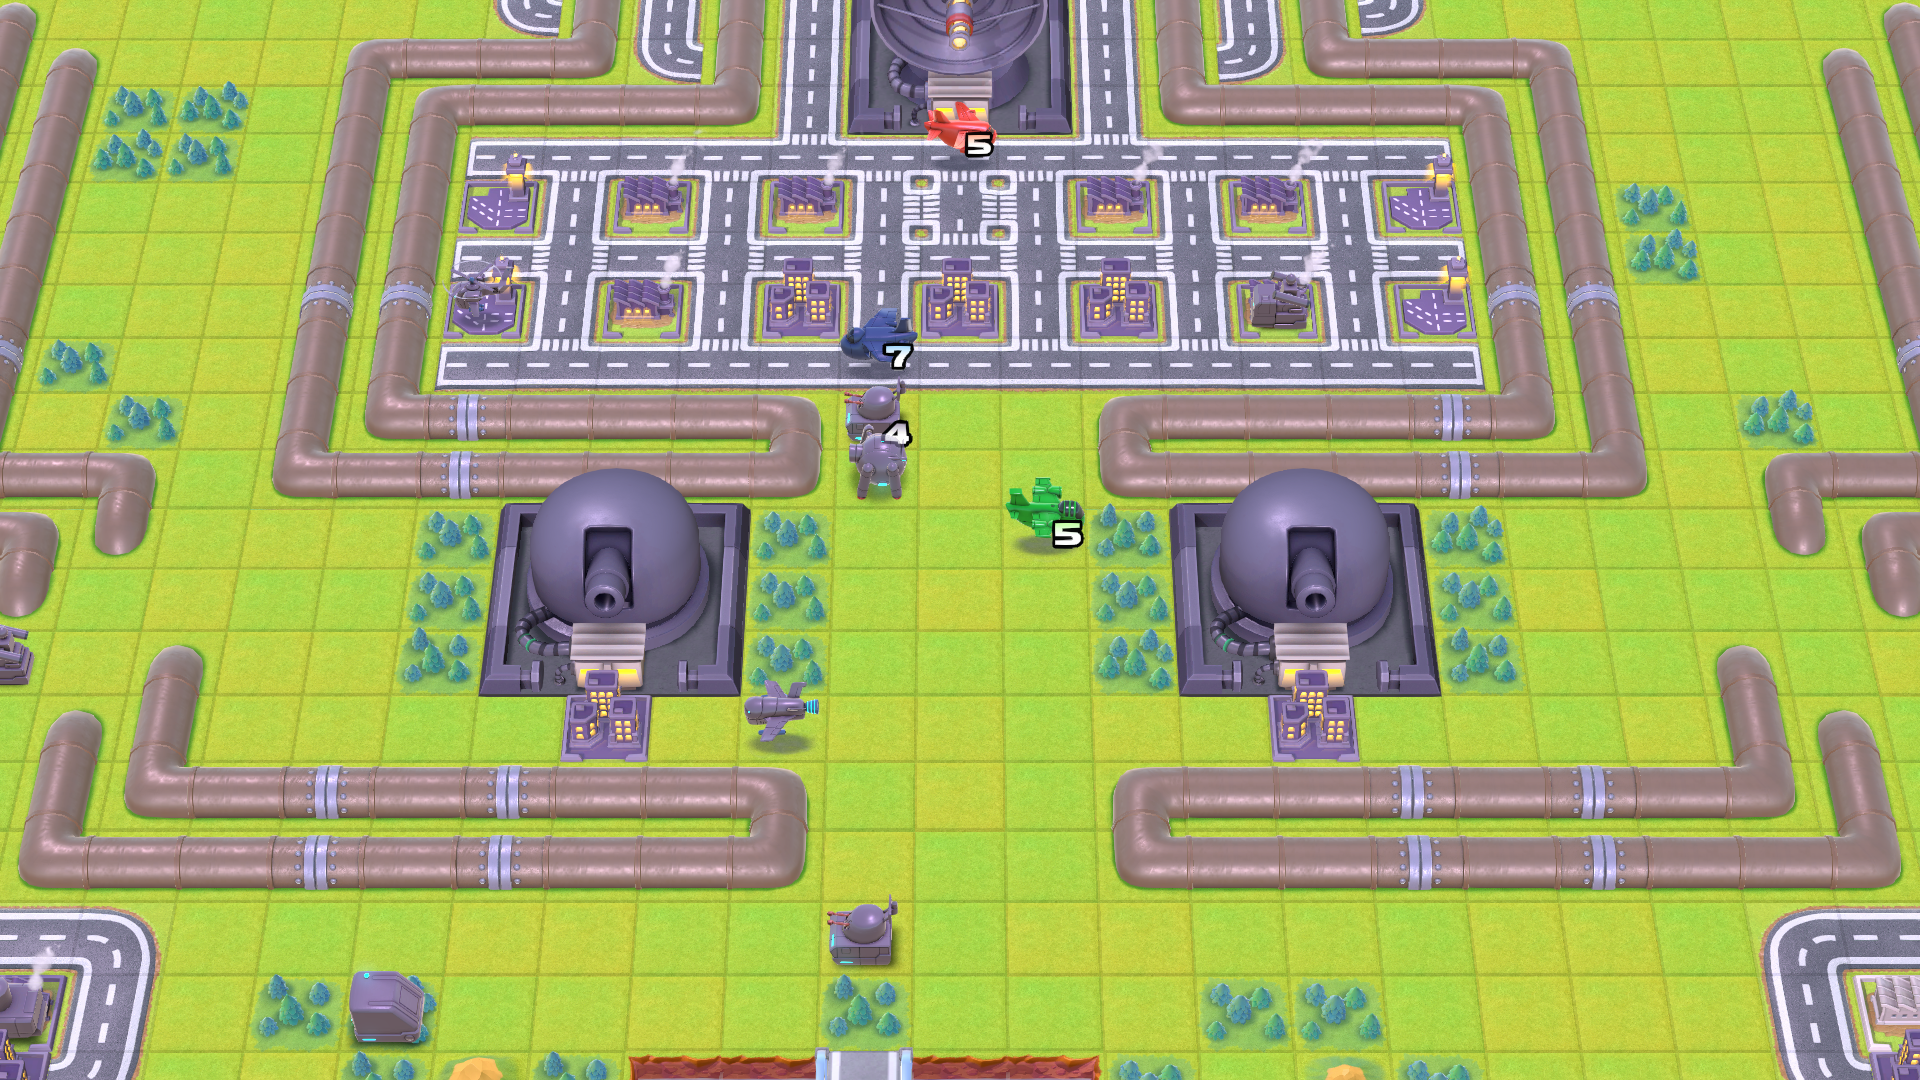
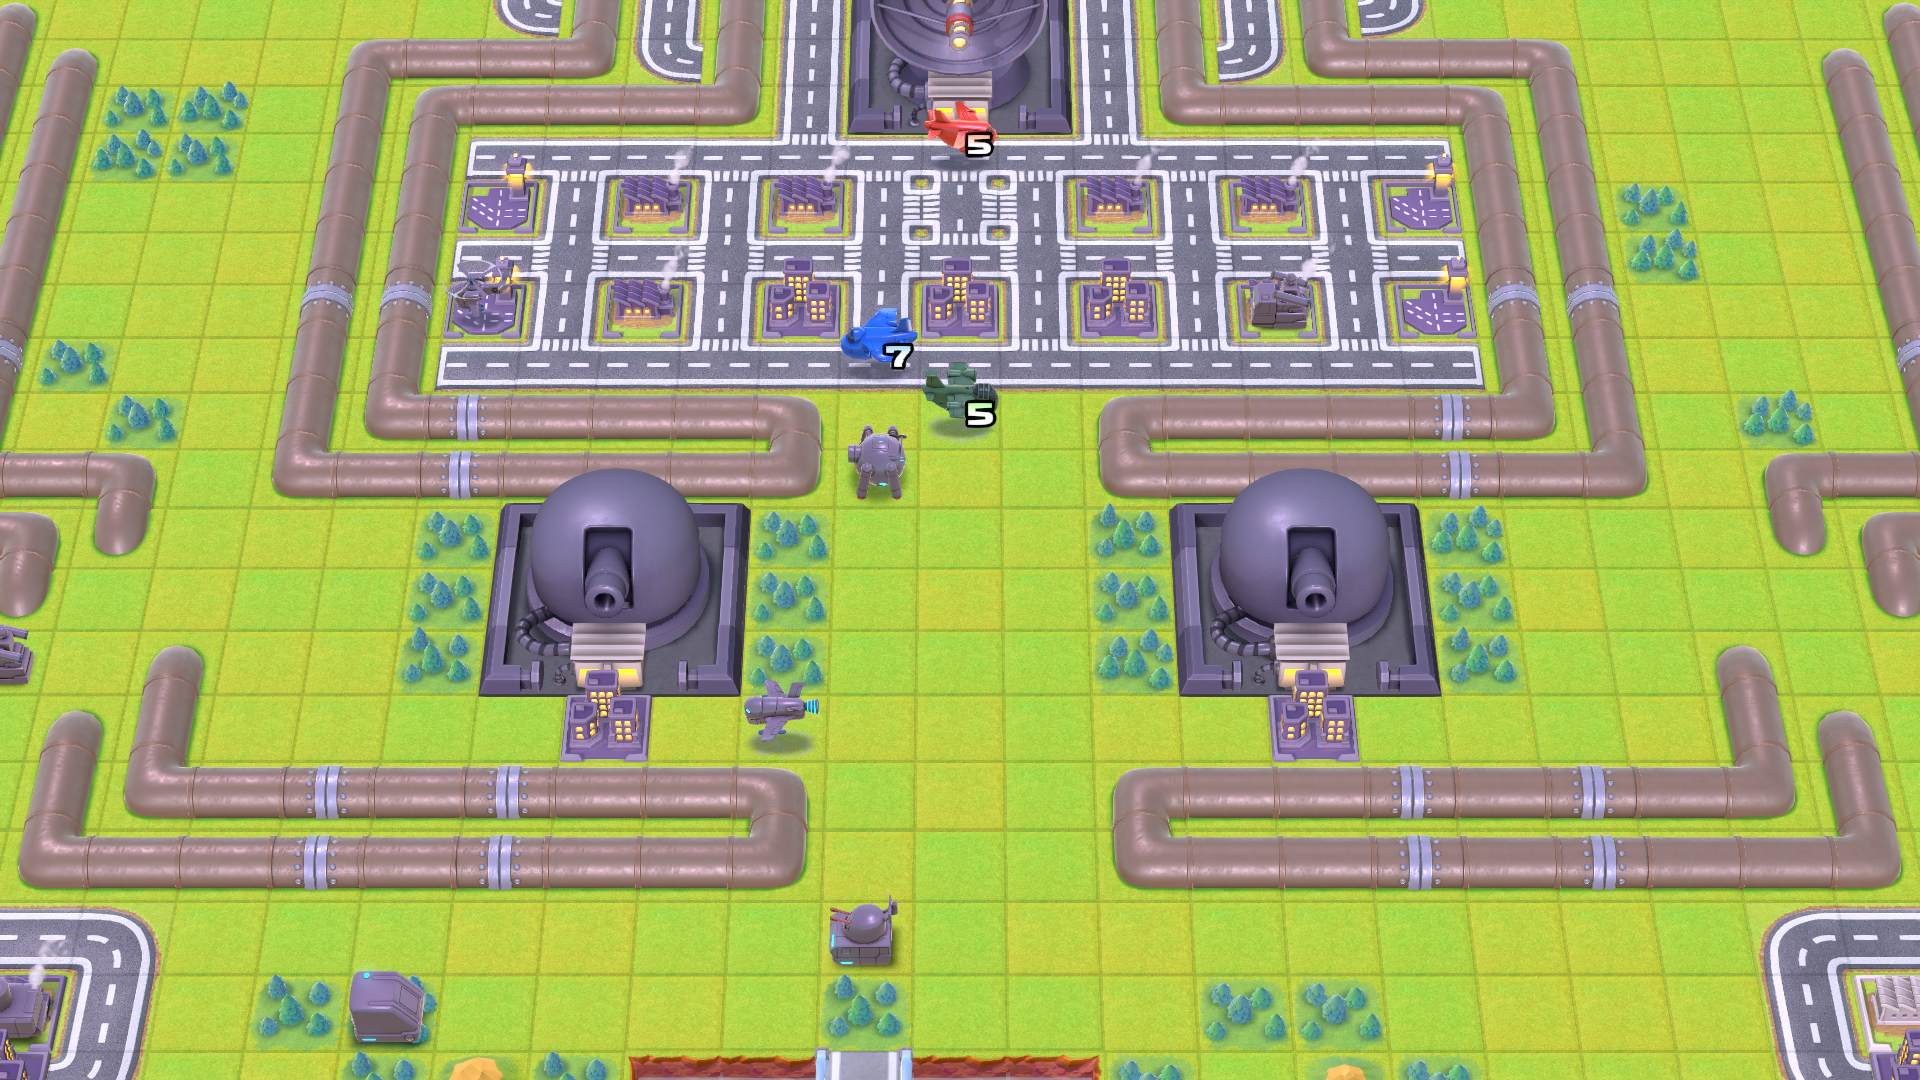
Sturm is the enemy CO for this mission. Be very aware of his CO Power meter. When activated, he will deal 8 damage to all of your units in a 3 diameter star shape (like a Silo). This damage cannot destroy a unit. It will target the area that will deal the most damage to your forces based on cost, so you can bait it out by putting multiple expensive units near each other. If possible though, the best option is to spread your forces out so only one can get hit.
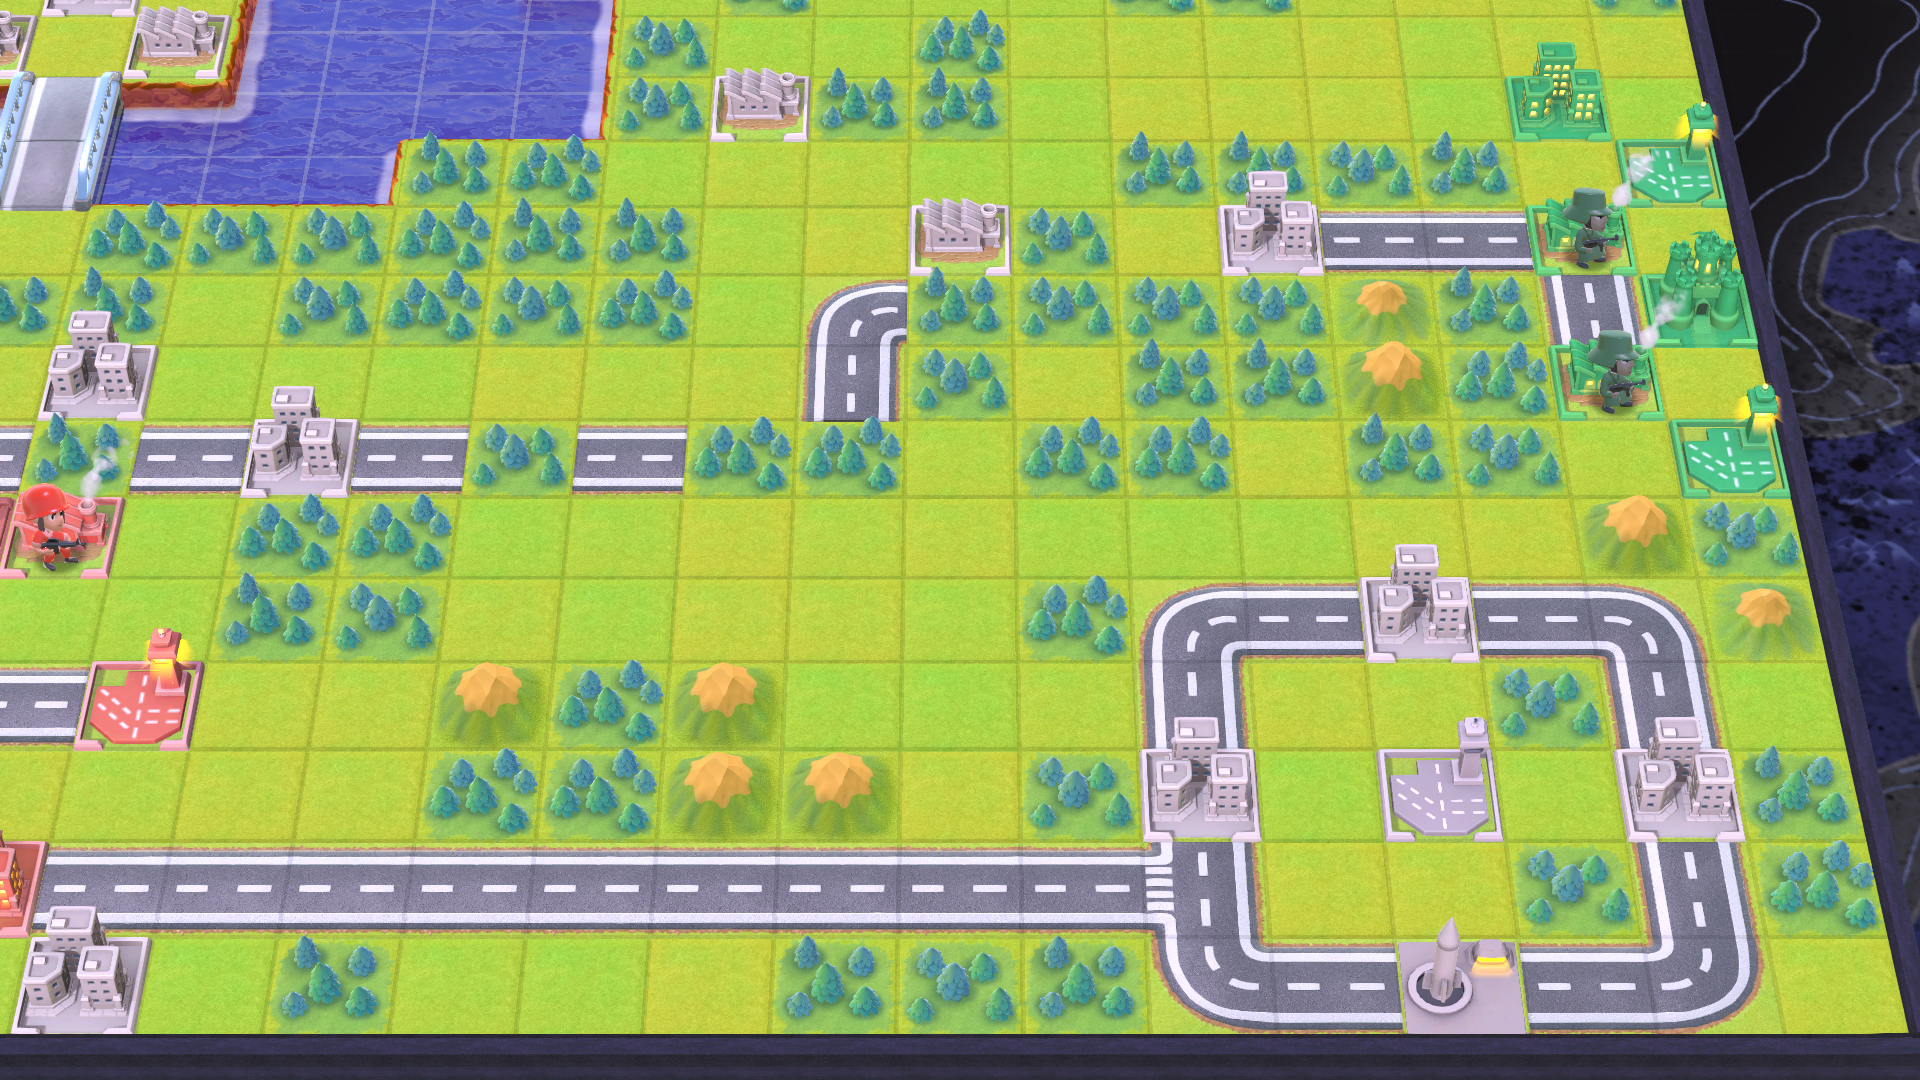
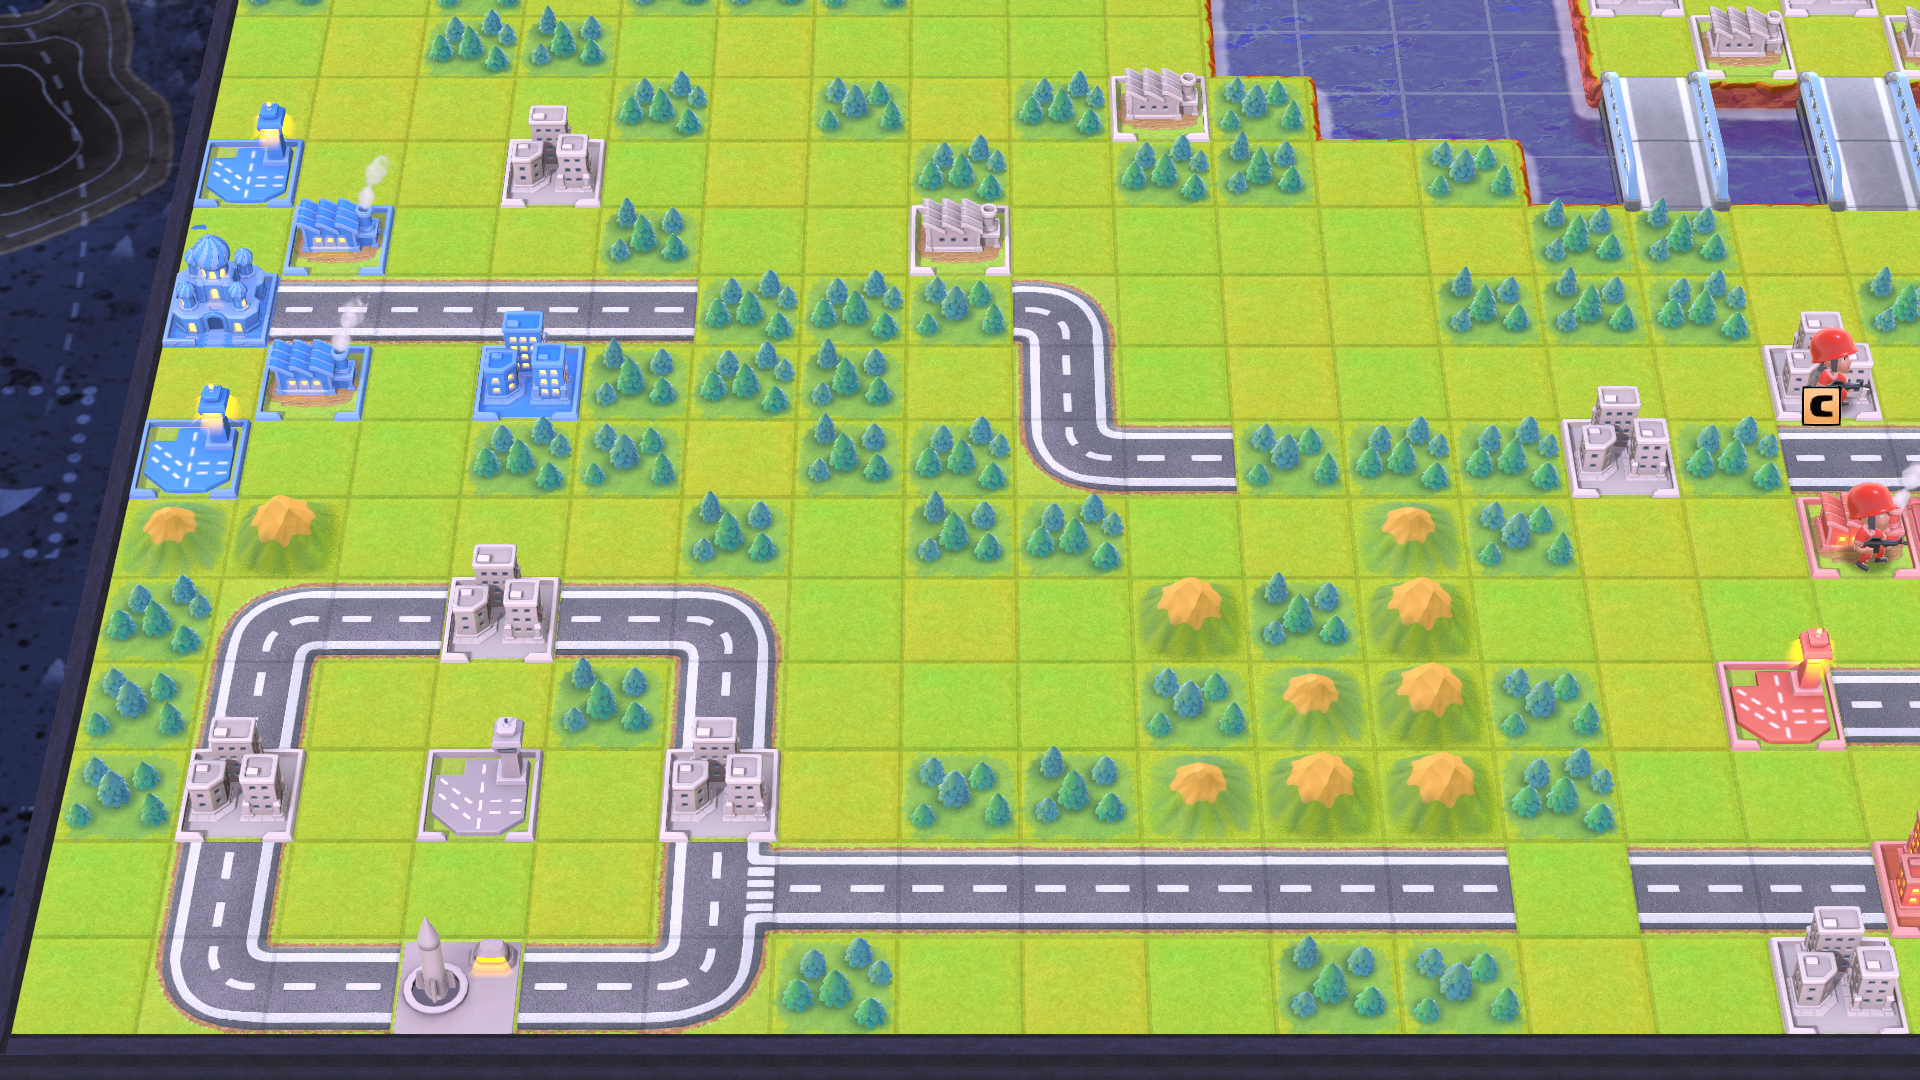
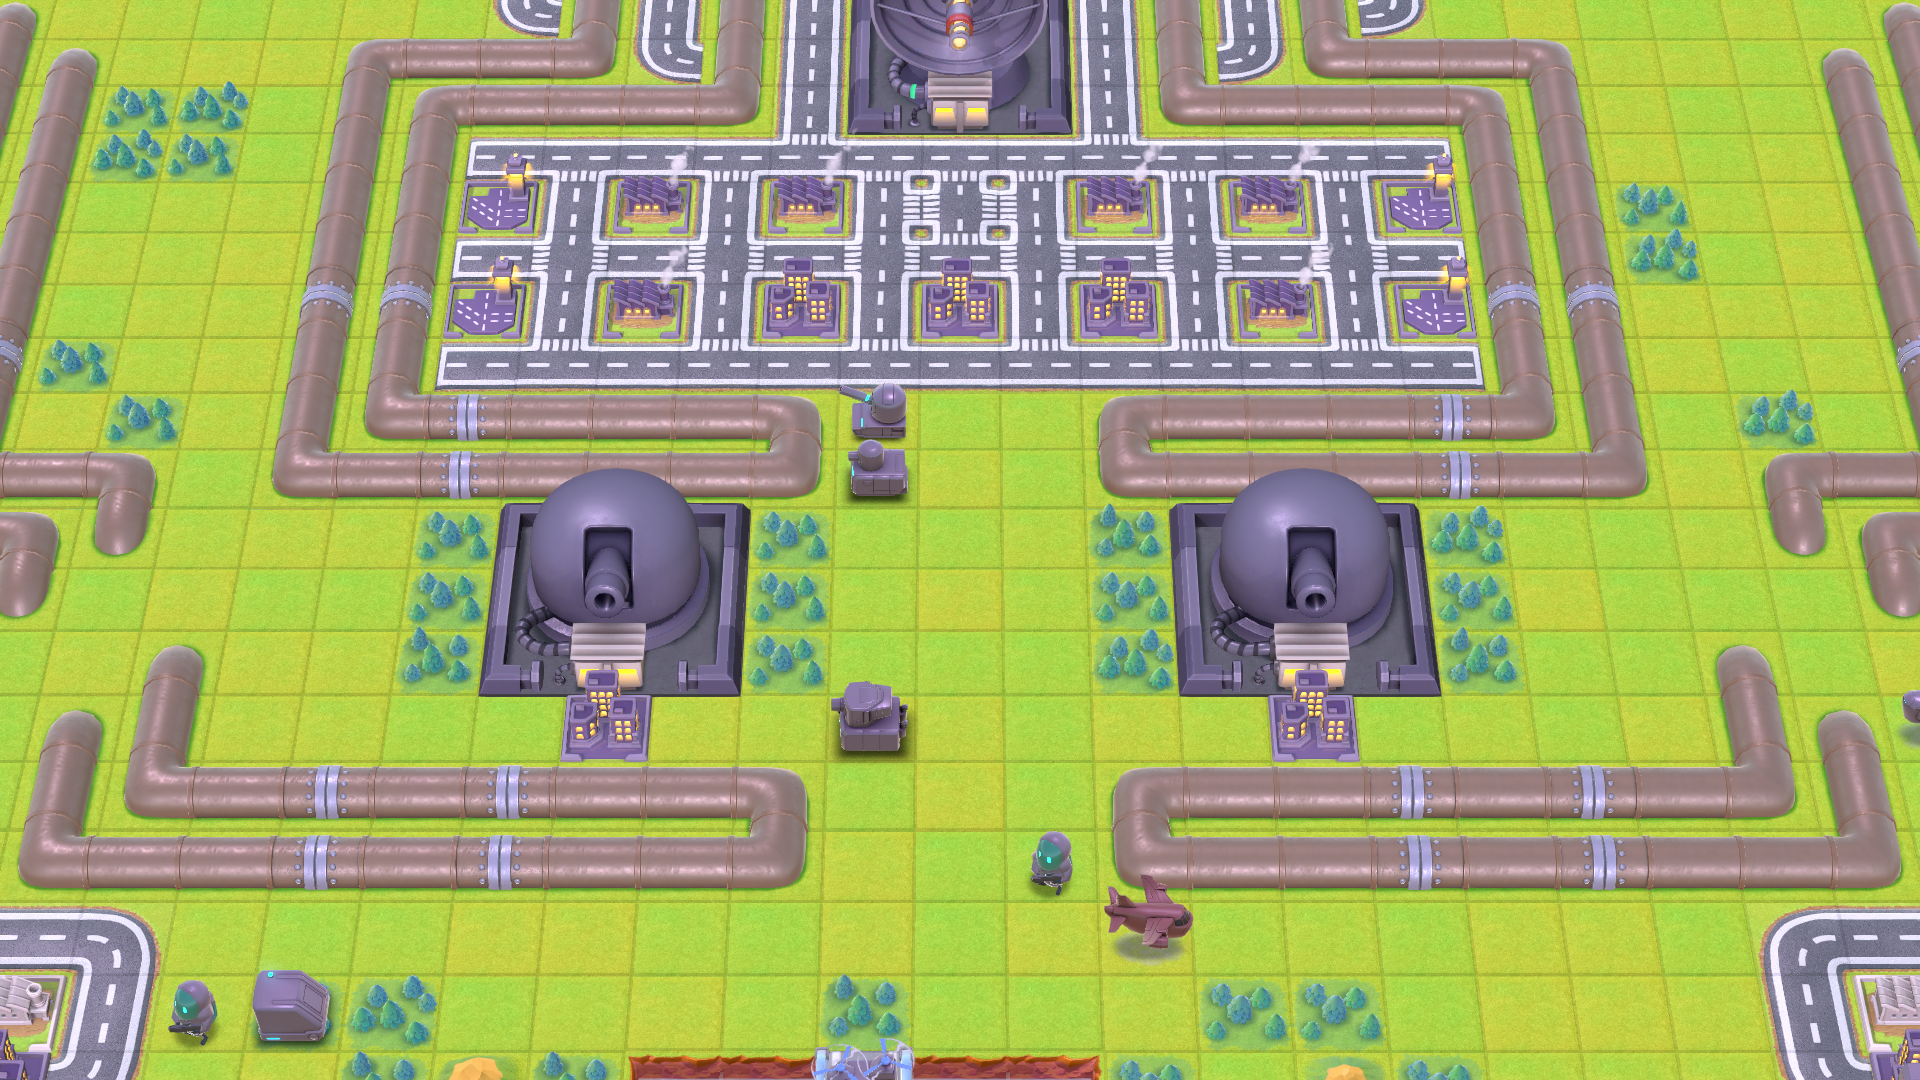
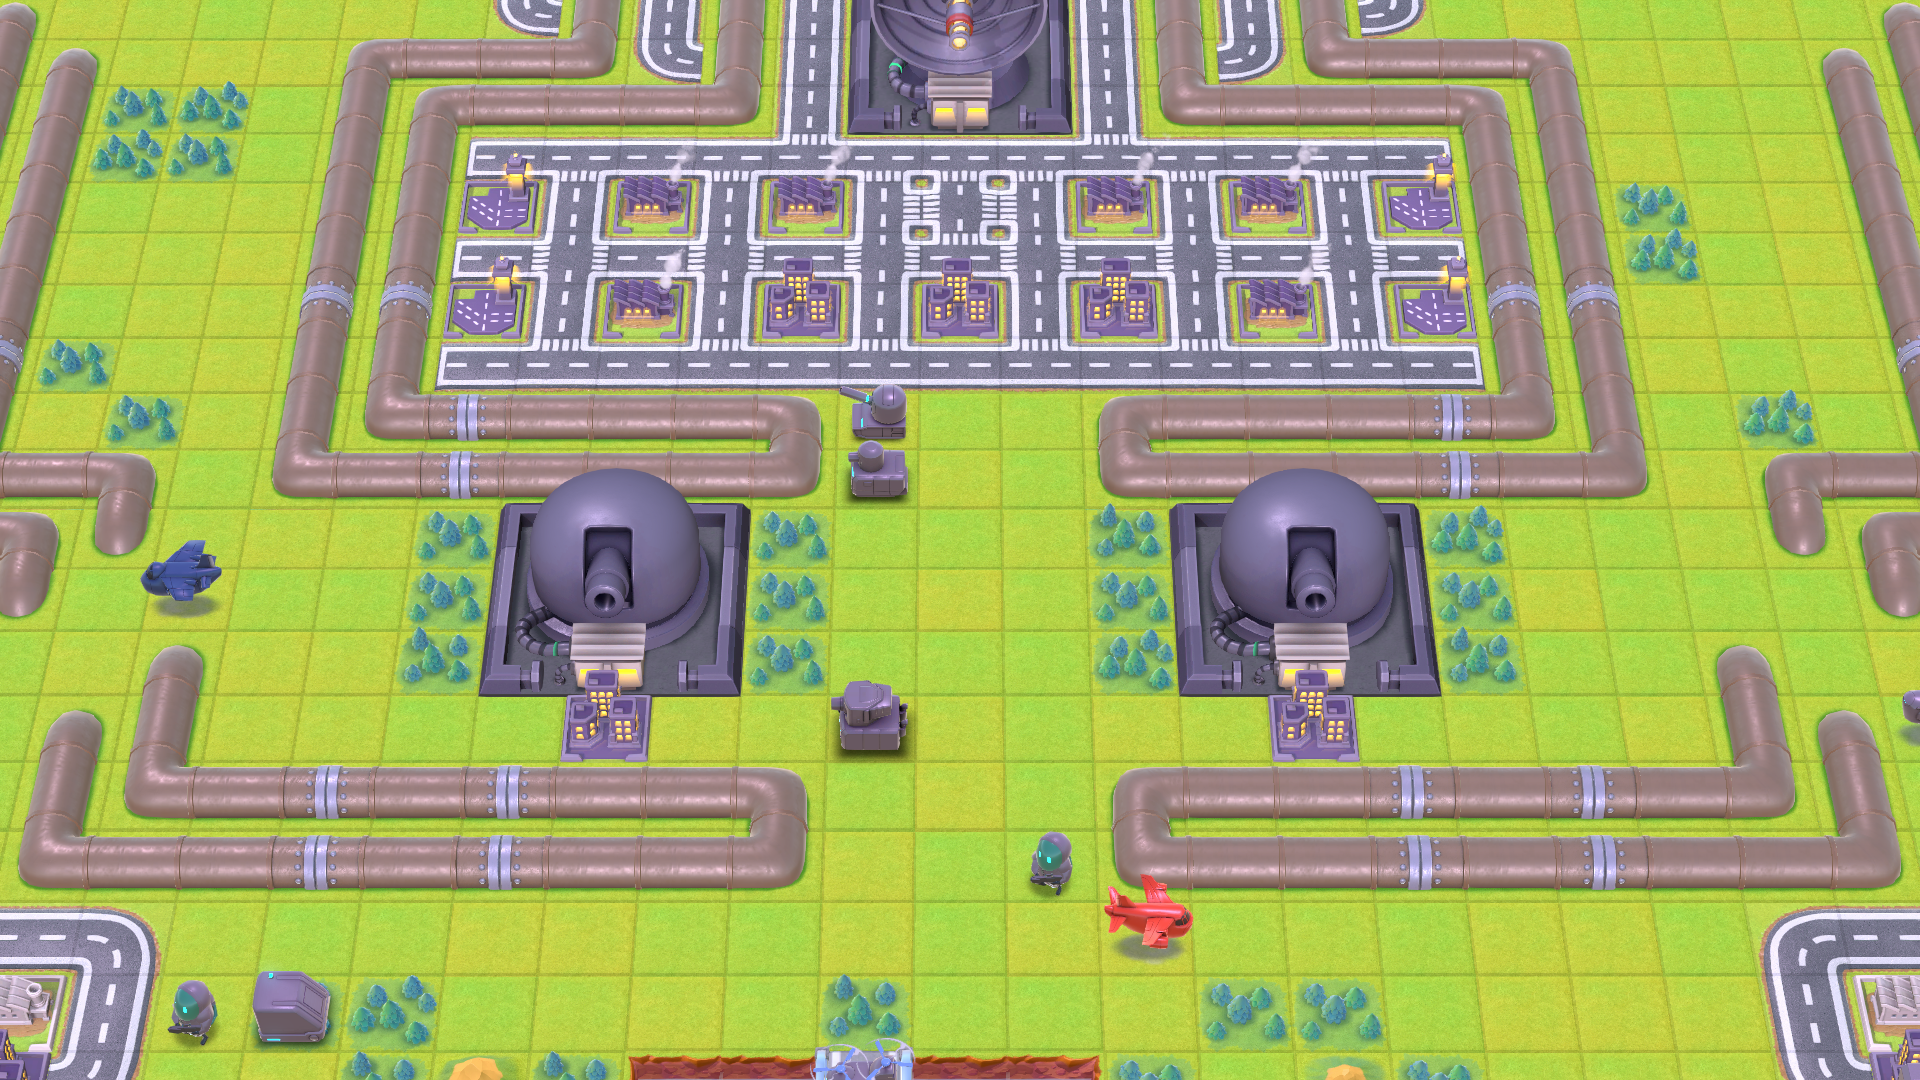
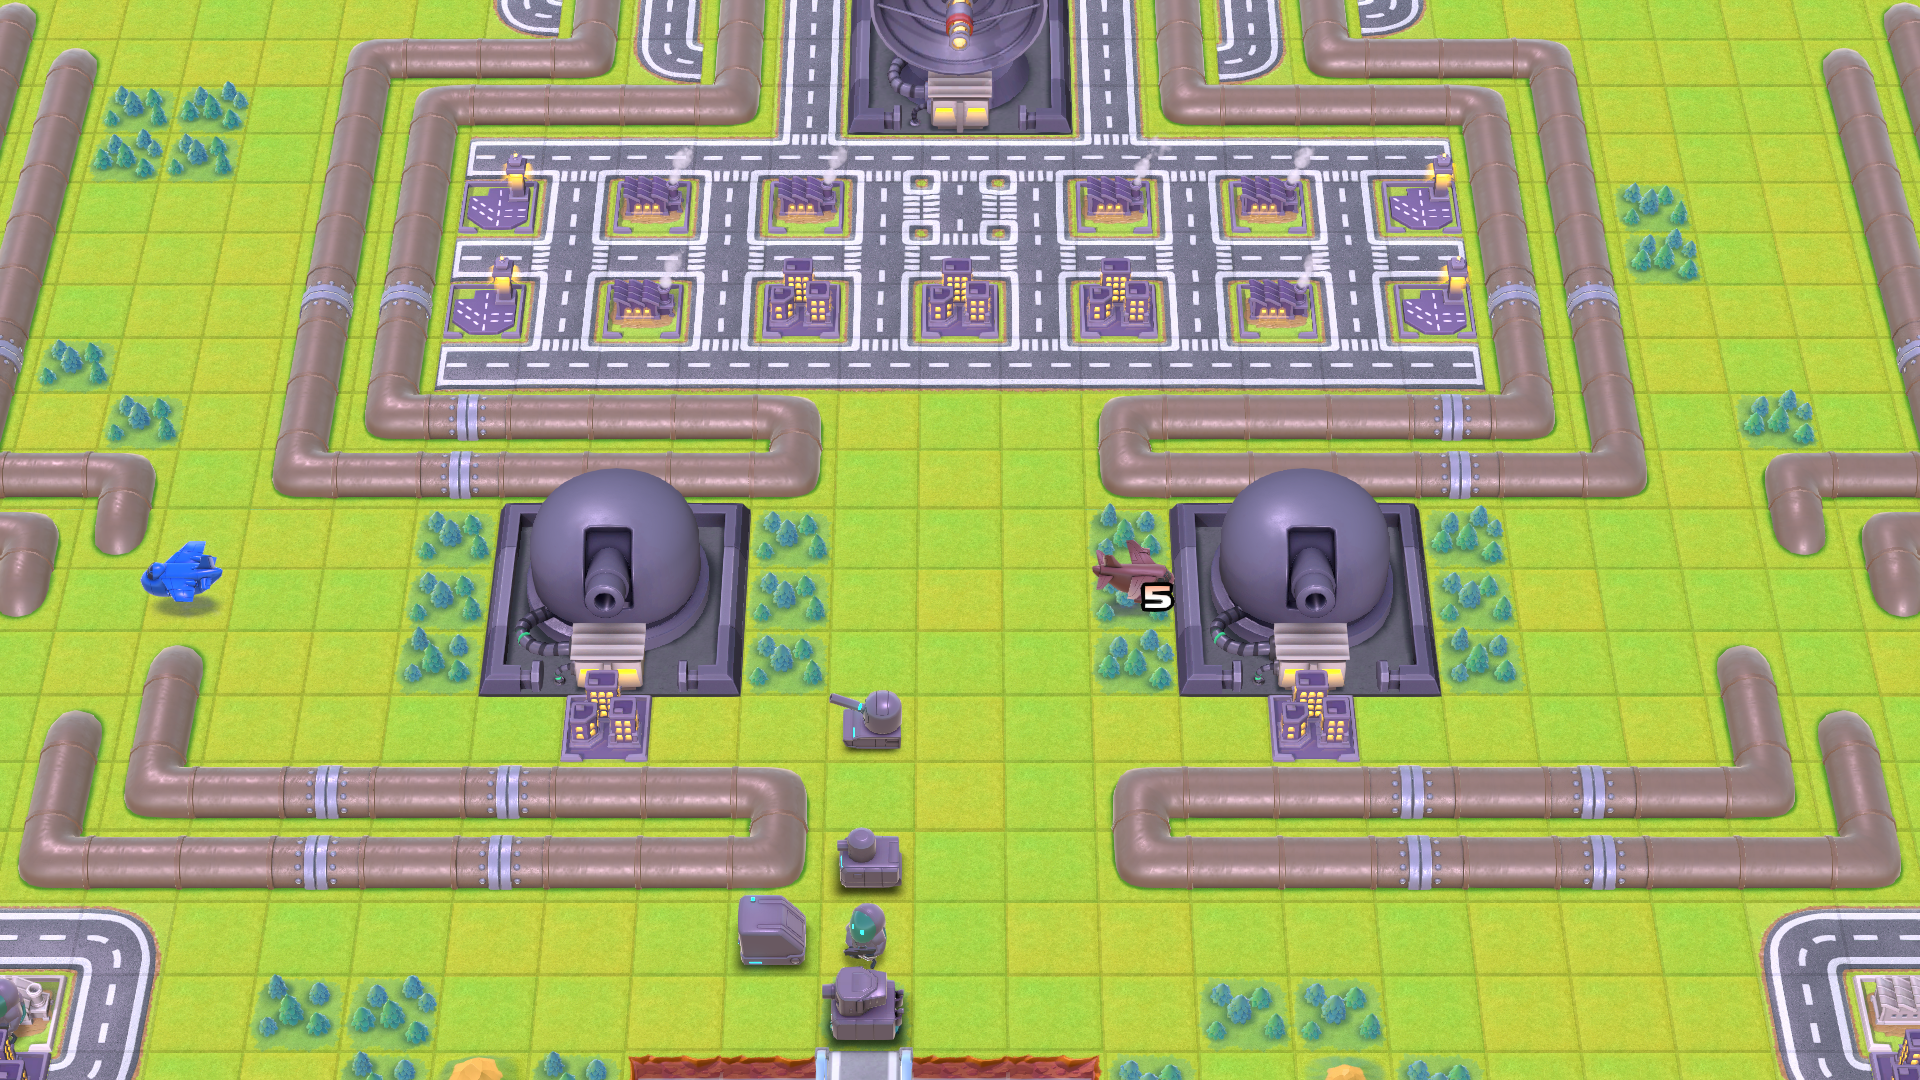
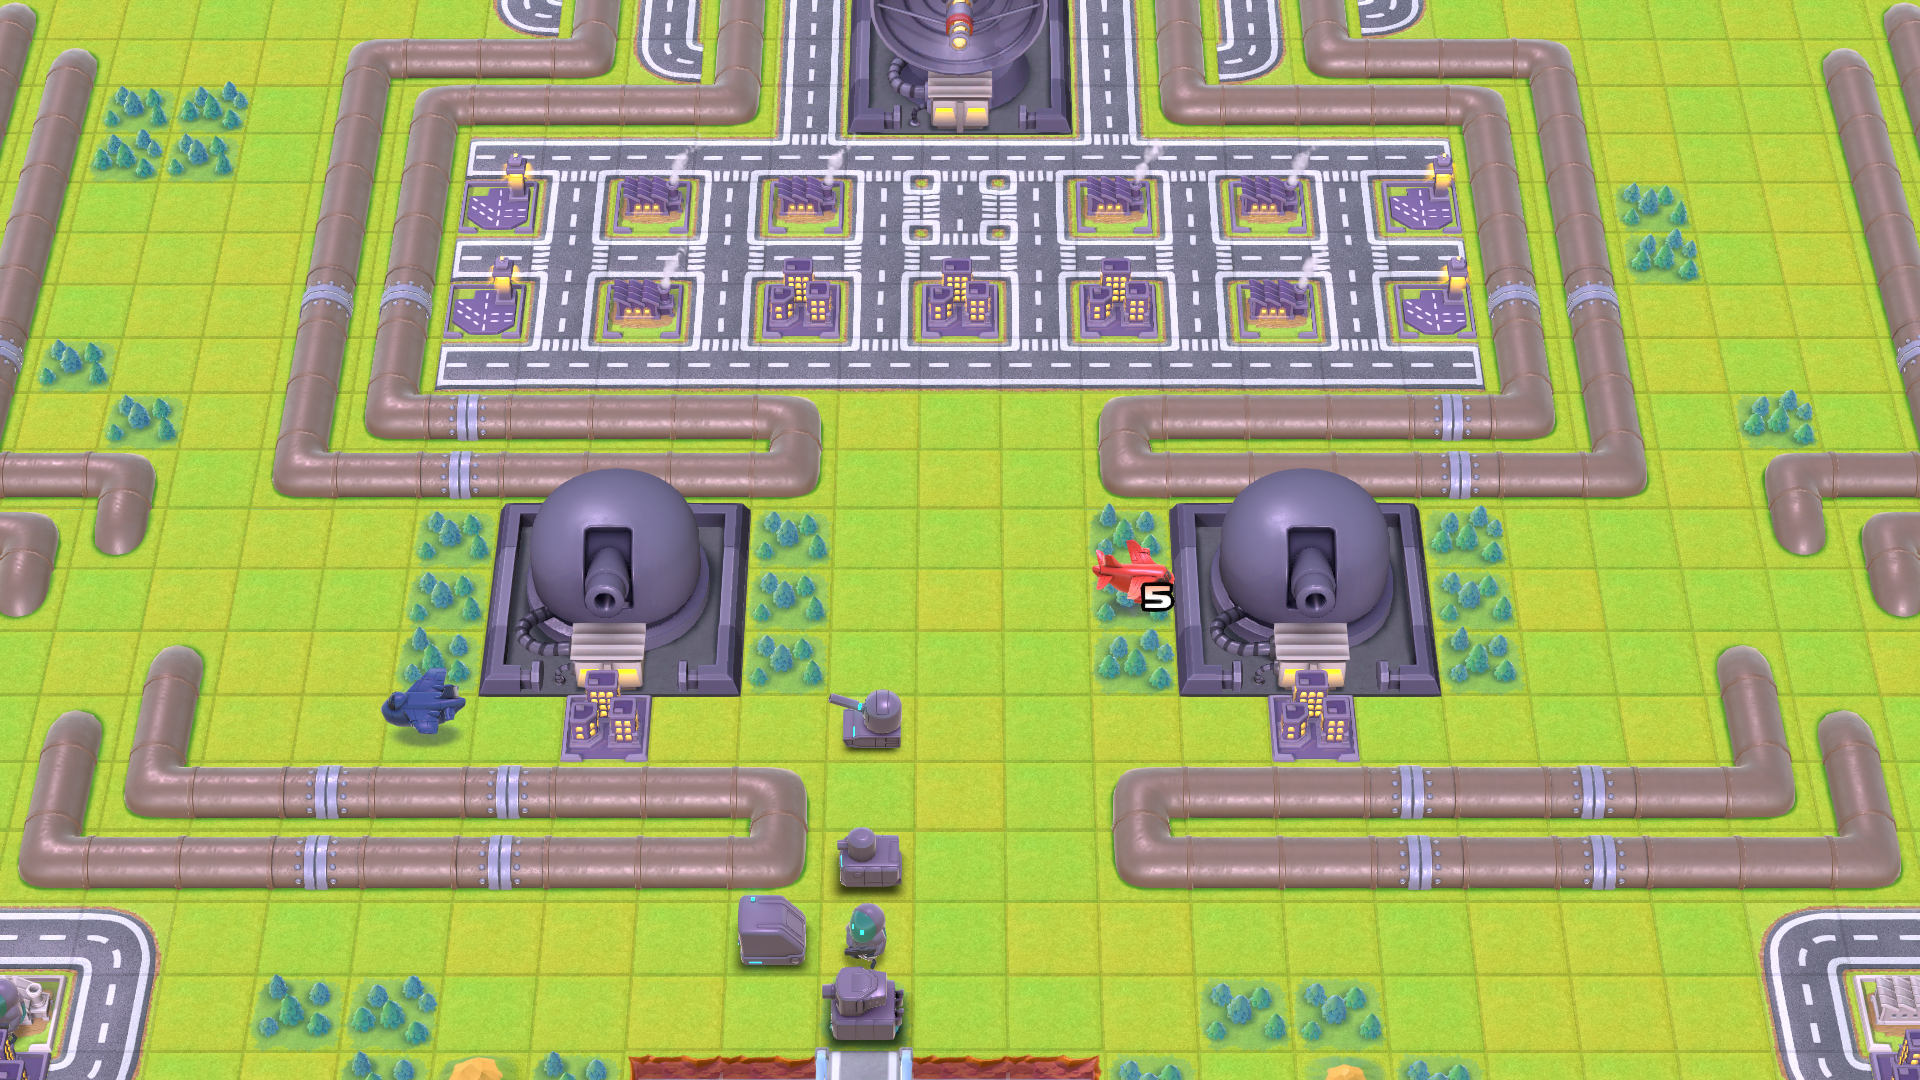
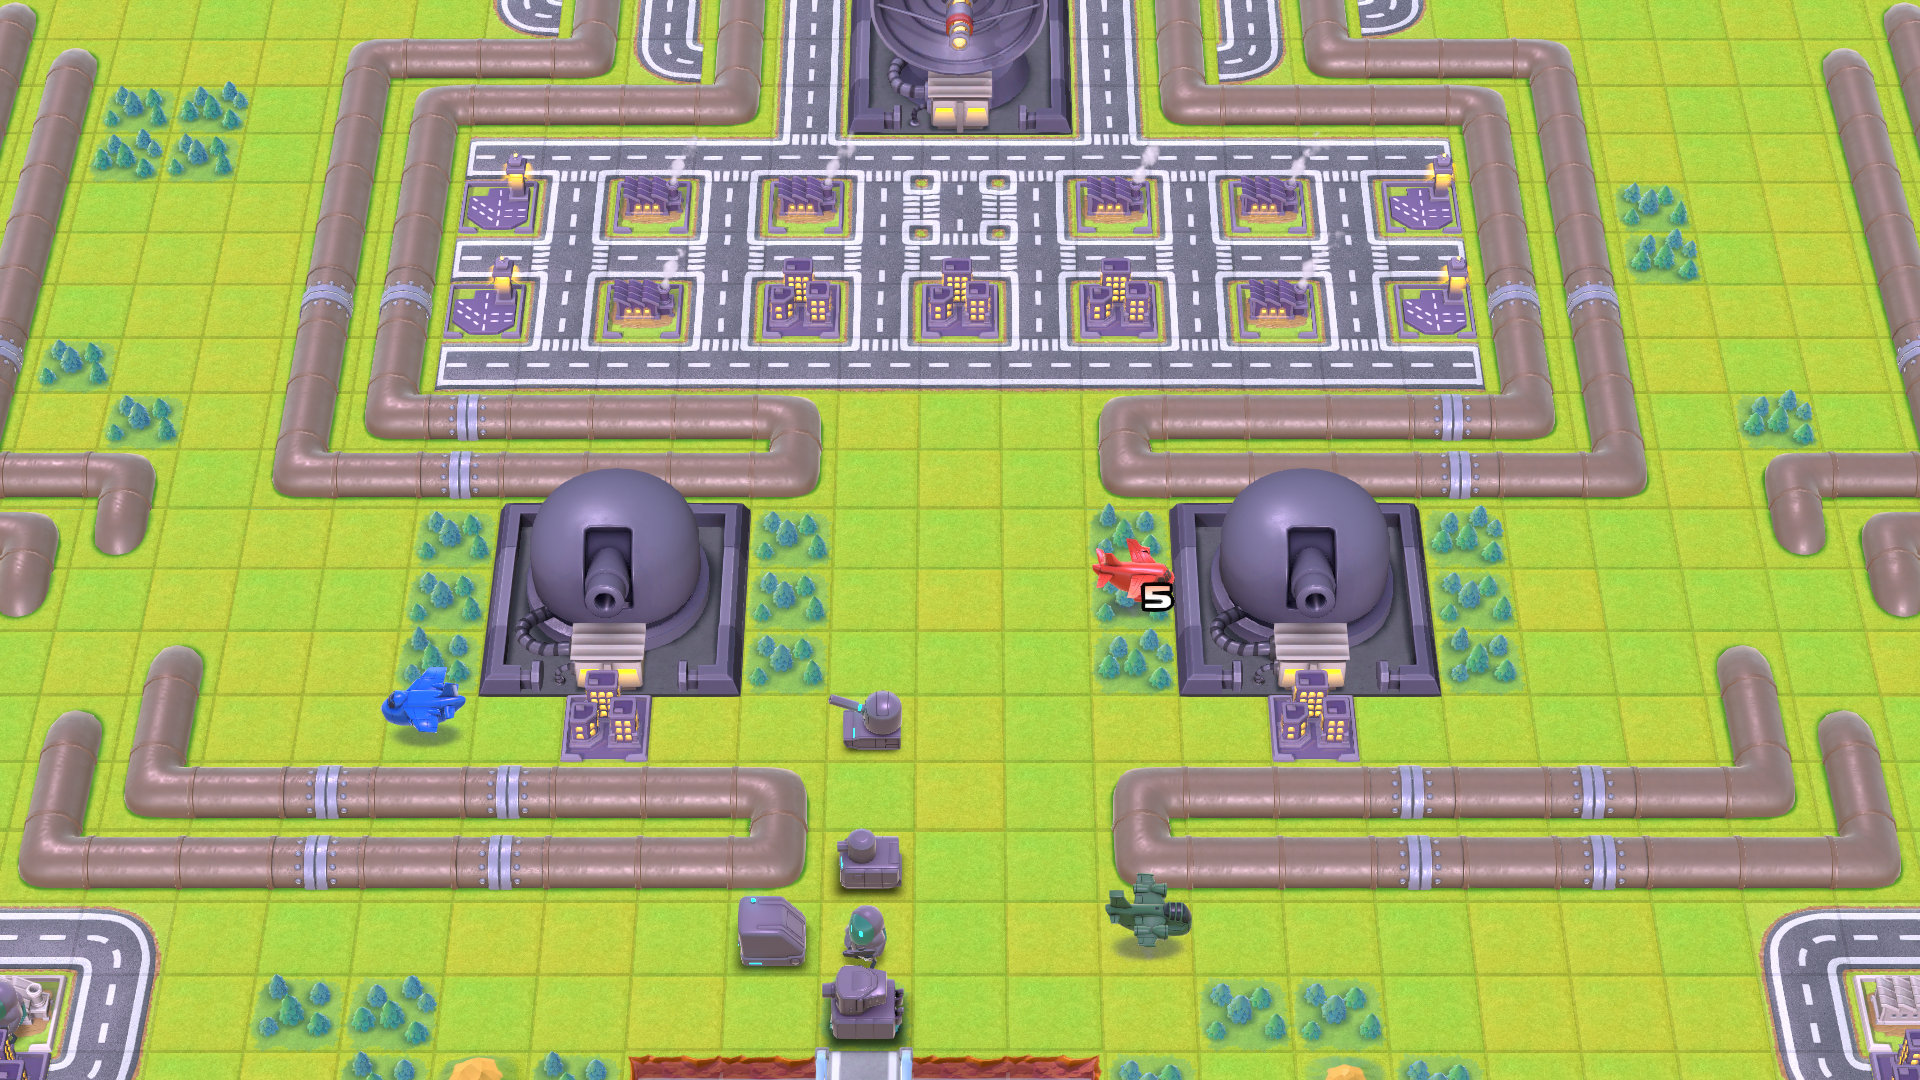
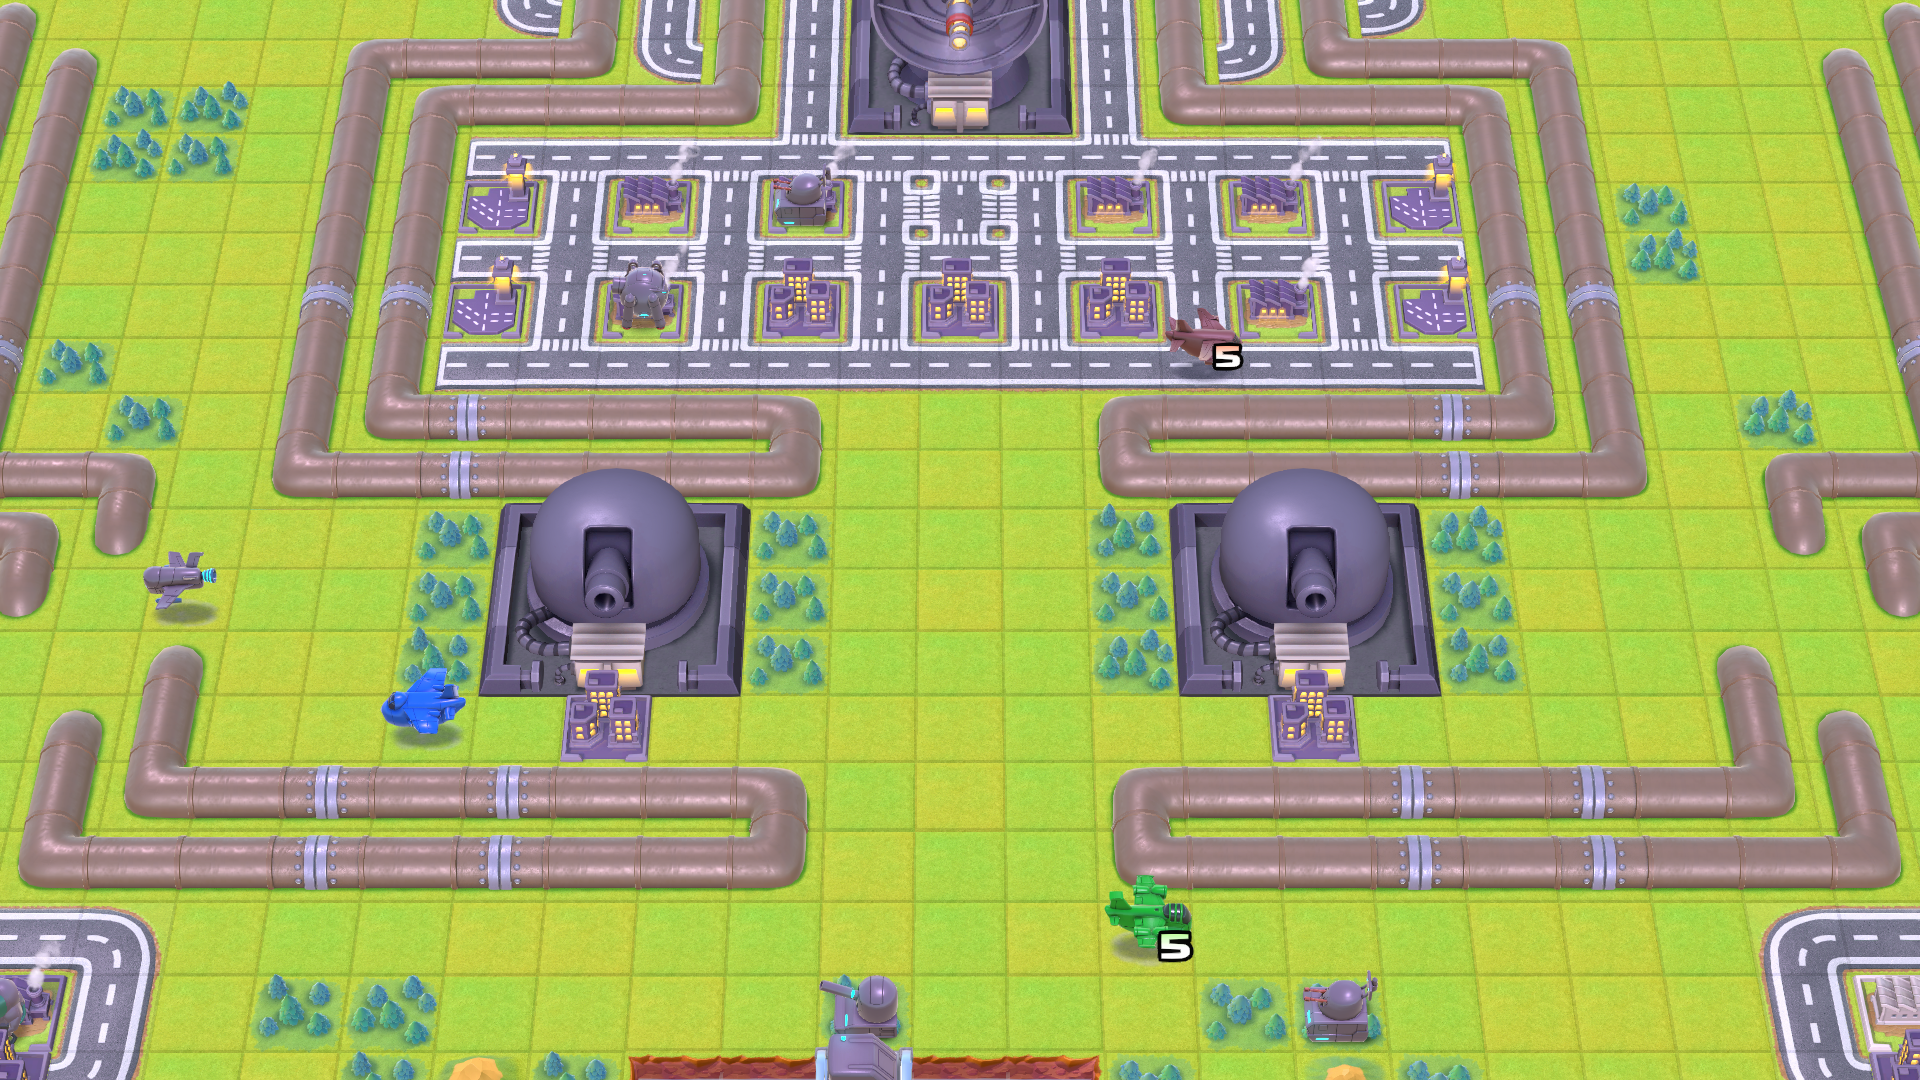
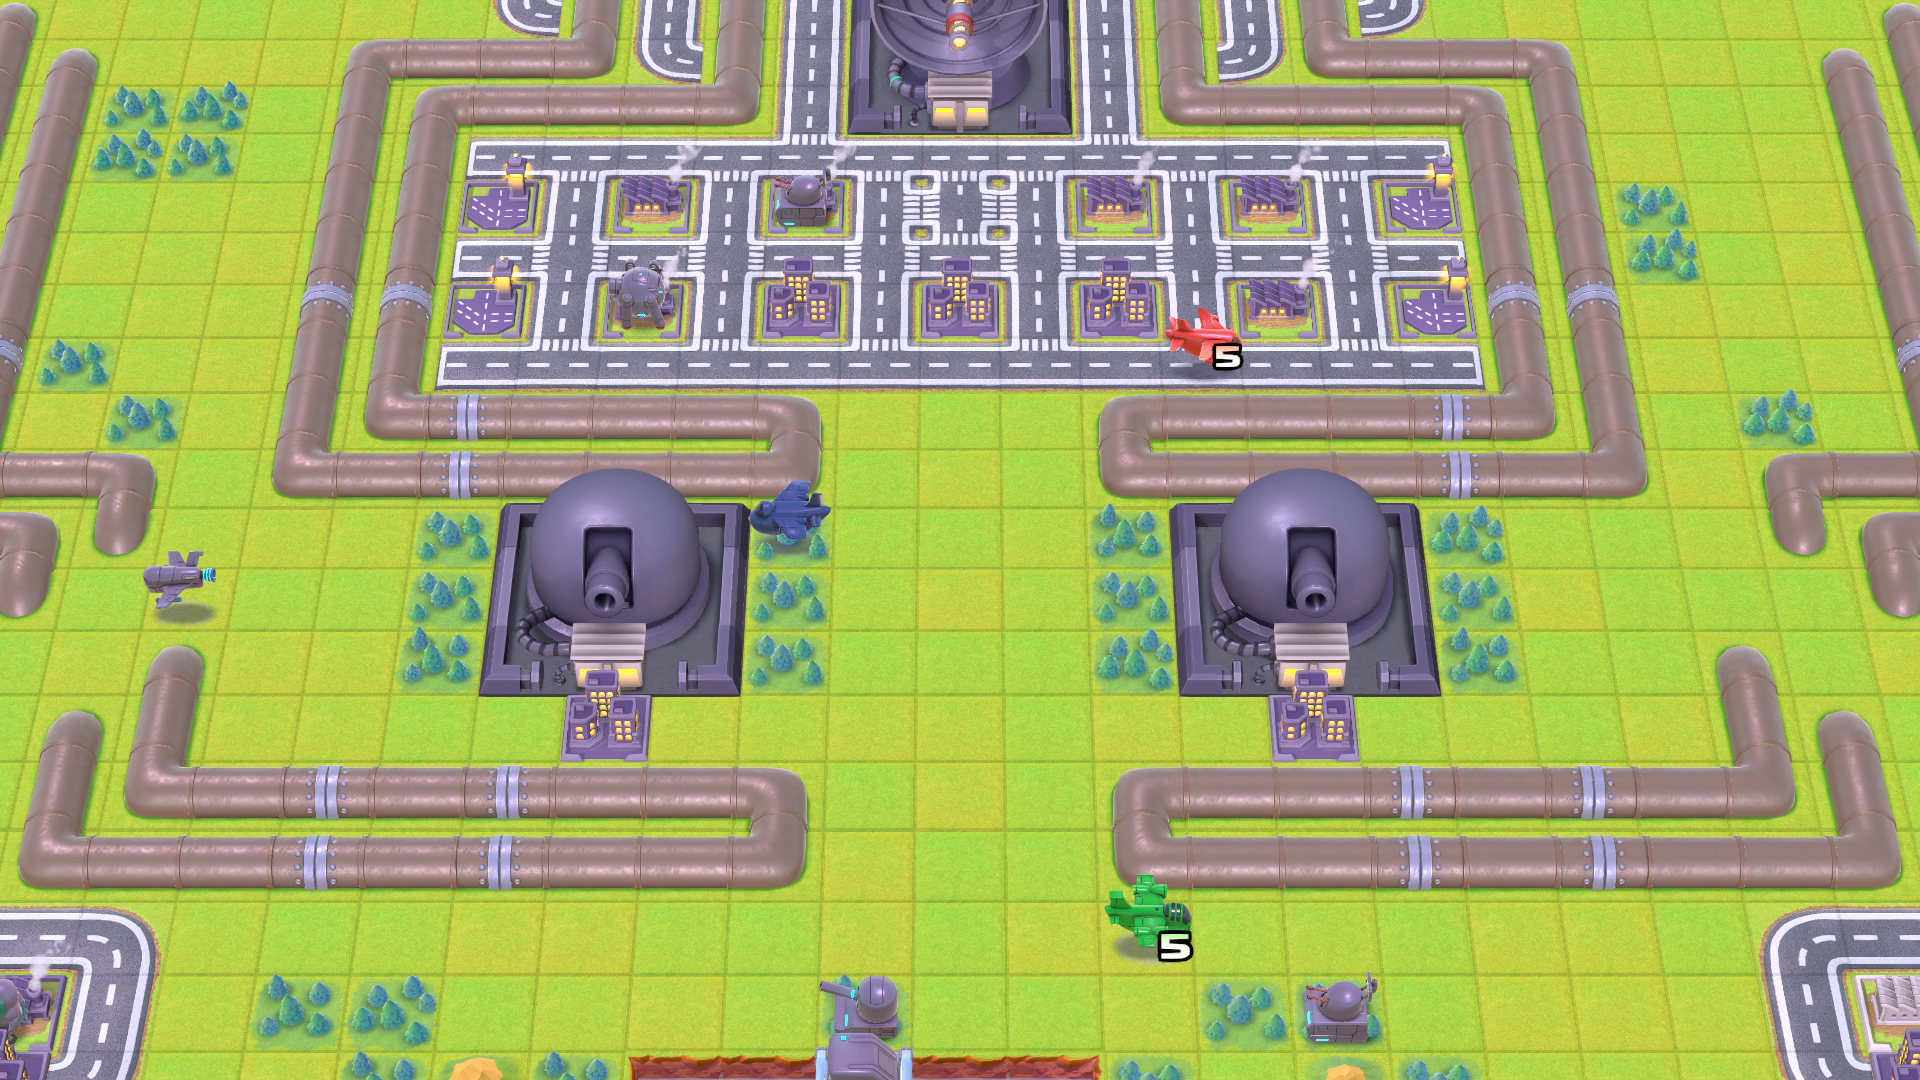
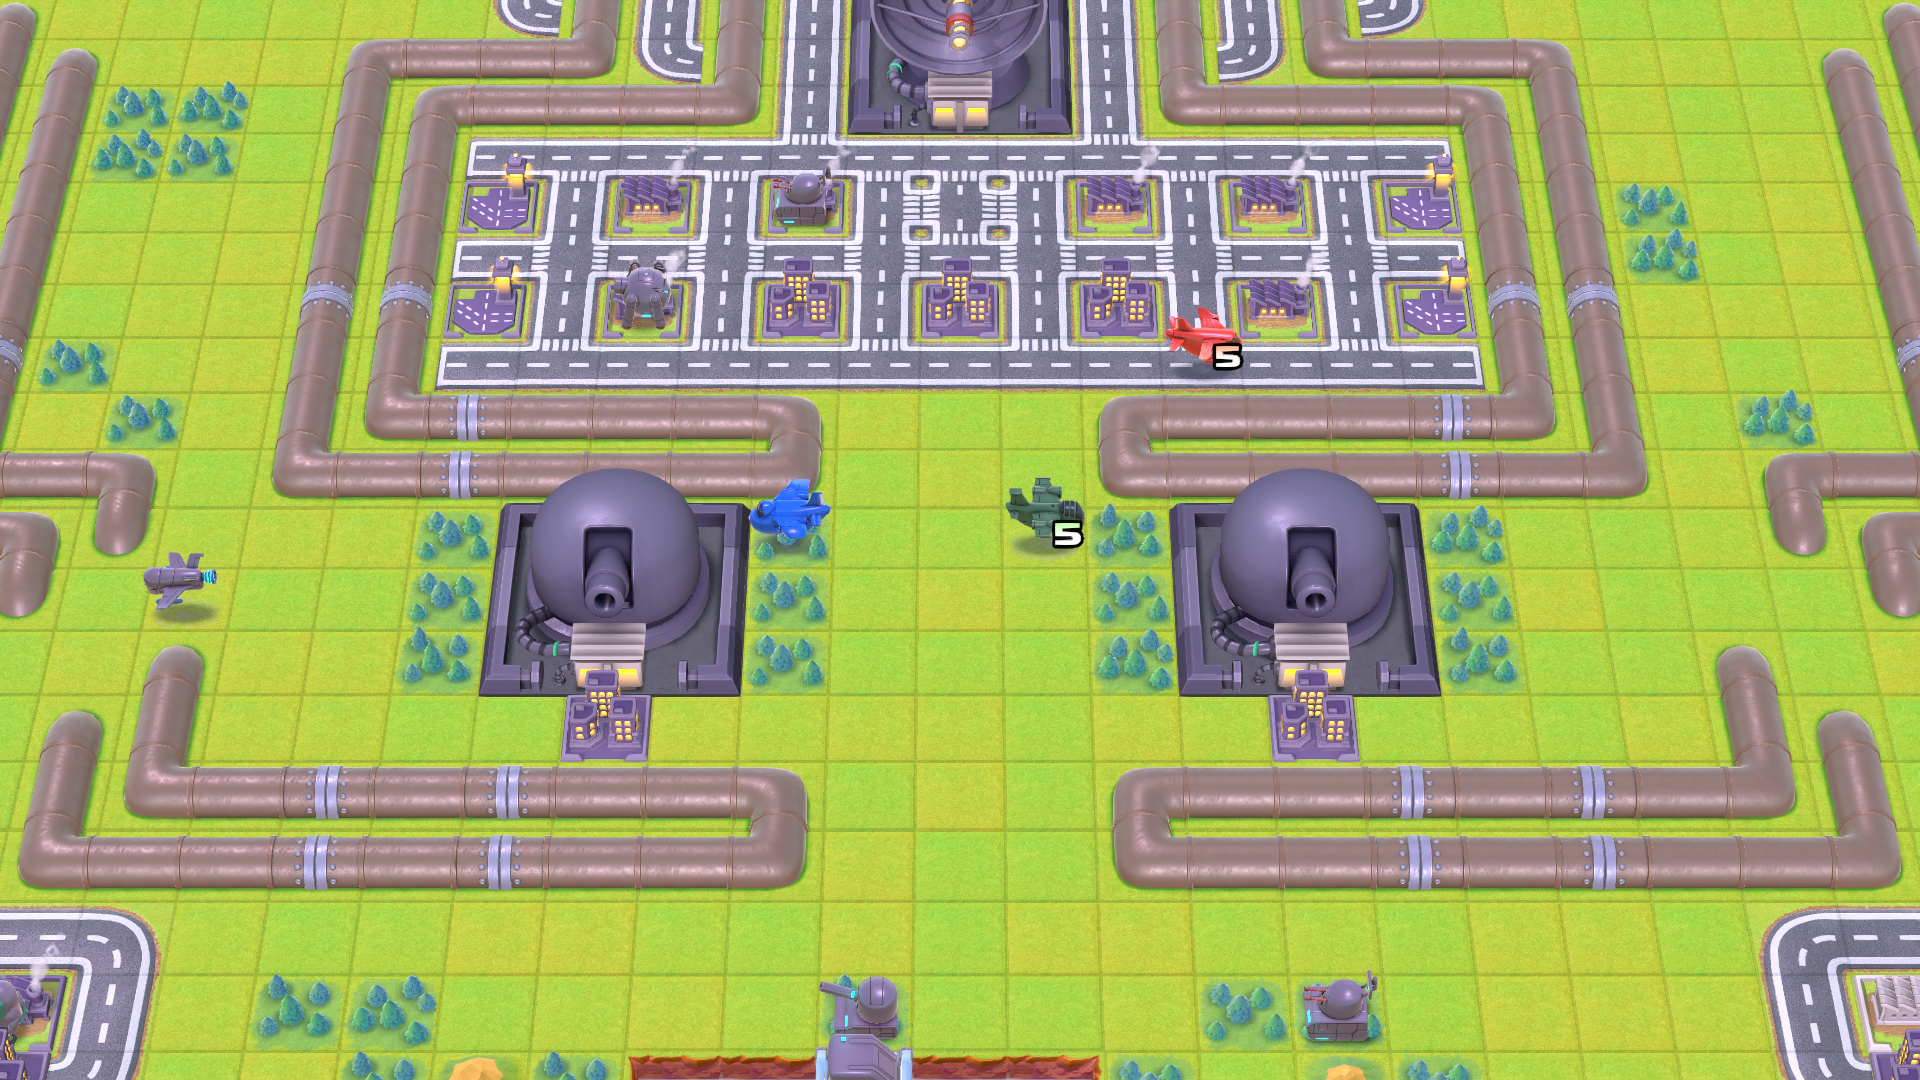
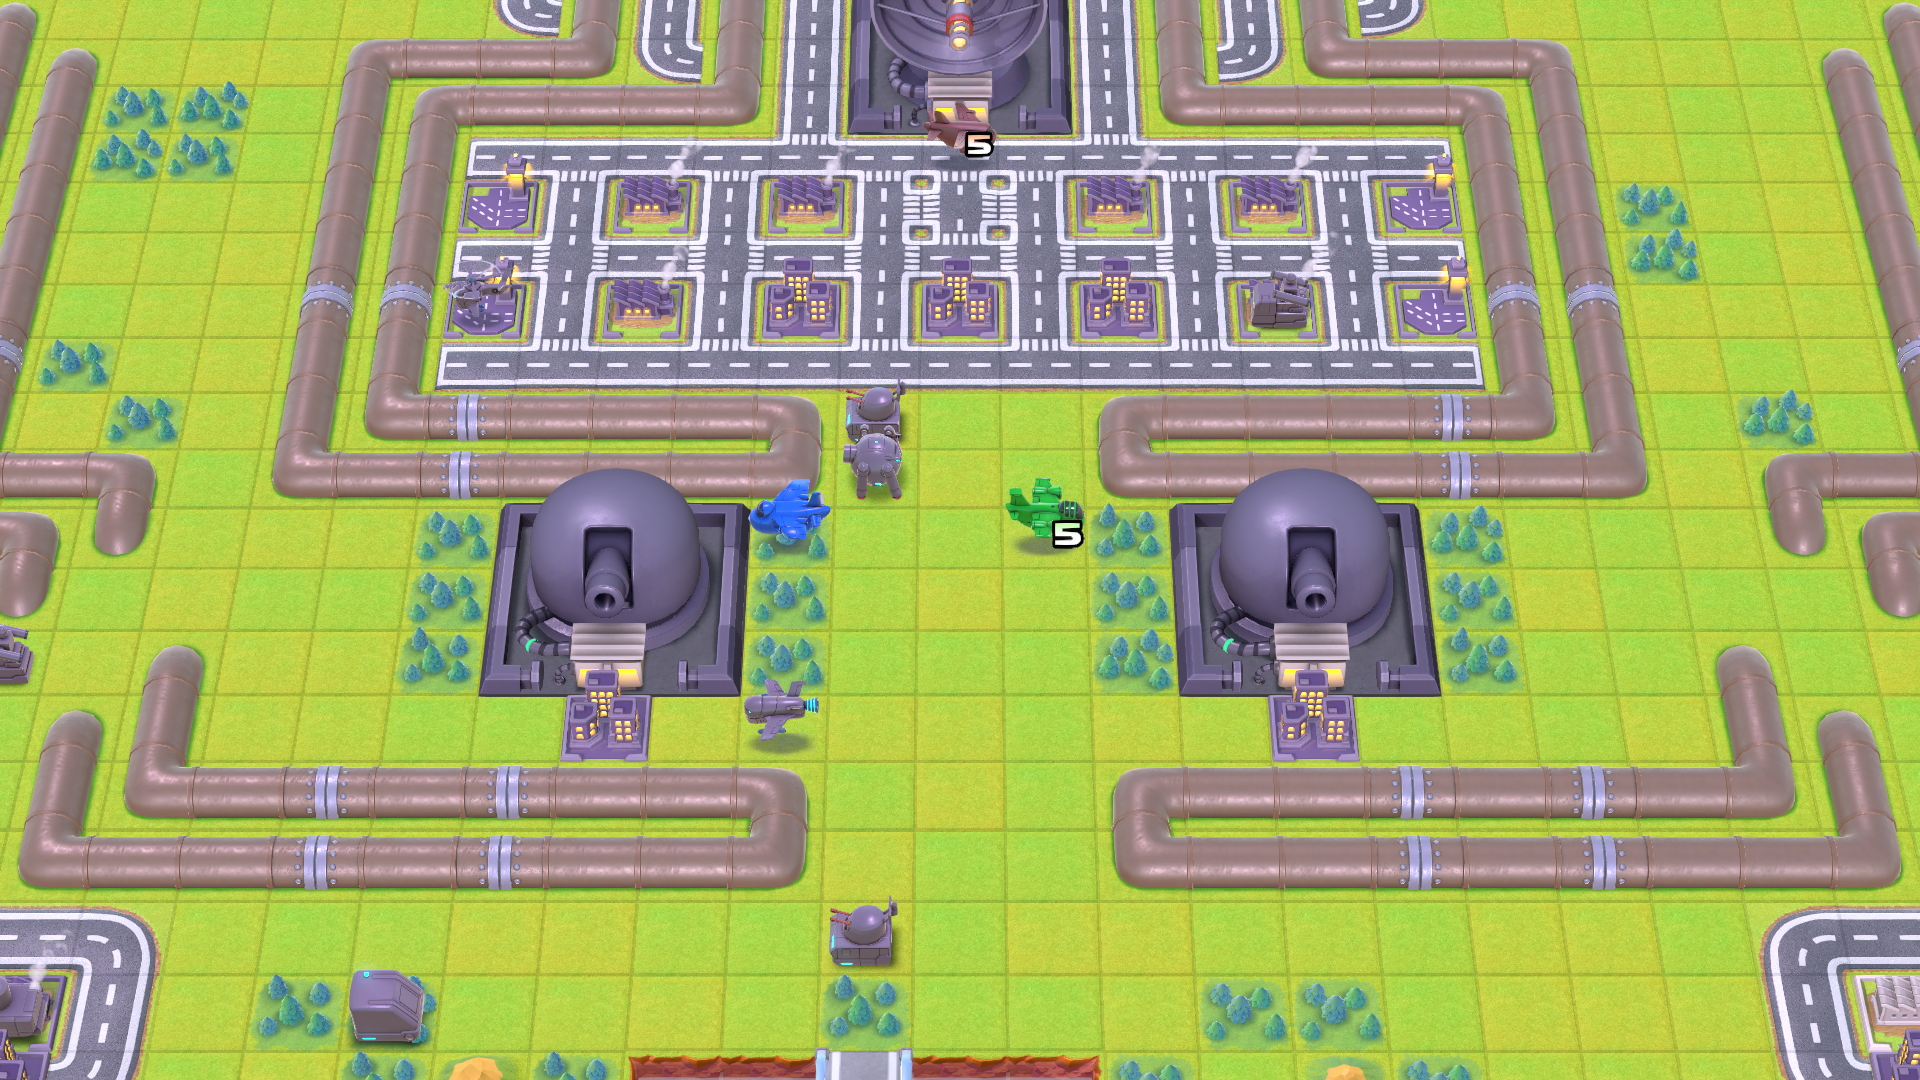
There are multiple hard emplacements in this map to be aware of. At this point you should understand how the two Black Cannons work. You can hold B over them to see their firing range. They will pick the most expensive unit in their range and deal 5 damage. There are Minicannons on the left and right sides of the map that deal 3 damage each, though you likely won’t need to deal with them.
The new structure for this map is the enemy Deathray. You can hold B on it to see its range. At the beginning of Sturm’s turn every 7 Days, it will fire. Every one of your units along its path will take 8 damage, but it cannot destroy them. The Deathray goes right down the middle of the map where you will likely be pushing up, so pay attention to what Day it is and move your forces before it fires.
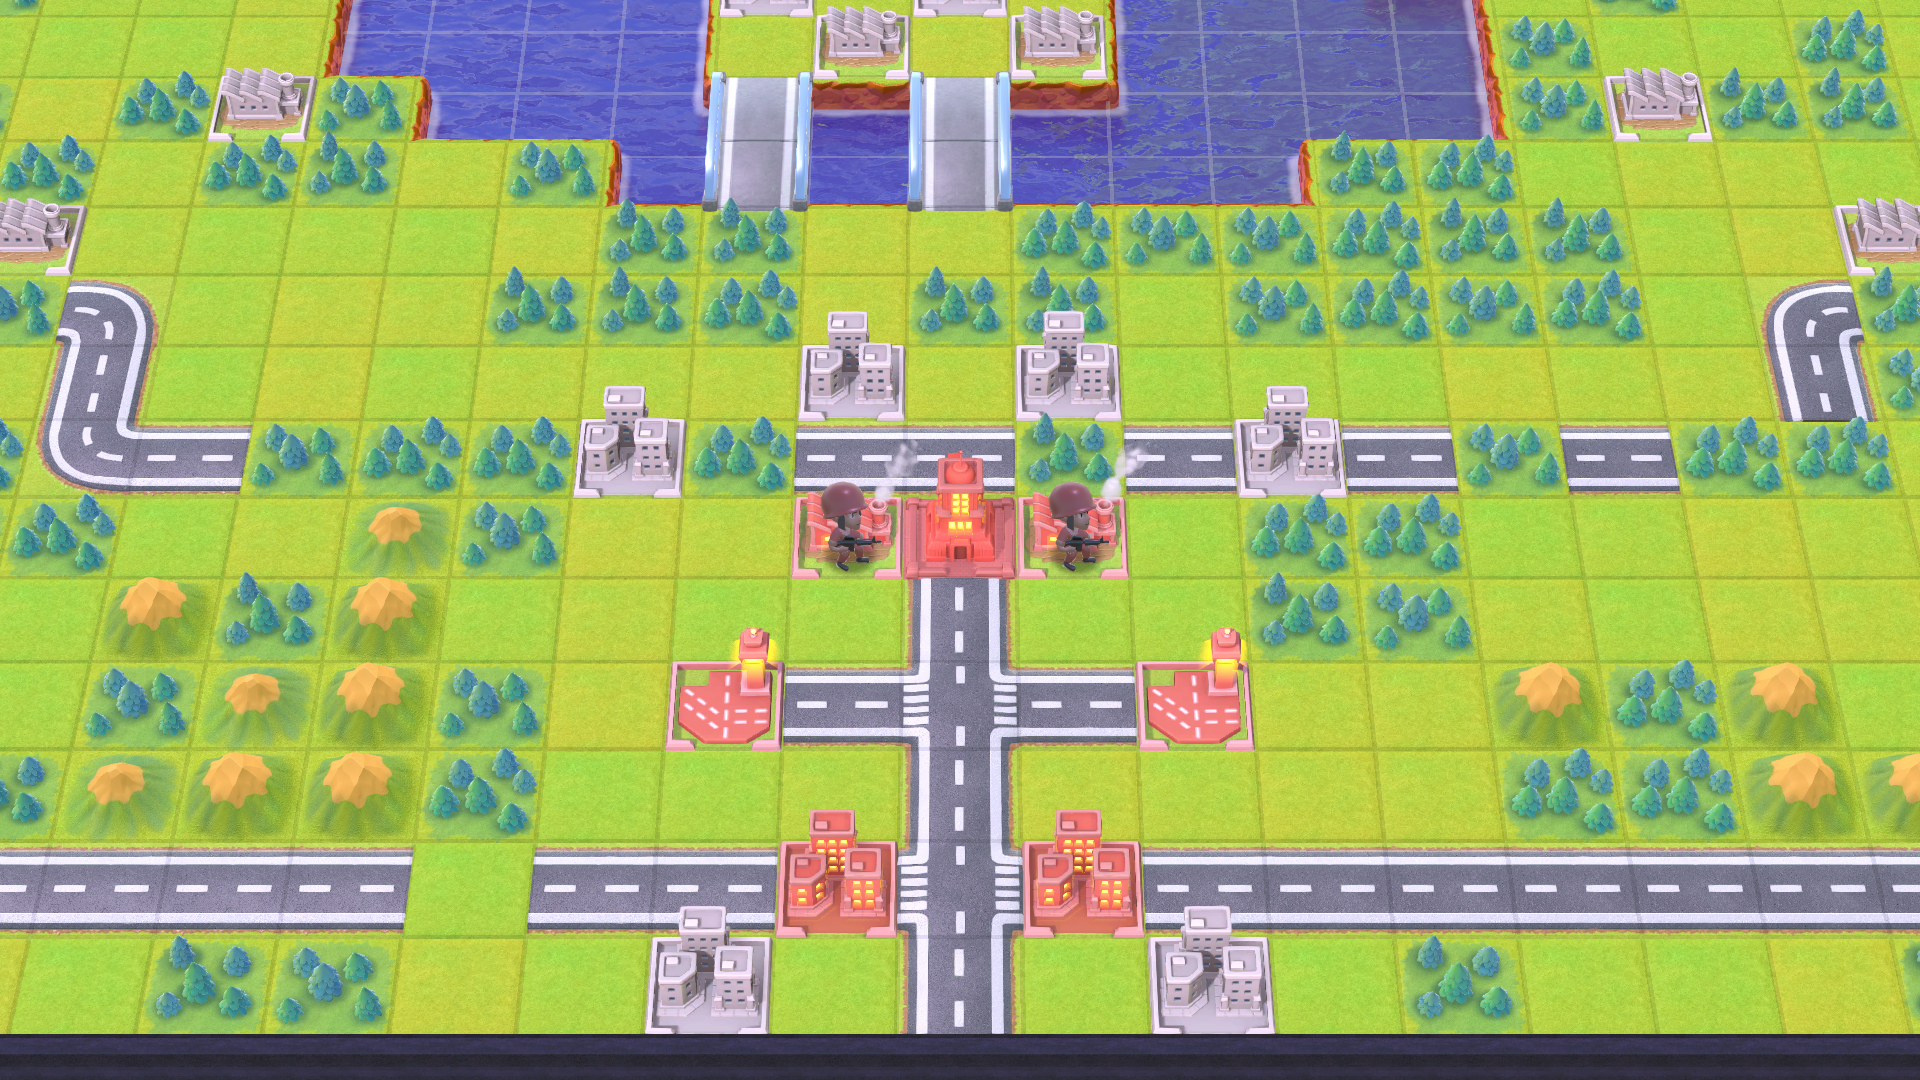
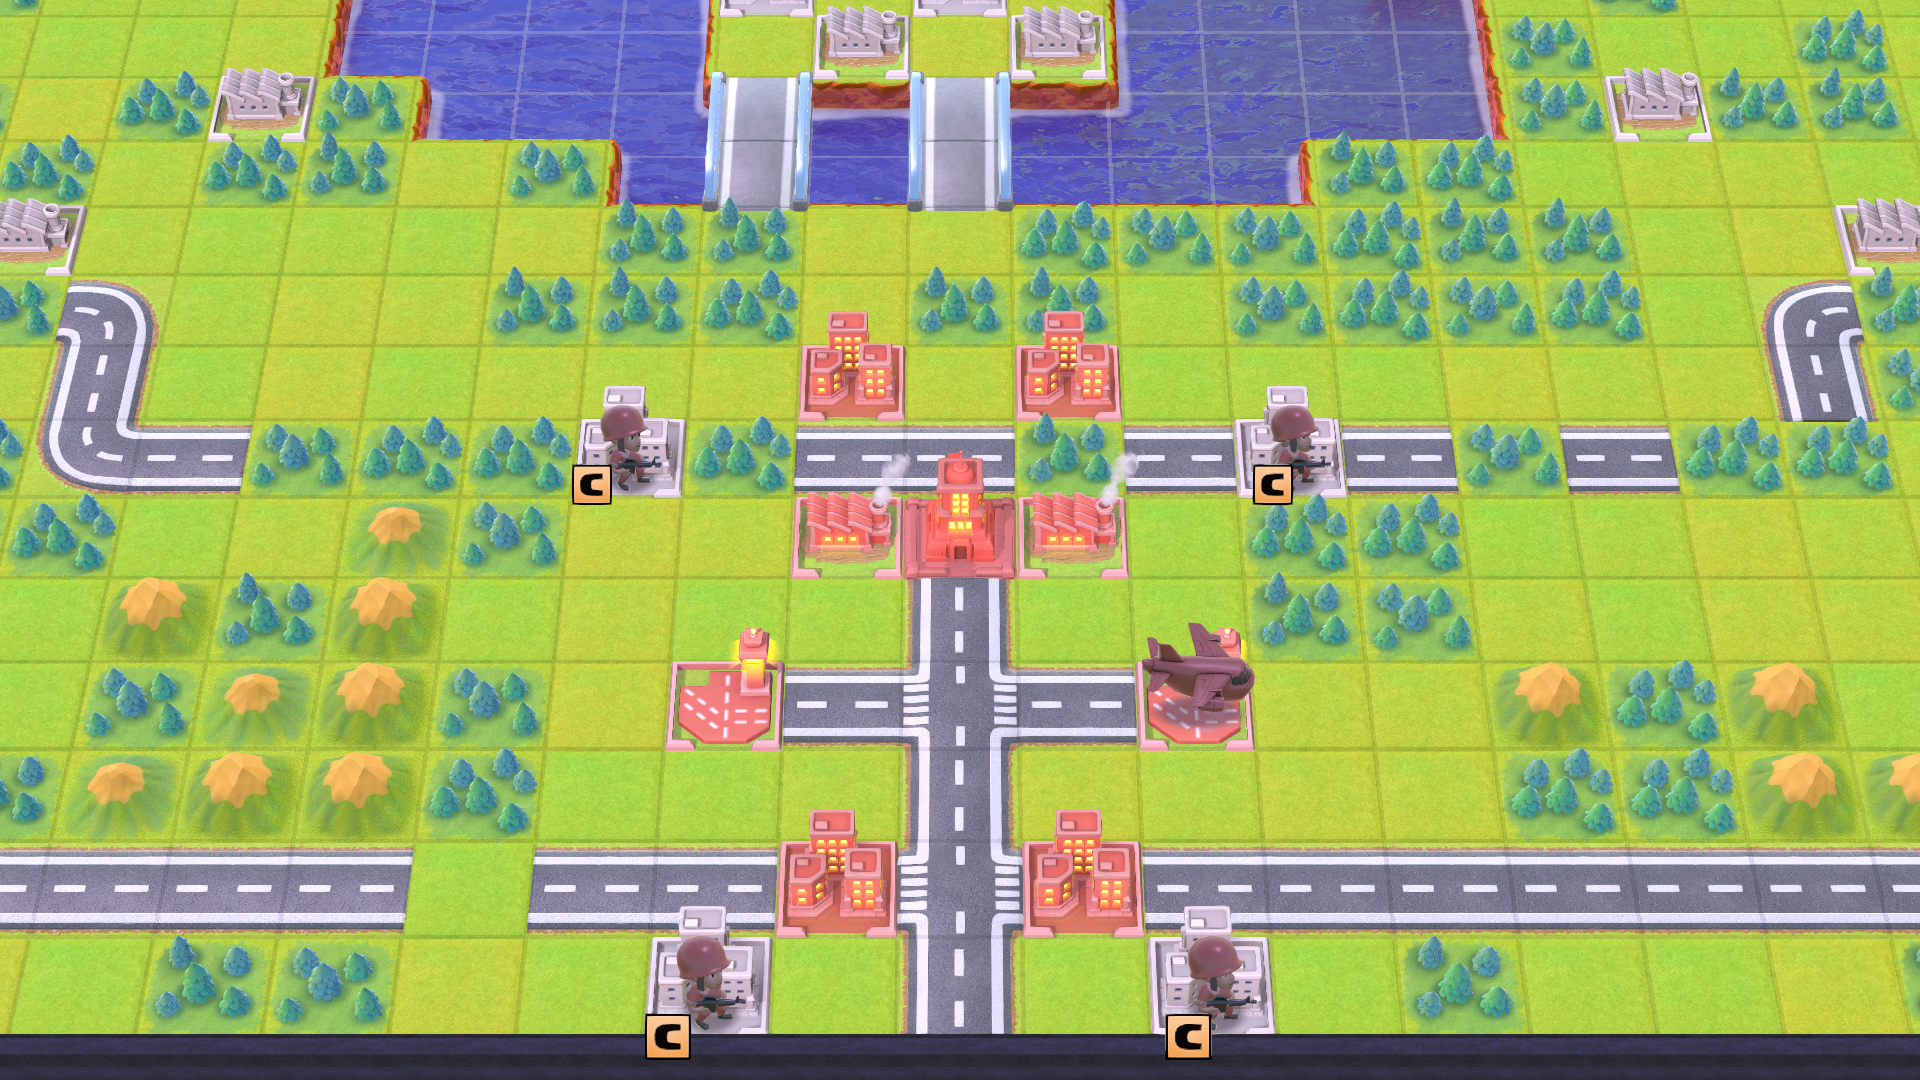
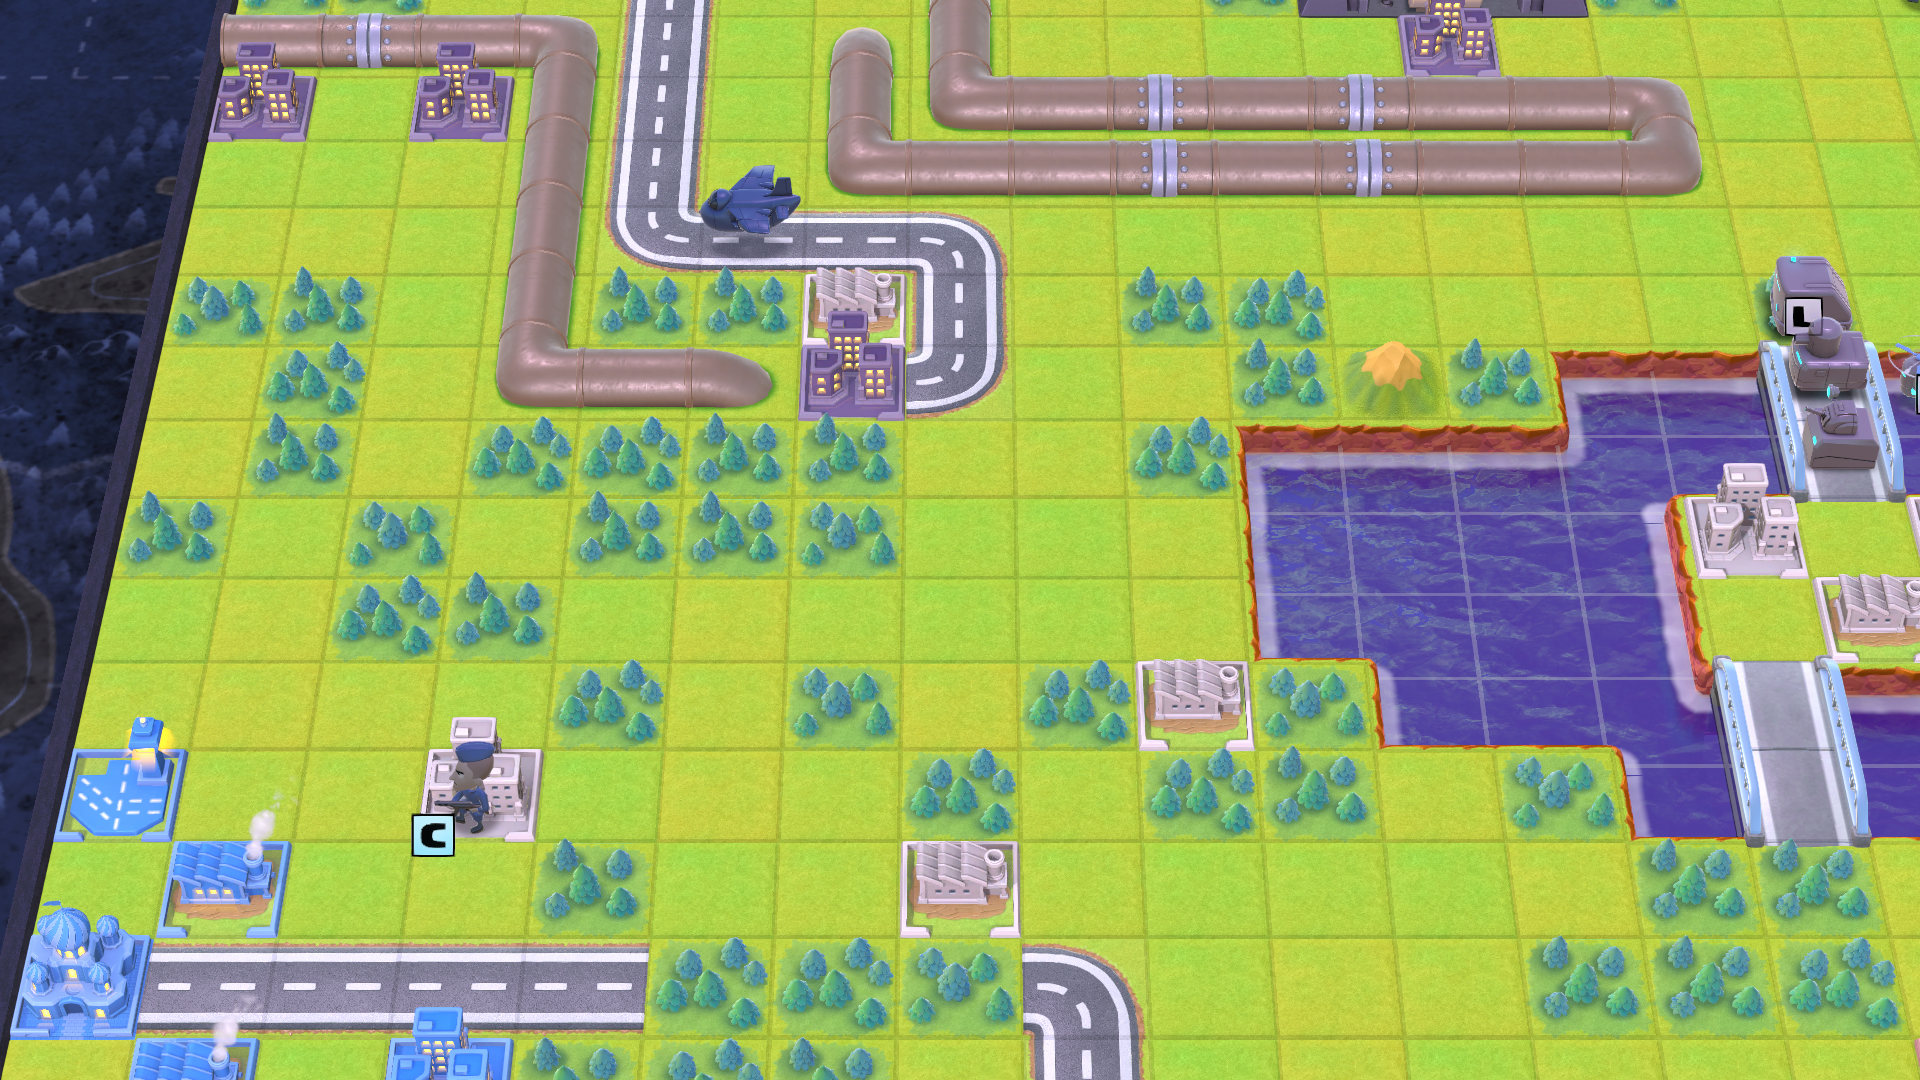
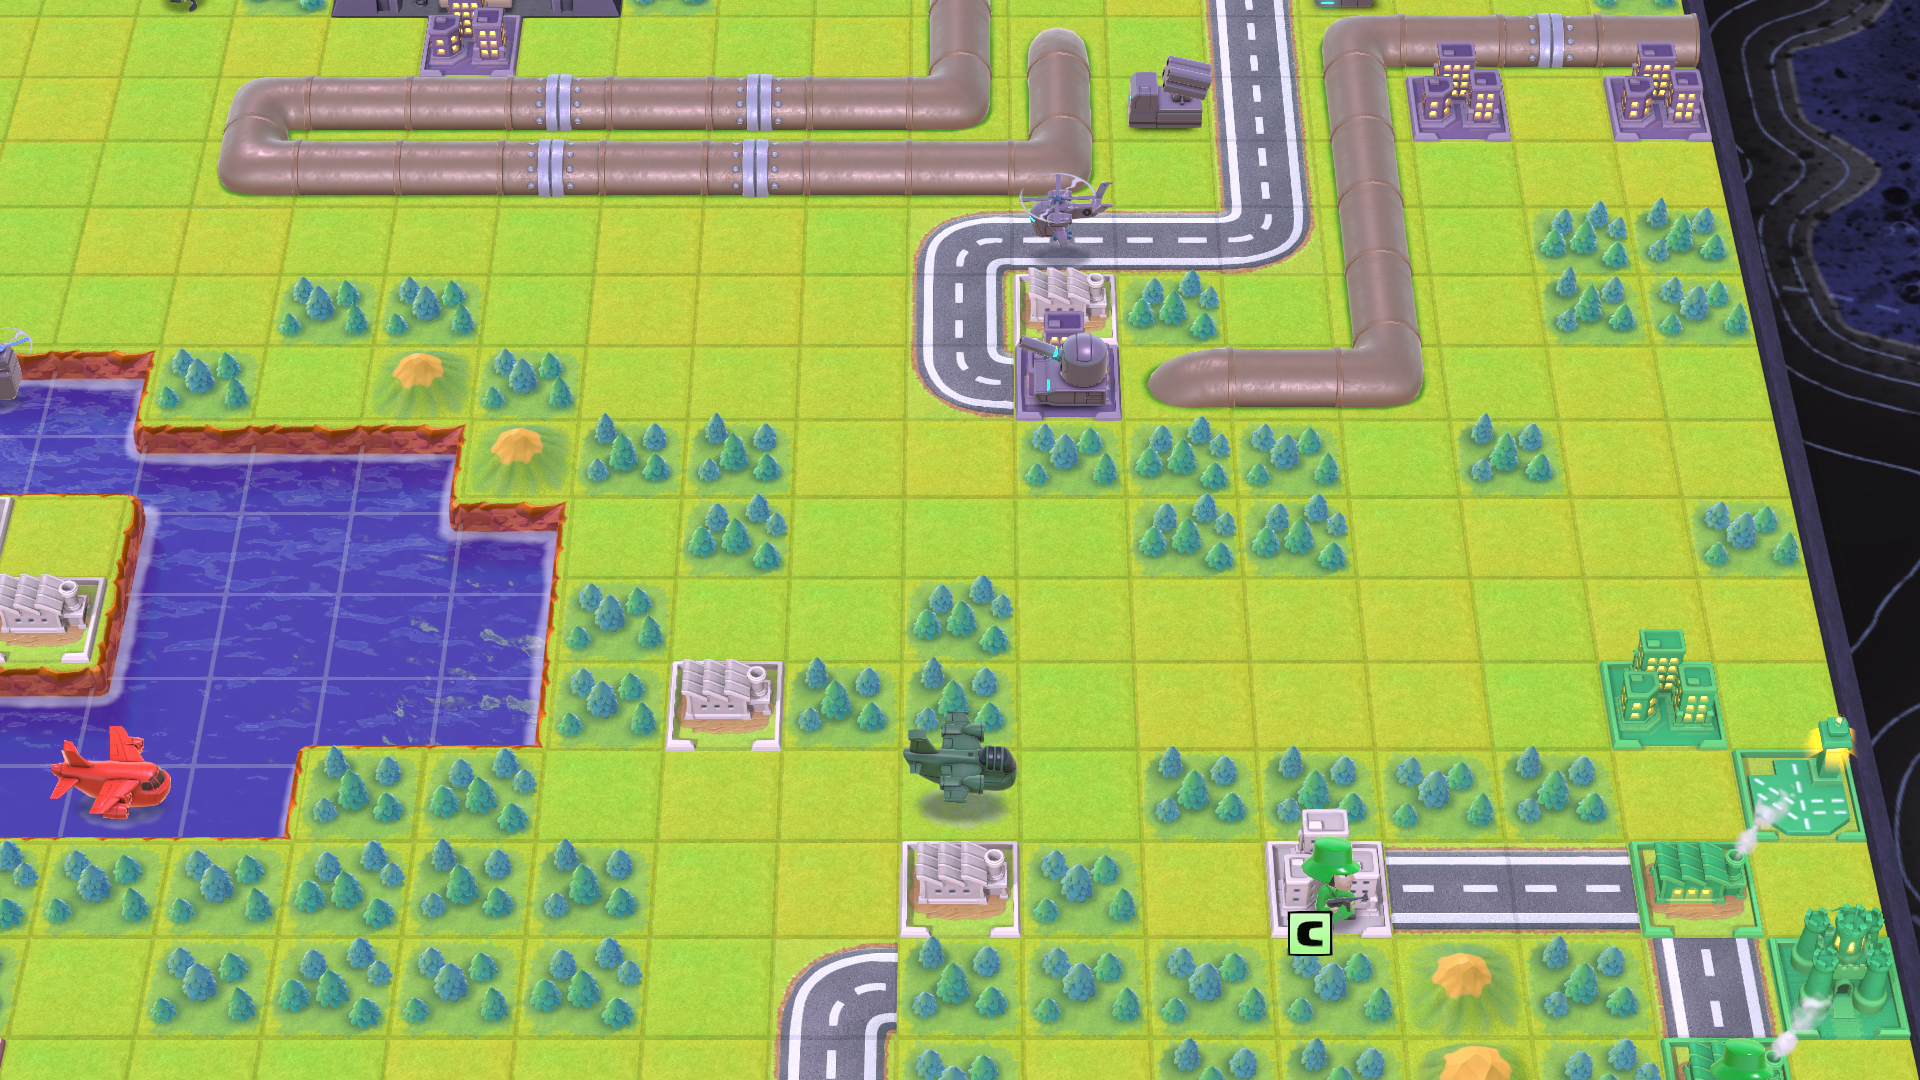
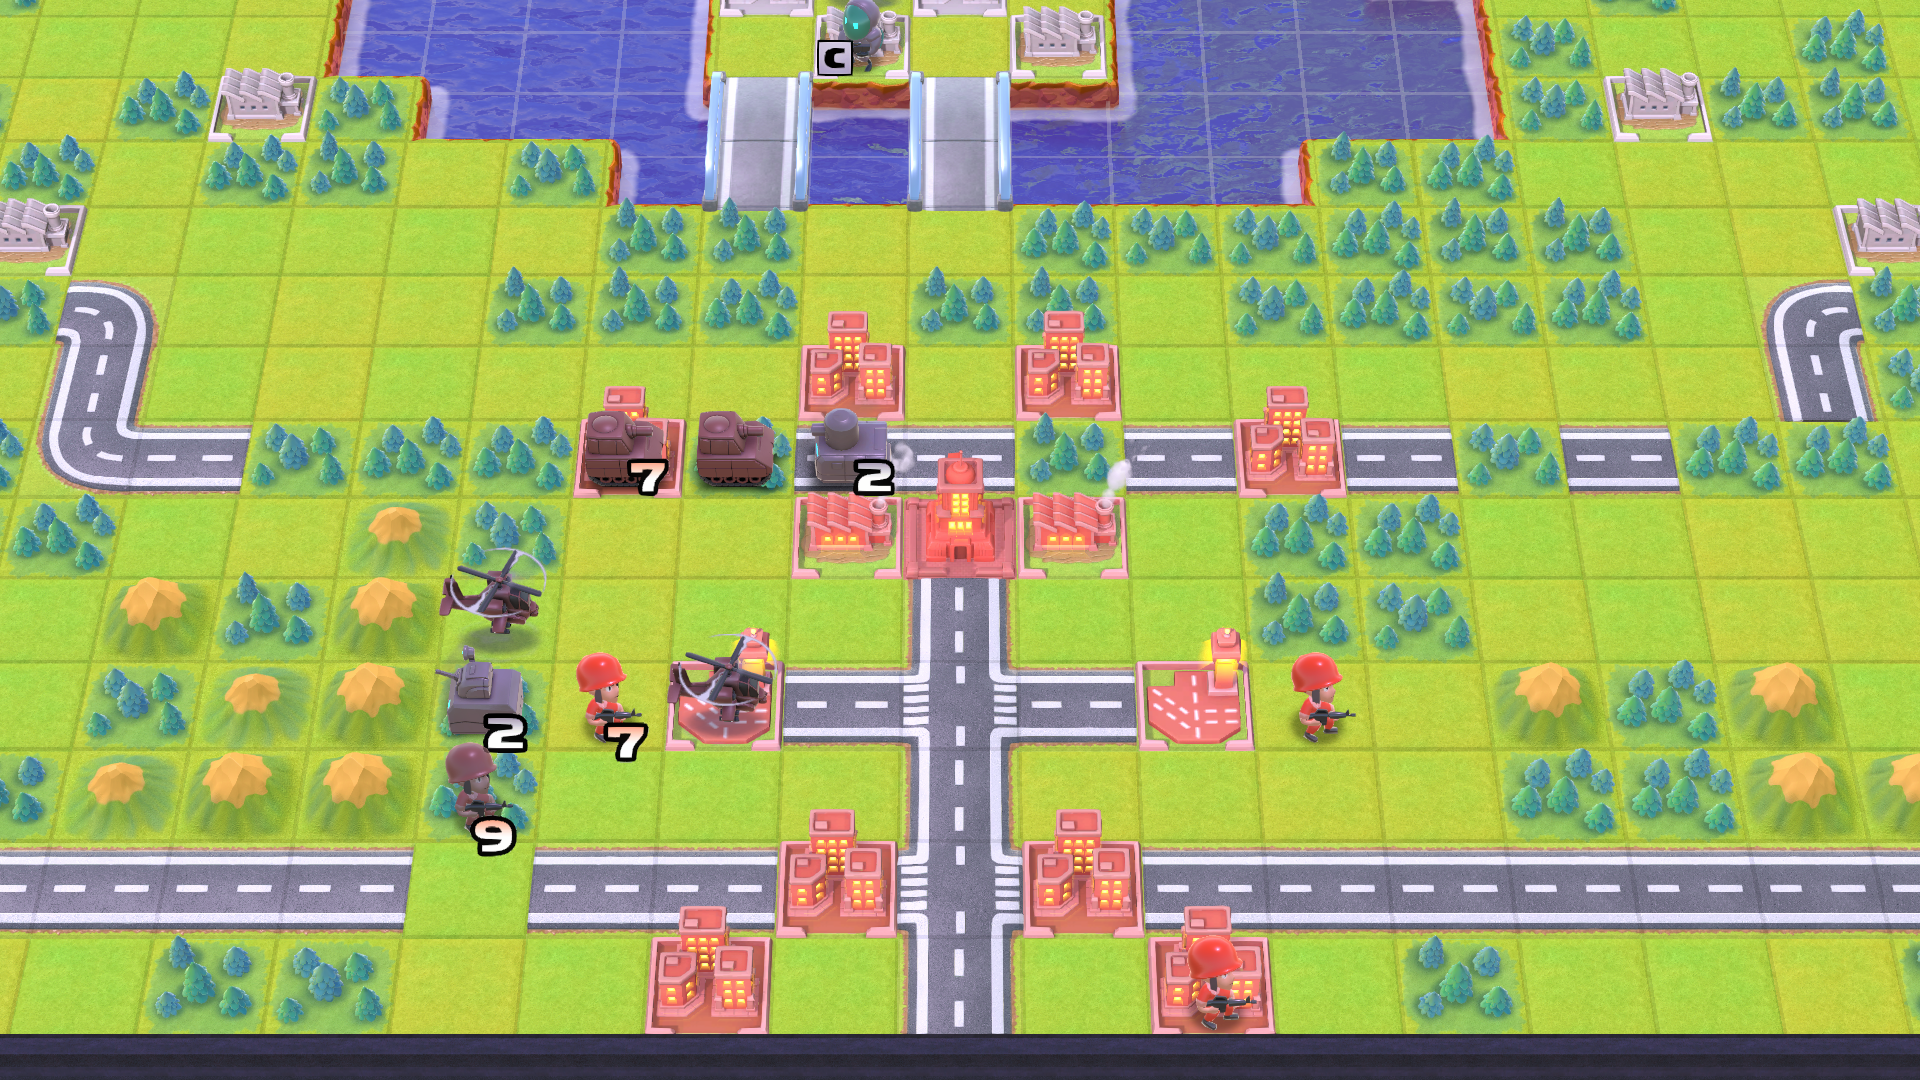
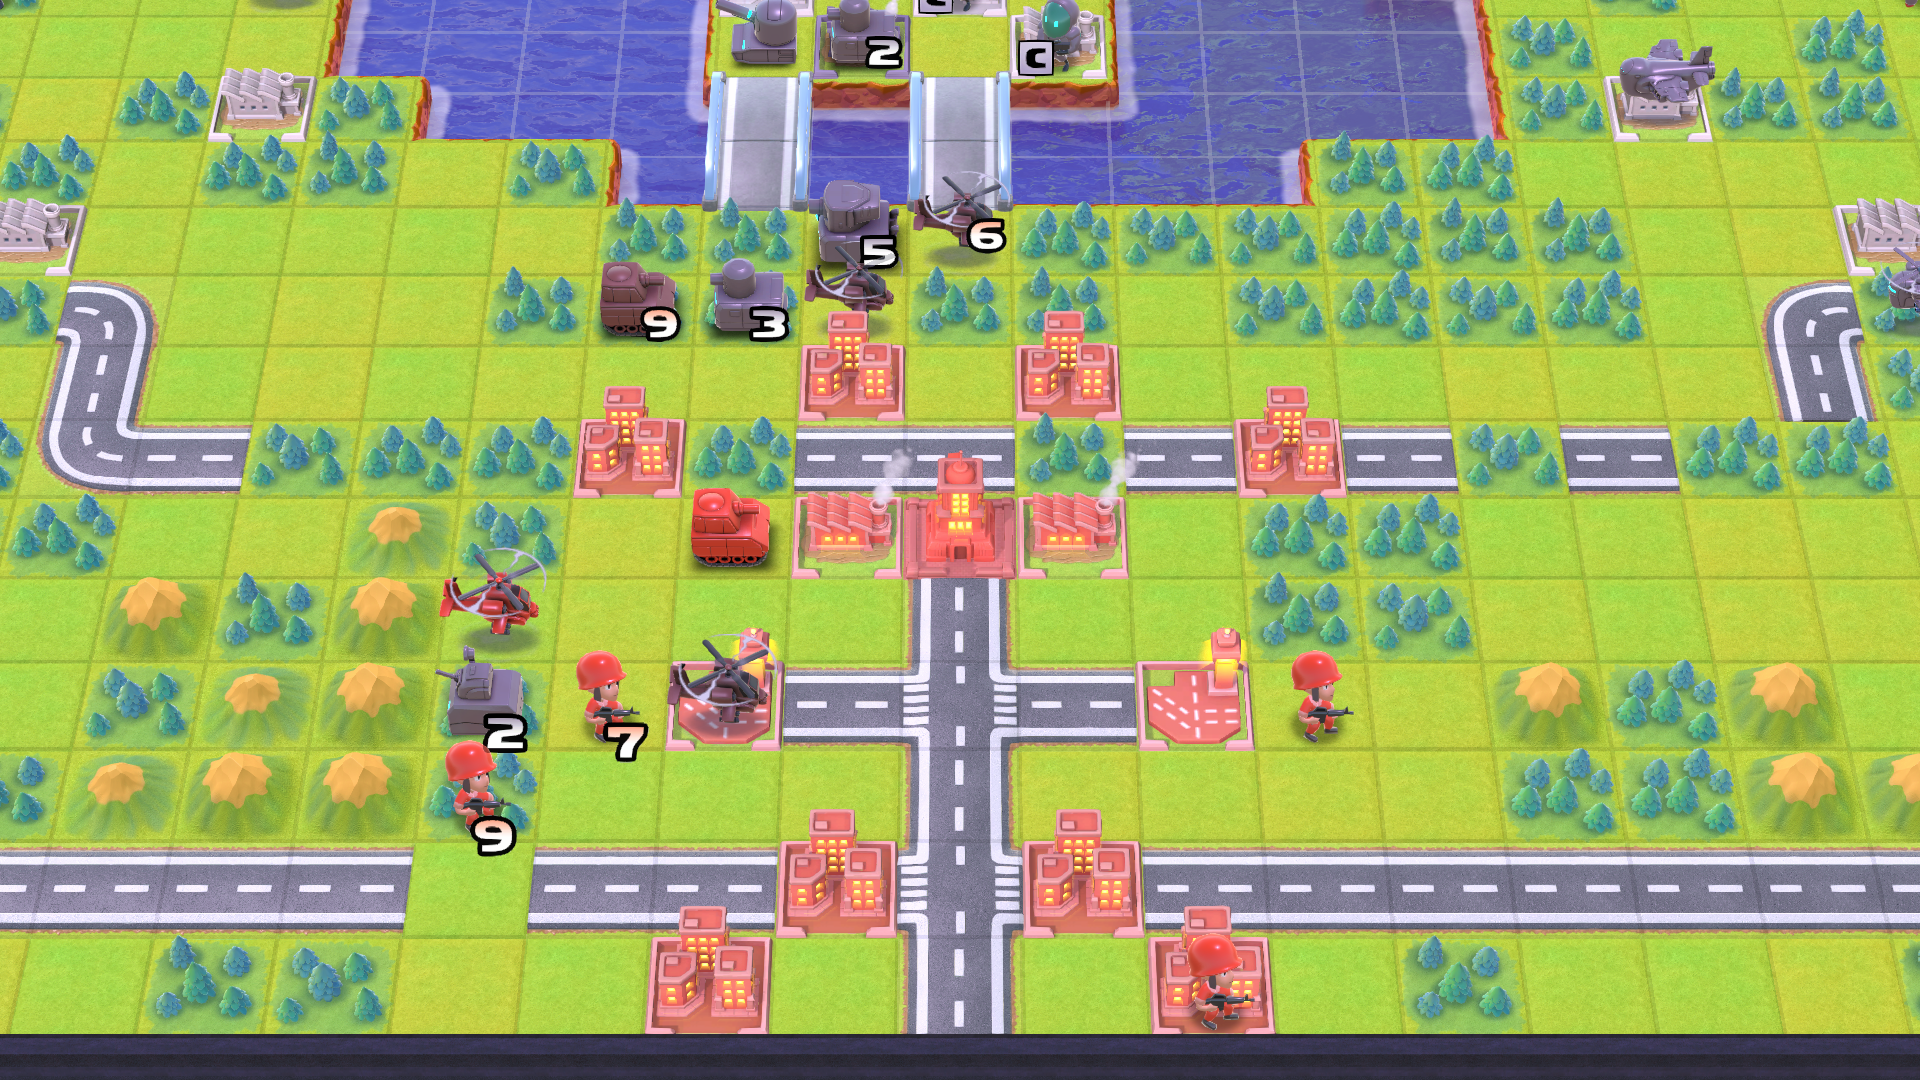
Destroy the Enemy Deathray: Your only goal in this mission is to destroy the enemy Deathray. Sturm has a very large force with multiple Bases and Airports directly in front of the Deathray.
You first choice is which COs you bring. You can pick any CO, so there is a lot of options and combinations. Since destroying a structure is the main goal, Max is a great choice. His Bombers can 1-shot structures. Similarly, Eagle can do the same with his Bombers. Considering how huge this map is, Air units are a great choice anyway, so Max and Eagle should be two of your choices.
The third choice is a bit tougher. Since we have an Orange Star and Green Earth CO, we’ll need to pick the last CO from either Blue Moon or Gold Comet. Olaf’s snow effects his teammates and Sonja has little to offer without Fog of War. That leaves Grit, Colin, Kanbei, and Sensei. All of these are decent choice, but Colin is likely the best choice because of the size of this map. Having more units will let you spread out and take key locations faster. His CO Power will also help bring in tons of income.
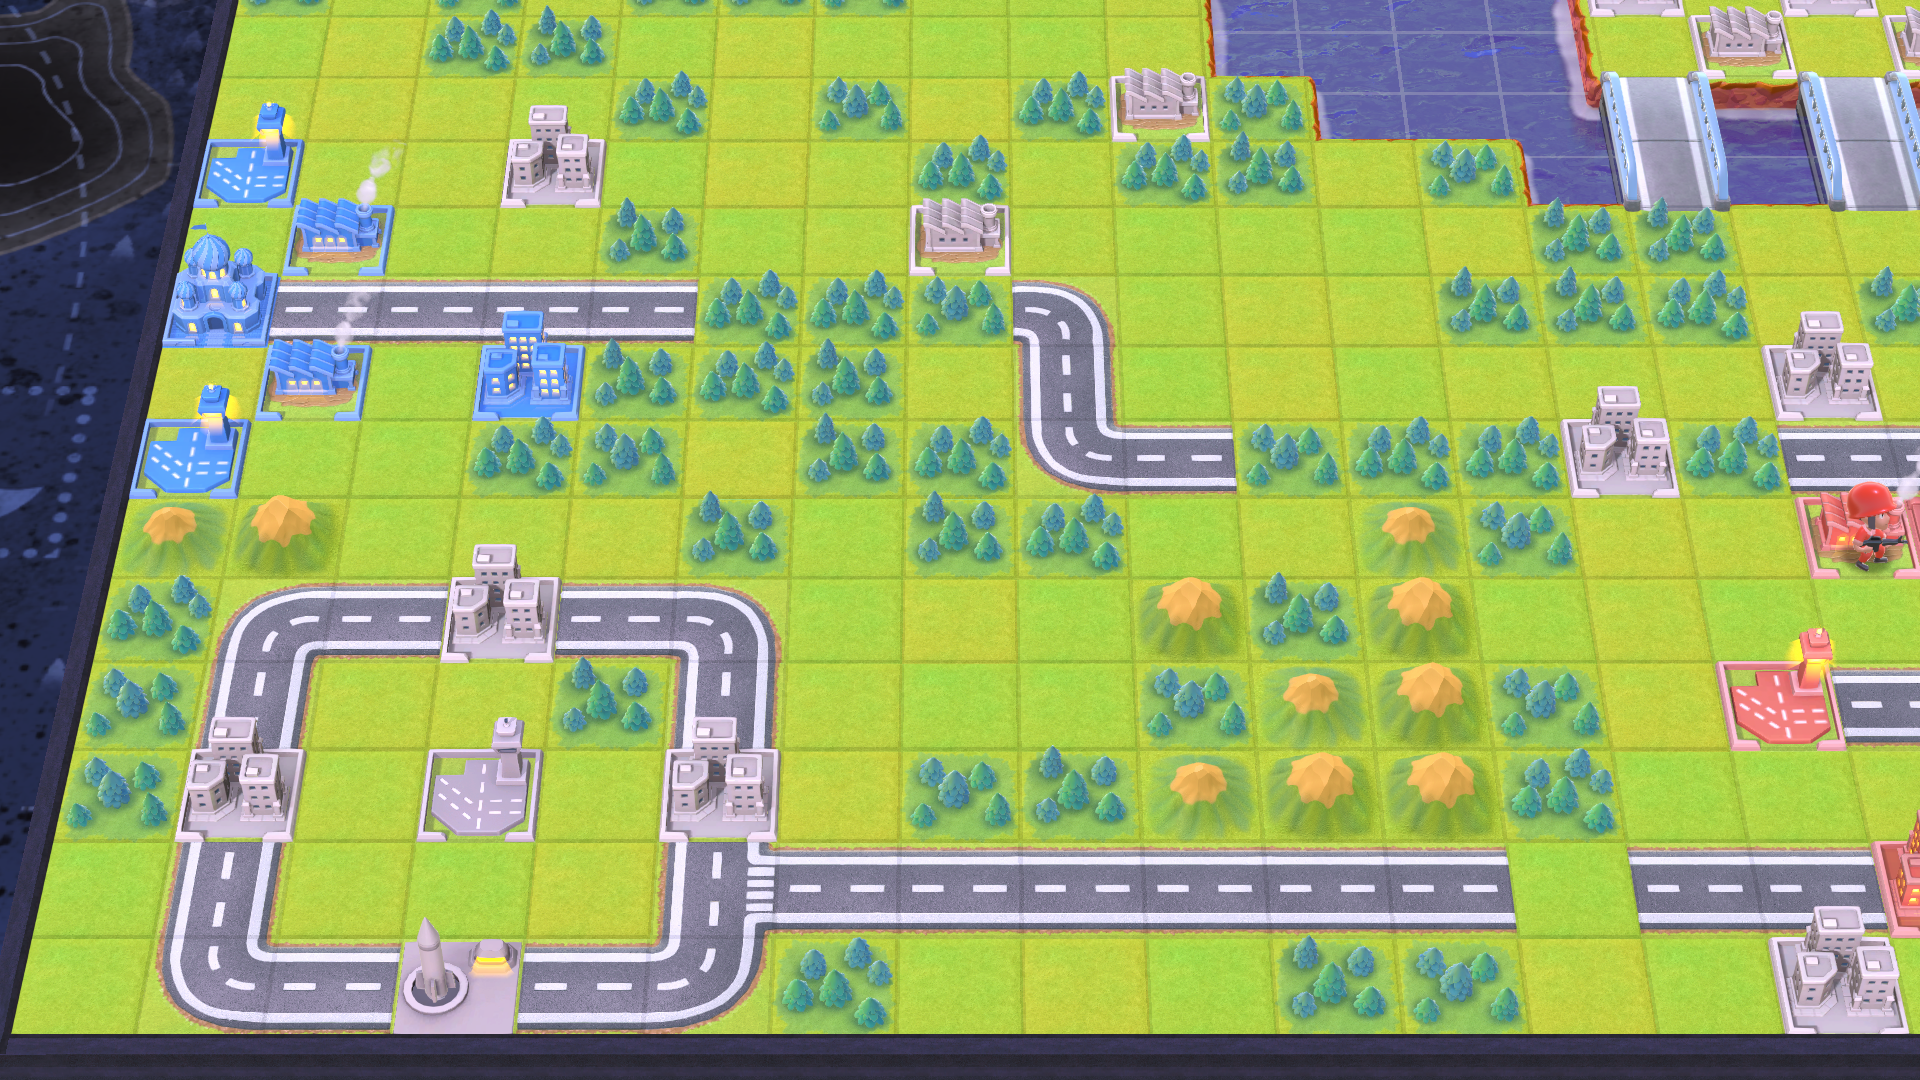
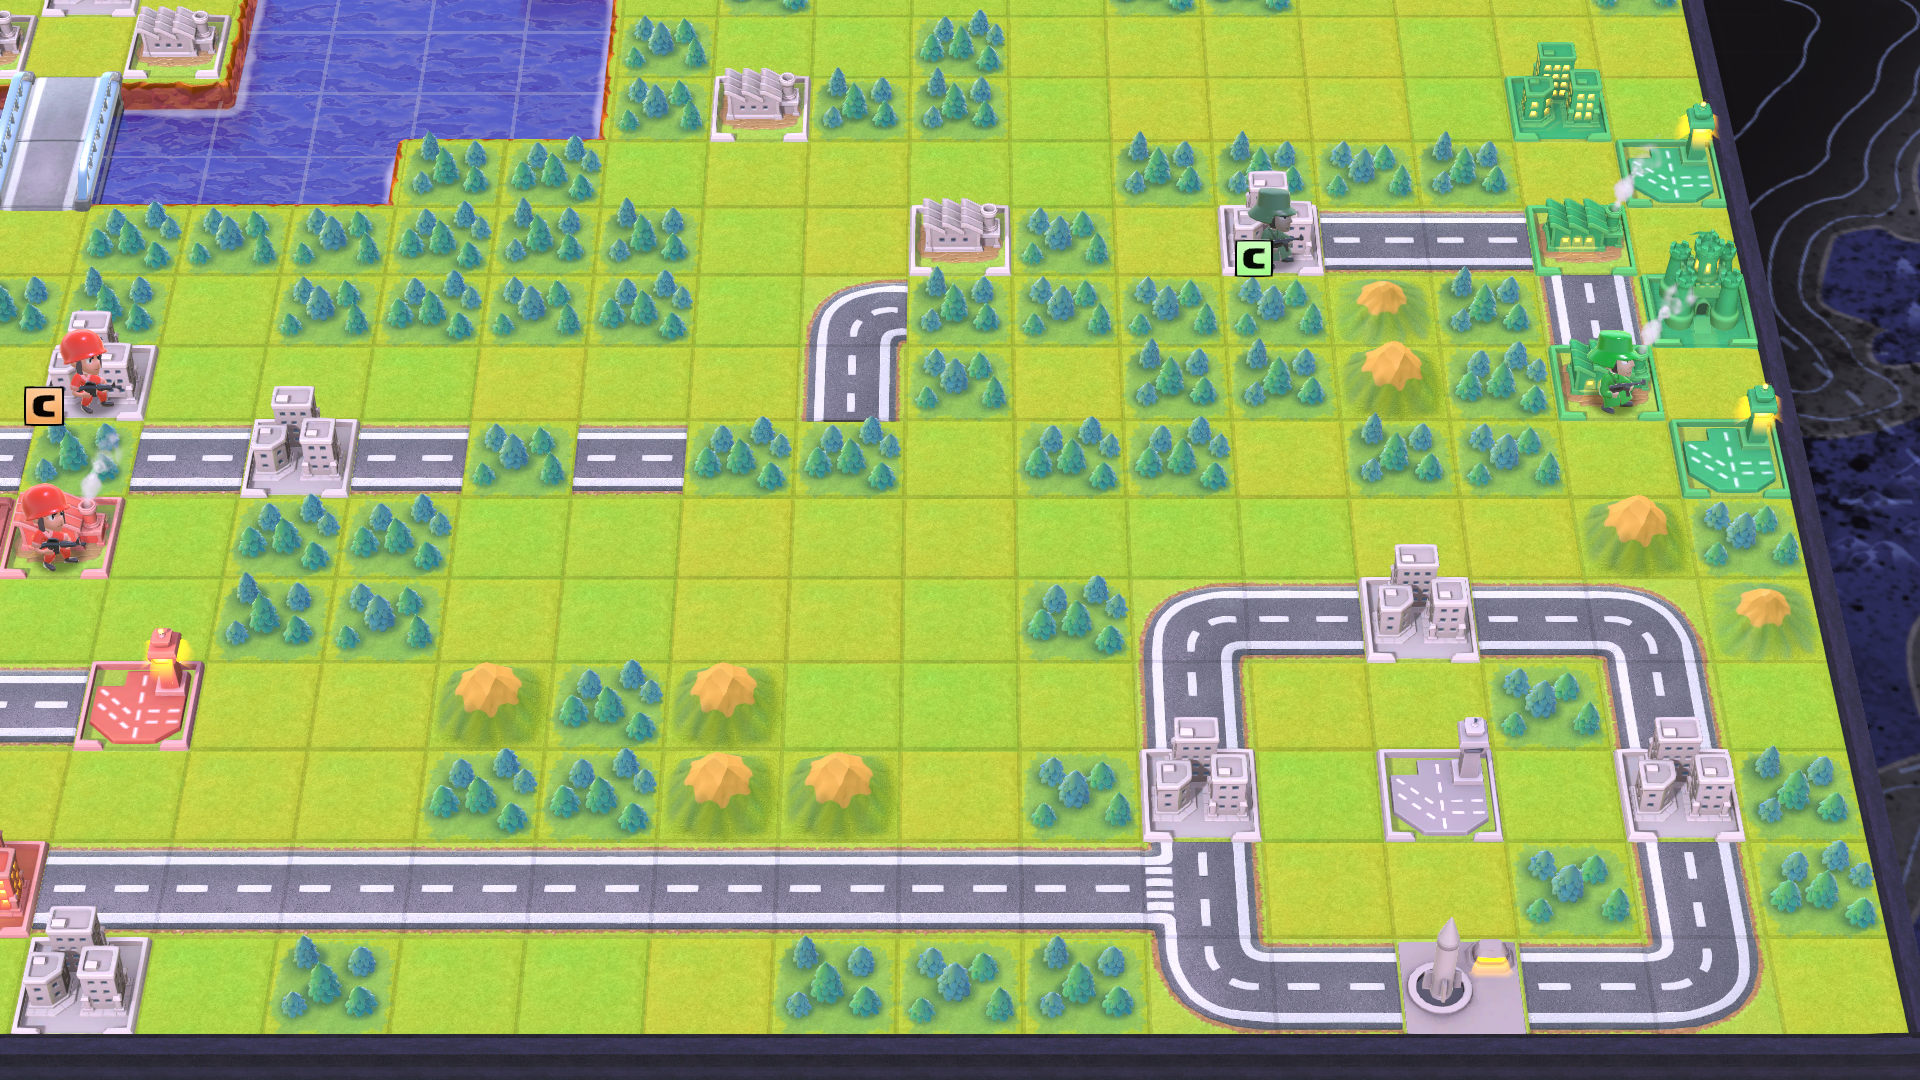
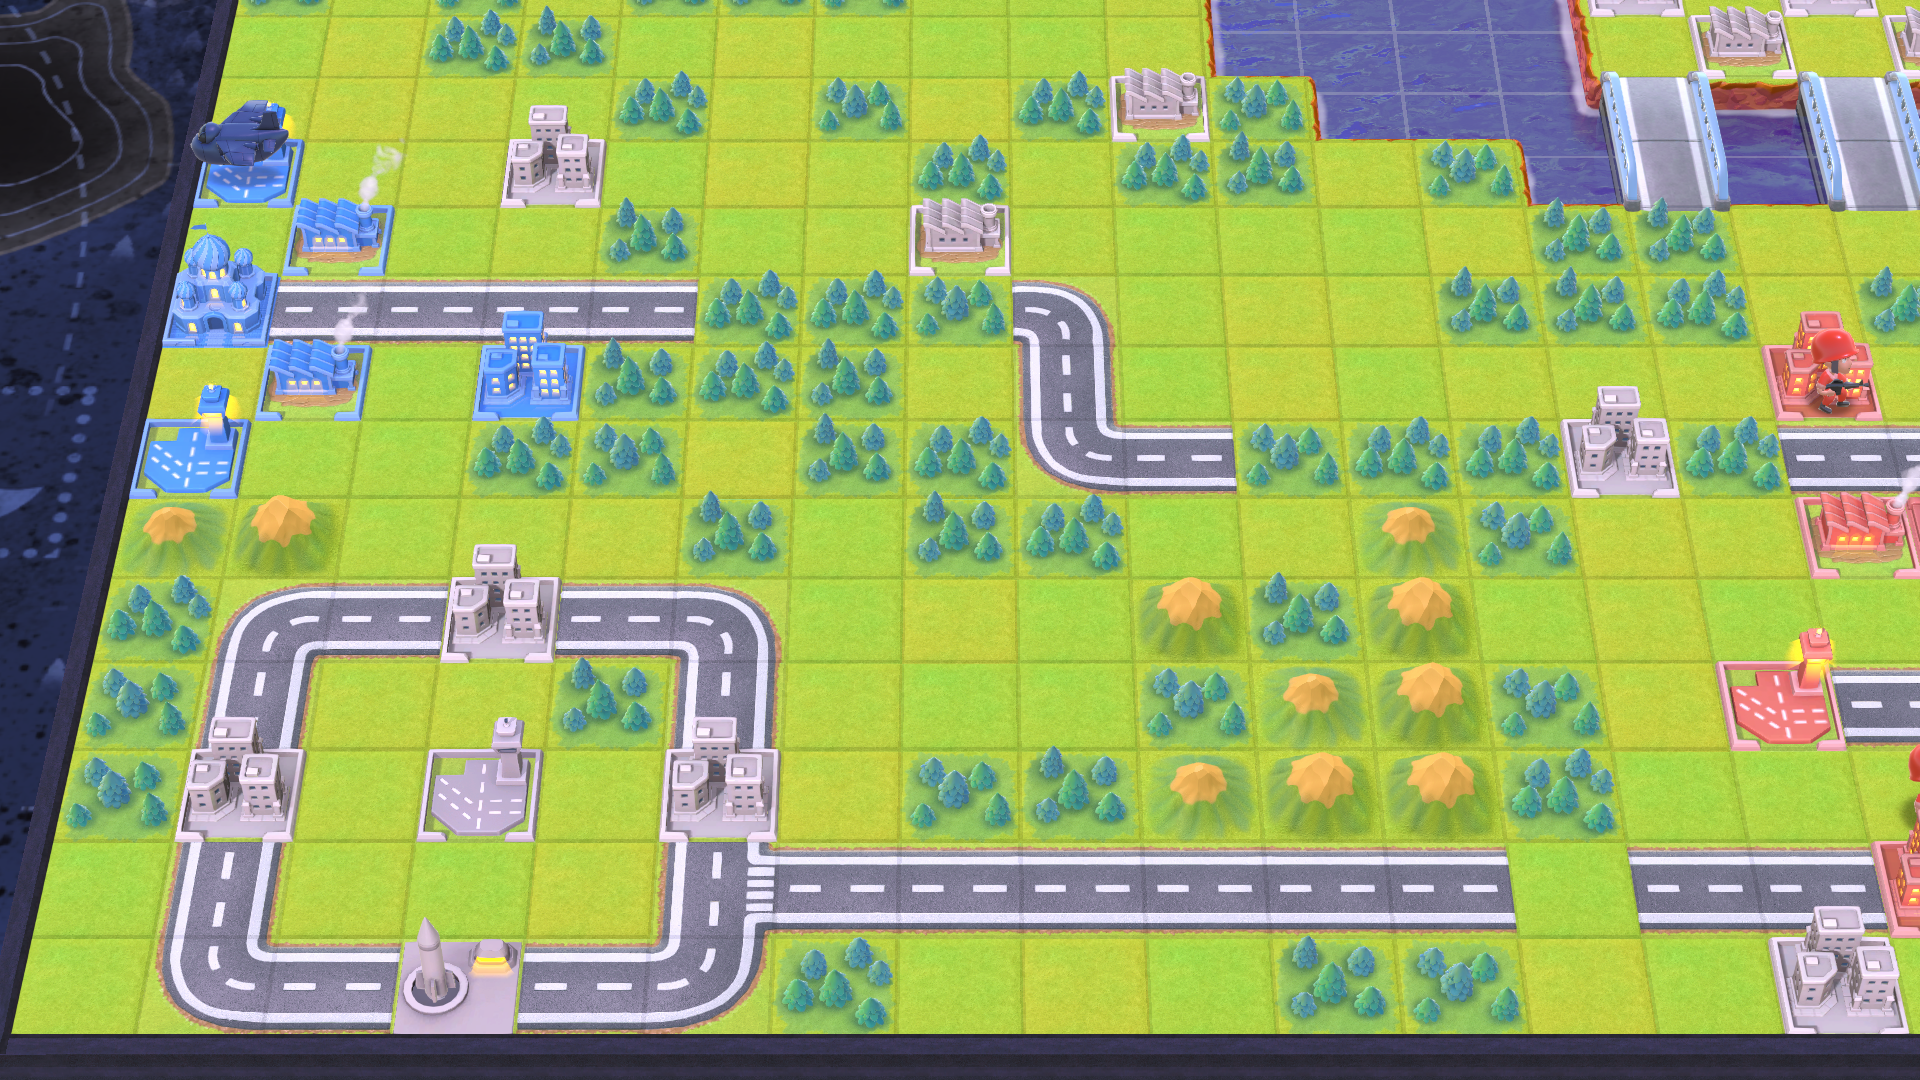
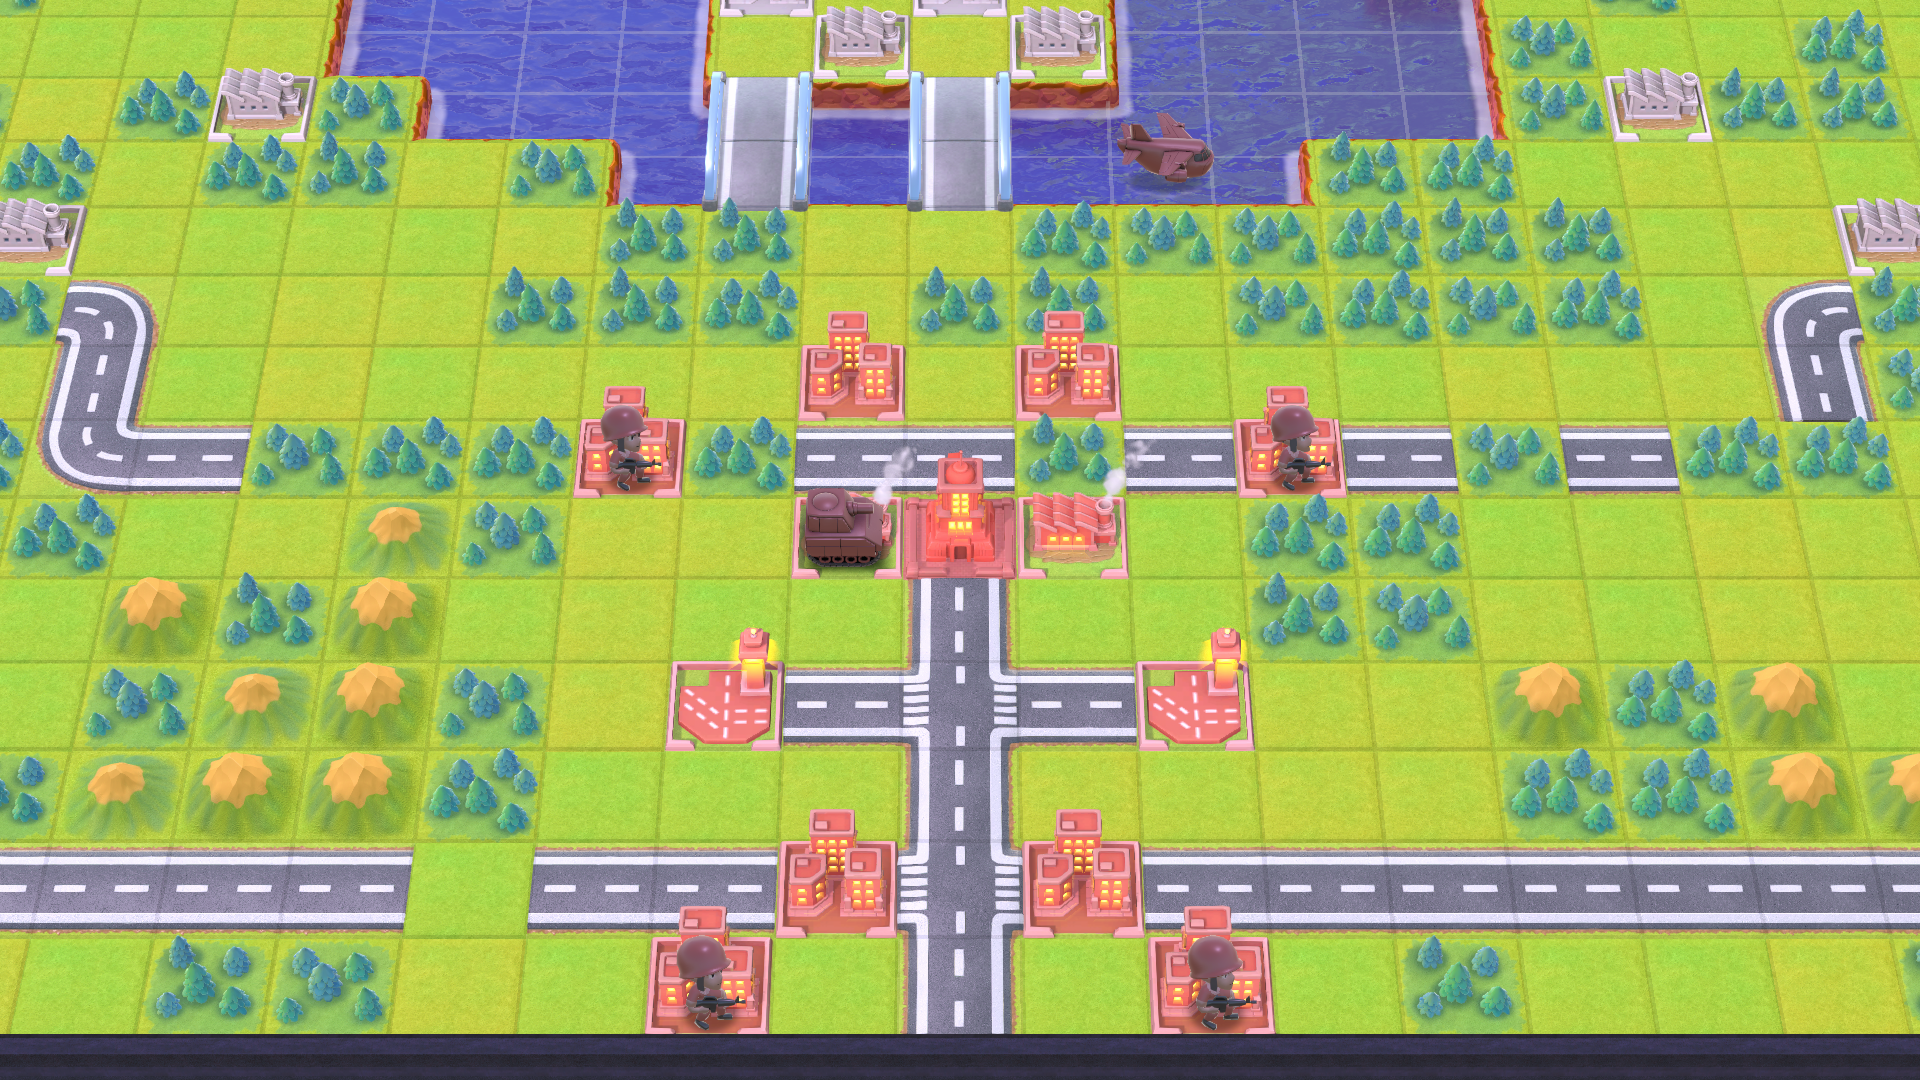
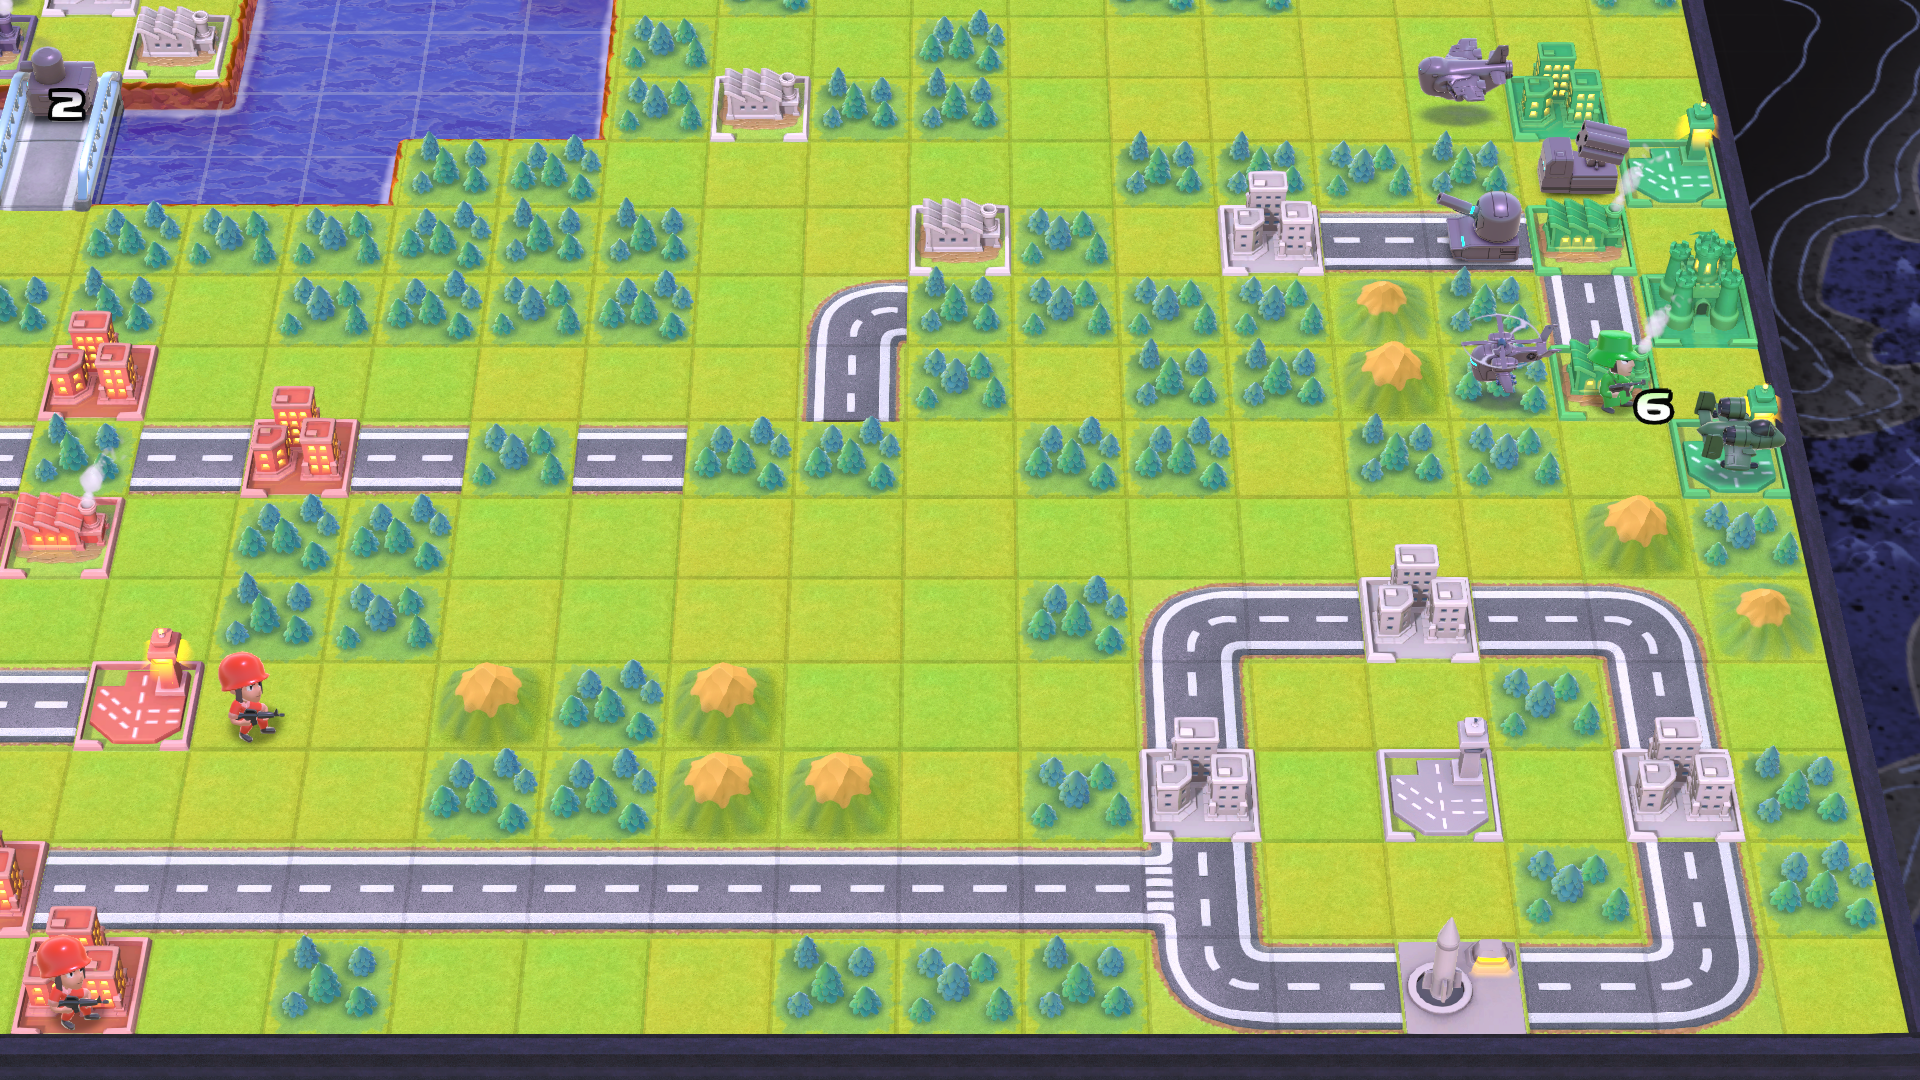
The first goal is to eliminate the Black Cannons. This will free up a large portion of the map for capturing and mustering. The best way to take the enemy Black Cannons out is to use your west and east armies to attack them from the sides. A Bomber from the central army can cross over the center island without getting hit by either Black Cannon, but you’ll likely run into enemy forces in the middle.
Once you have the Black Cannons down, finish capturing the rest of the bottom half of the map. With all of those properties, you’ll have more than enough income to overcome Sturm. You can also send a couple loaded Transport Copters to capture the north Silos, though you probably won’t need them.
It’s also possible to cheese this mission by spamming air units and pushing them down the middle. Bring a Fighter or two to deal with enemy Fighters and bomb enemy Anti-Air along the way to the Deathray. Once you get either of Max’s or Eagle’s full health Bombers in range, you can take the Deathray down in a single turn. Remember that Eagle’s Super CO Power can help you fly right past the enemy if Sturm has set up defenses.
Turn by Turn Walkthrough
- Pick your COs in this order:
- Max
- Colin
- Eagle
Day 1 – Orange Star
- Build an Infantry at both of your Bases
Day 1 – Blue Moon
- Do nothing
Day 1 – Green Earth
- Build an Infantry at both of your Bases
Day 2 – Orange Star

- Start capturing the two north Cities your Infantry can reach
- Build an Infantry at both of your Bases
Day 2 – Blue Moon
- Do nothing
Day 2 – Green Earth
- Start capturing the City your north Infantry can reach
Day 3 – Orange Star

- Finish capturing the Cities
- Advance your two south Infantry
Day 3 – Blue Moon
- Build a Bomber at your north Airport
Day 3 – Green Earth
- Do nothing
- DO NOT finish capturing the City, just leave this Infantry there for the rest of the mission
Day 4 – Orange Star
- Start capturing the four Cities your Infantry can reach
- Build a Bomber at your east Airport
Day 4 – Blue Moon
- Advance your Bomber
- Build an Infantry at your north Base
Day 4 – Green Earth

- Build a Bomber at your north Airport
Day 5 – Orange Star
- Finish capturing the Cities
- Advance your Bomber
- Build a Tank at your west Base
Day 5 – Blue Moon
- Advance your Bomber
- Start capturing the City your Infantry can reach
Day 5 – Green Earth
- Advance your Bomber
Day 6 – Orange Star

- Advance your Bomber
- Attack the enemy Recon with your Tank from the east
- Retreat your two north Infantry
- Advance your south west Infantry
- Build a Tank at your west Base
- Build a Battle Copter at your west Airport
Day 6 – Blue Moon
- Advance your Bomber
- DO NOT finish capturing the City, just leave this Infantry there for the rest of the mission
Day 6 – Green Earth
- Advance your Bomber
Day 7 – Orange Star
- Advance your Bomber
- Attack the enemy Recon with your south west Infantry
- Advance your Battle Copter to trap the enemy Recon (don’t attack)
- Attack the south enemy Tank with your north Tank from the west
- Advance your other Tank
- Build a Battle Copter at your west Airport
Day 7 – Blue Moon
- Advance your Bomber (avoid the Black Cannon’s range)
Day 7 – Green Earth
- Advance your Bomber
Day 8 – Orange Star
- Advance your Bomber
- Advance your east Battle Copter and east Tank
- Build a Battle Copter at your west Airport
Day 8 – Blue Moon
- Advance your Bomber
Day 8 – Green Earth
- Advance your Bomber
- Build a Fighter at your south Airport (to avoid being routed)
Day 9 – Orange Star
- Attack the enemy Deathray with your Bomber
- Attack the south enemy Tank with your west Tank from the west
- Attack the enemy Medium Tank with your 7 health Battle Copter from the east
- Attack the enemy Medium Tank with your new south Battle Copter
- Build a Battle Copter at your west Airport
Day 9 – Blue Moon
- Attack the enemy Anti-Air with your Bomber from the north
Day 9 – Green Earth
- Destroy the enemy Anti-Air with your Bomber
Day 10 – Orange Star
- For Power Rating:
- Attack the enemy Medium Tank with your west Battle Copter
- Destroy the enemy Medium Tank with your 6 health north Battle Copter
- Attack the enemy Artillery with your 9 health Tank
- Destroy the enemy Artillery with your uninjured north Battle Copter
- Destroy the enemy Recon with your 5 health Tank
- Destroy the south enemy Tank with your new Battle Copter
- Destroy the enemy Deathray with your Bomber


Leave a Reply