
- > Chassis: Icefields of Riddah – 15 Wave Defense
- Systems: Mine of Karishh – 800 Cryotic Excavation
- Neuroptics: Archaeo-Freighter – 20 Minute Survival
Unlocking the Mission
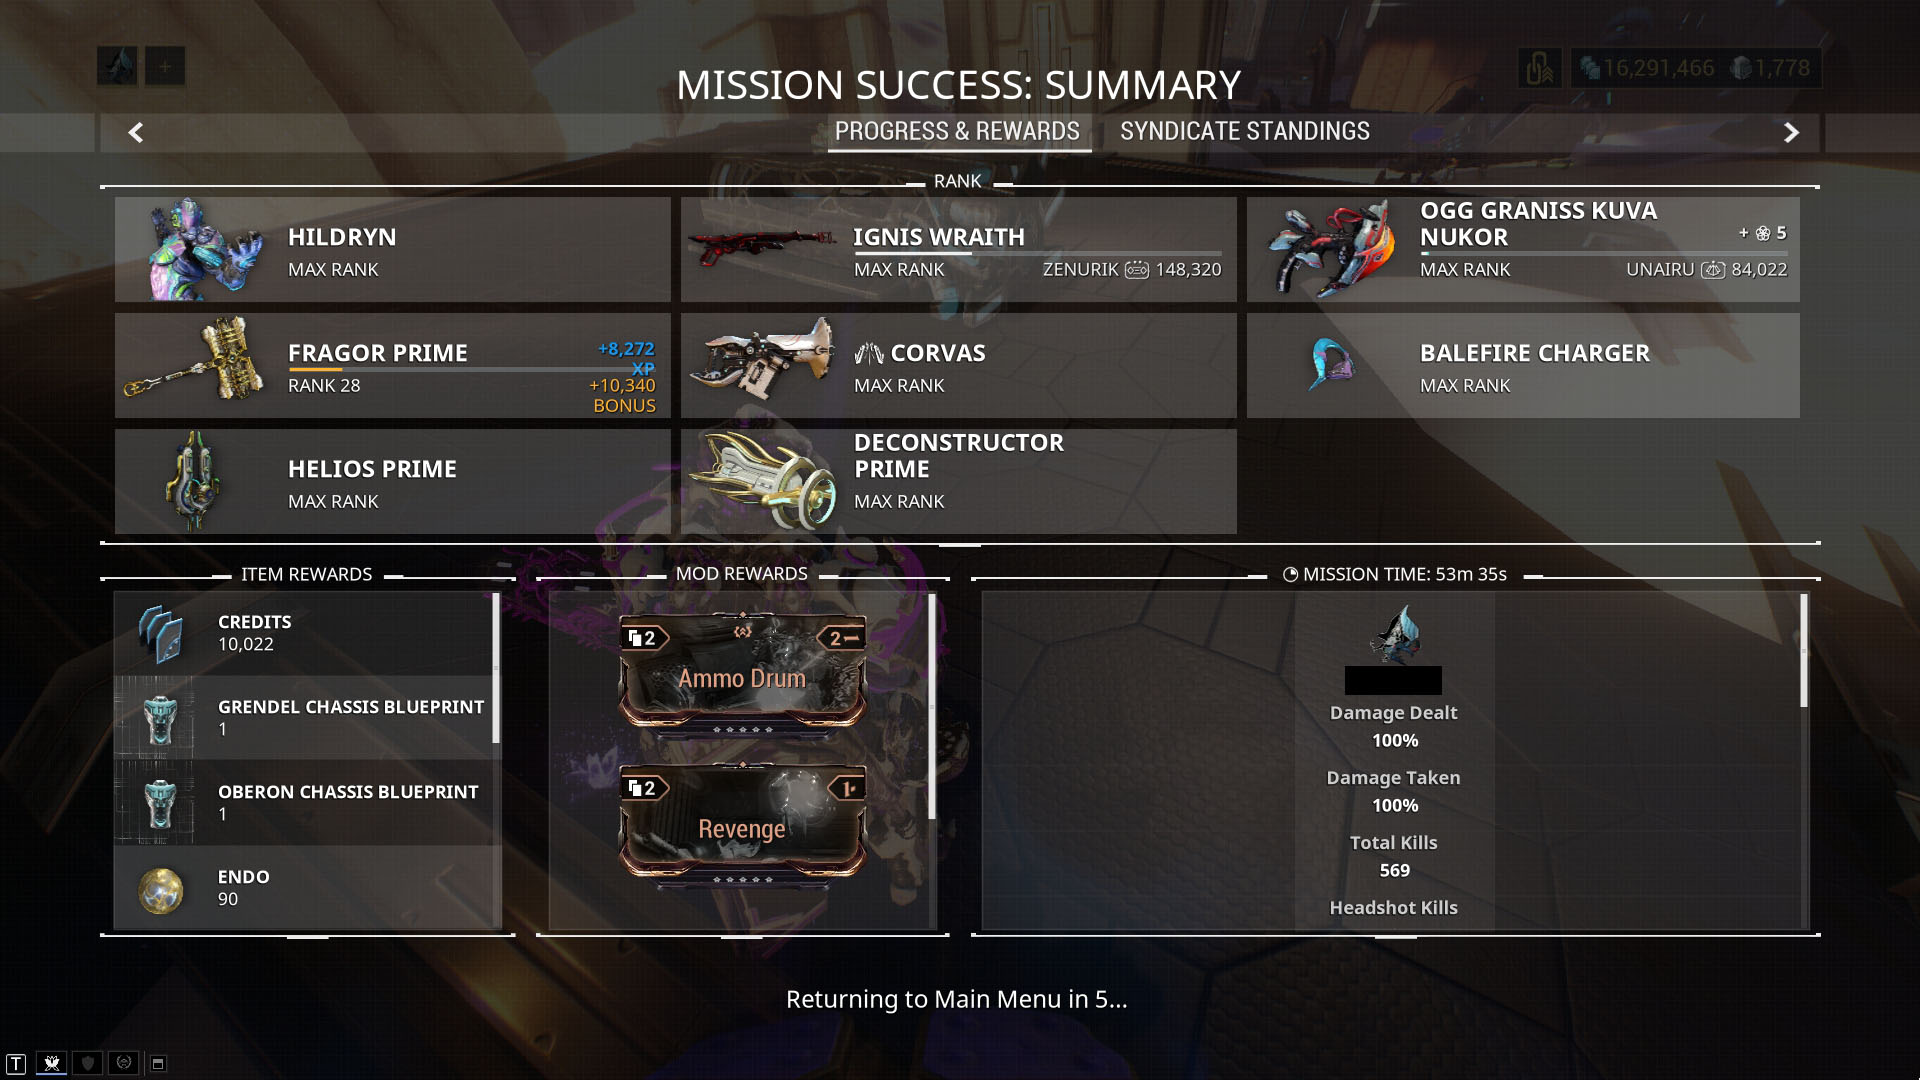
The Icefields of Riddah on Europa is one of the 3 Grendel missions and awards you the Grendel Chassis blueprint. To unlock the Icefields of Riddah mission, you will need to purchase a Grendel Chassis Locator from the Arbitration Honor vendor in the Arbiters of Hexis room on any relay. This item will cost 25 Vitus Essence (obtainable through Arbitrations), but is not consumed until you complete the mission; you will be able to attempt the mission as many times as you would like until you get the reward for winning.
The Build
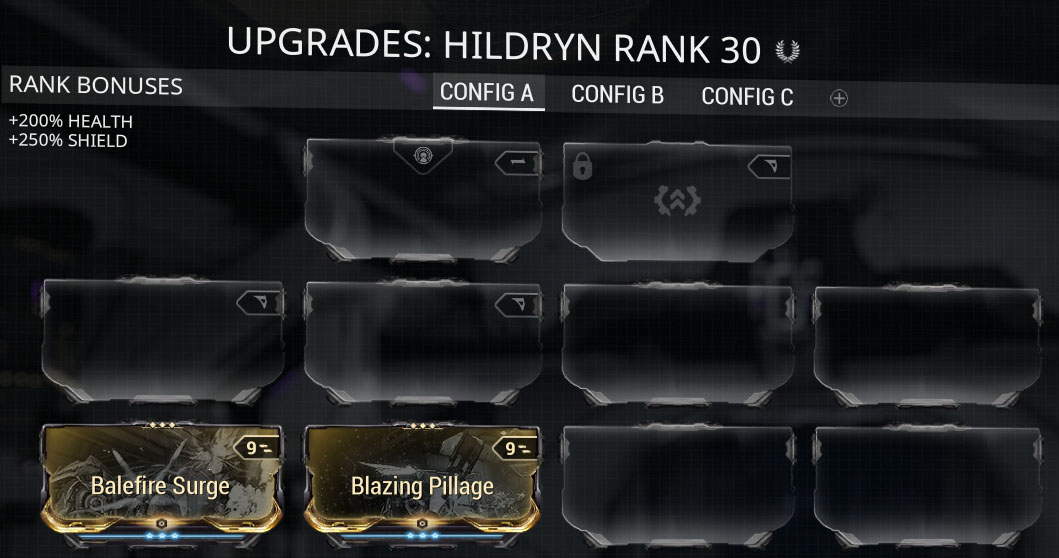
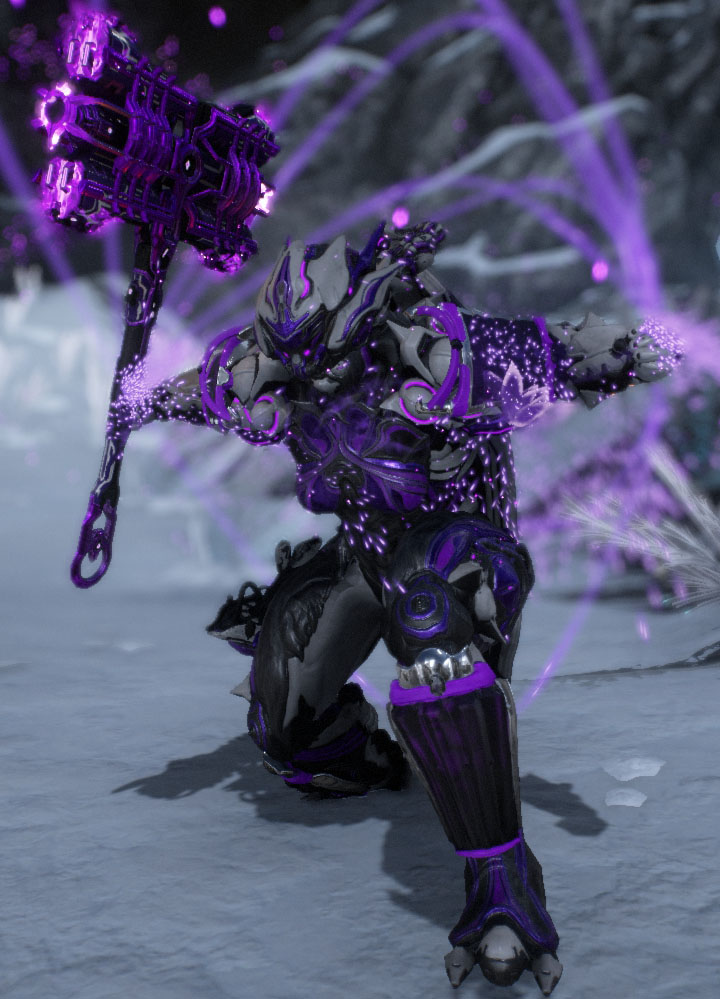
Warframe – Hildryn
Most Warframes will run out of energy very quickly on these no-mod missions, and even if they do get abilities off, those abilities will not do anything close to what their modded versions do. This build bypasses the energy issue by using Hildryn, who uses her shields as energy. The shield you gain from casting Pillage (#2) will be greater than the cost, allowing you to spam the ability.
While most mods do not effect you during these missions, augment mods still augment abilities. This build uses the augmented version of Hildryn’s Pillage, Blazing Pillage, to deal damage and restore shields. To benefit from Blazing Pillage, you will need to have Haven (#3) up and be close enough for it to be effecting the enemy you want to burn. This augment will be the main source of damage. Without it, the enemies will destroy the defense target faster than you can kill them.
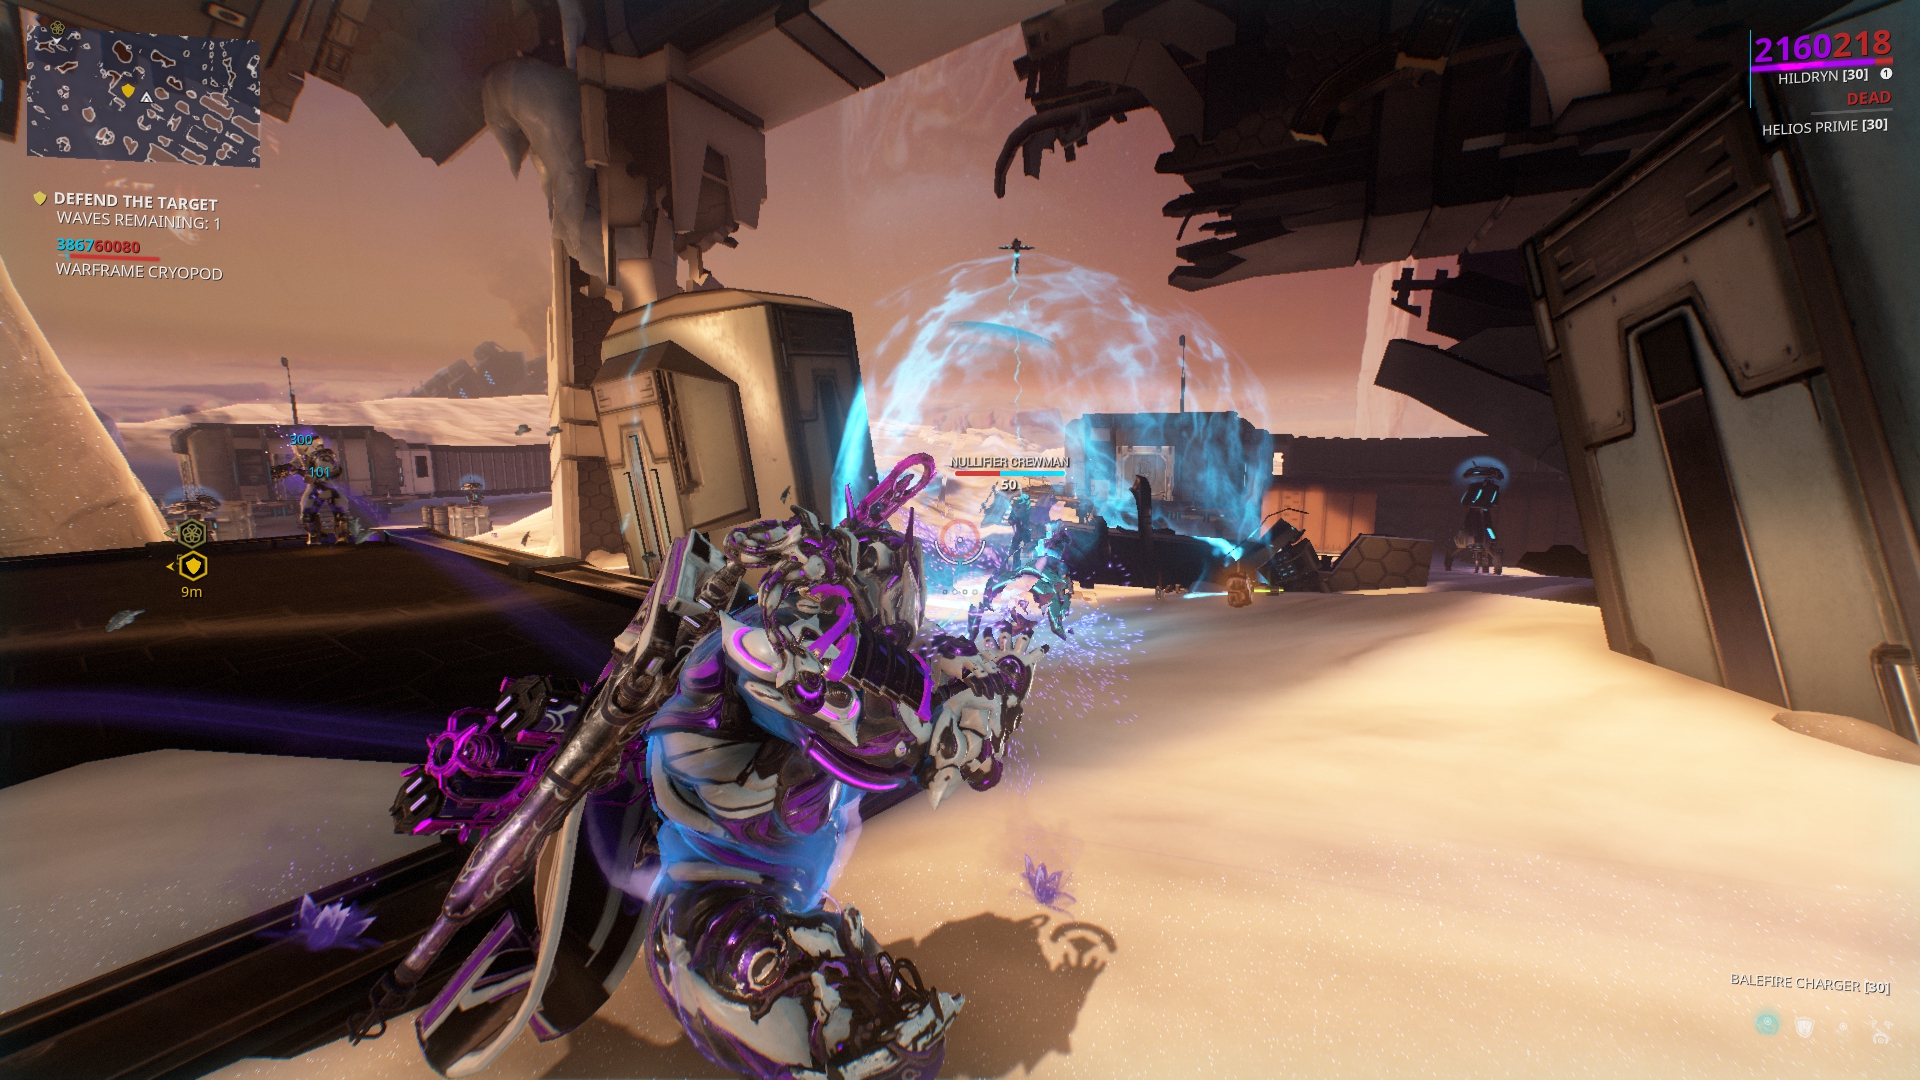
The build also uses the augmented version of Balefire (#1), Balefire Surge, specifically to deal with nullifiers. Nullifiers would normally be immune to the damage from Blazing Pillage, but this augment removes their bubble forever. This augment is not needed, but makes the occasional nullifier much less threatening.
Melee Weapon – Fragor Prime
Most weapons will feel very underwhelming with no mods. You won’t be able to equip Blood Rush, so combo counter stacking won’t do much. The most effective weapons are those with innate elements (especially toxin for bypassing shields), a helpful moveset, or strong base damage.
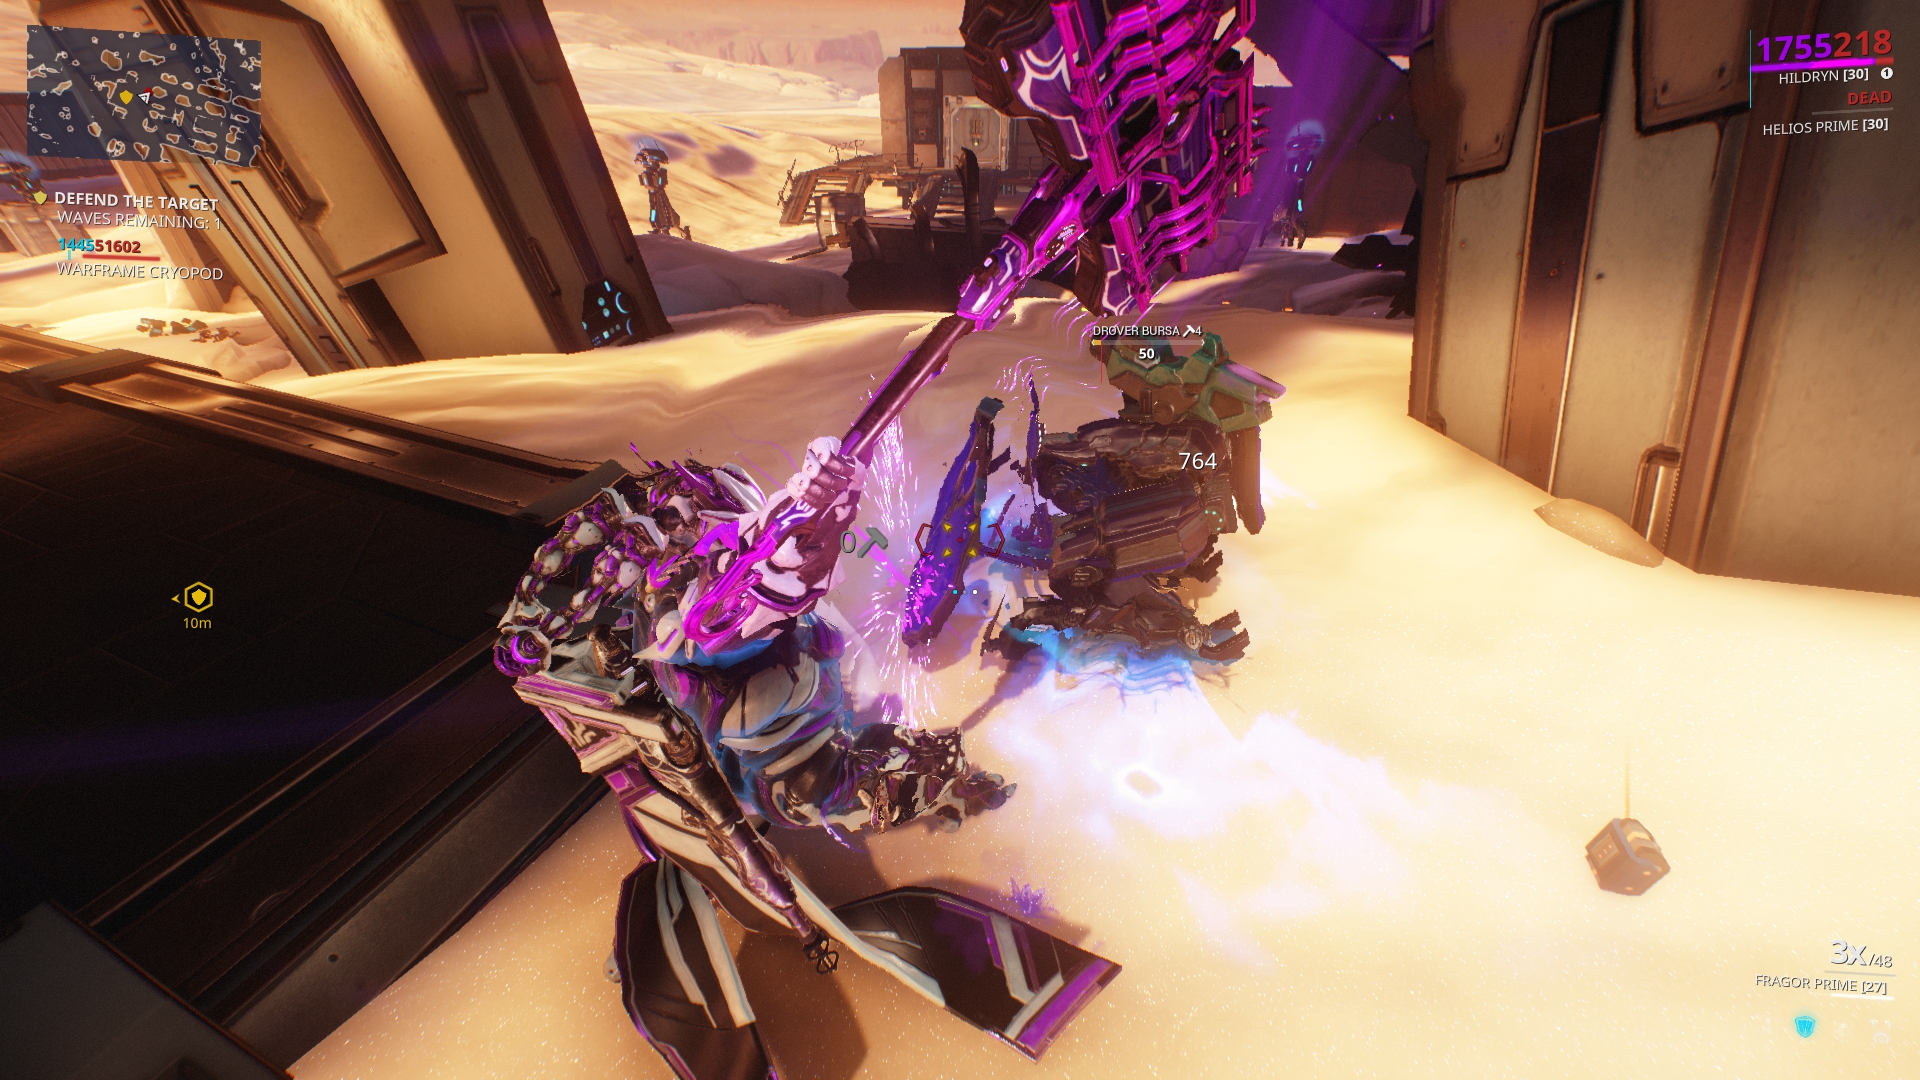
The weapon I used for the Bursas in wave #15 and other tanky enemies was Fragor Prime. Even unmodded, this weapon has a great slam attack that does decent damage and knocks down in a wide area.
The Strategy – Spam Pillage
Kill Them Before They Kill It
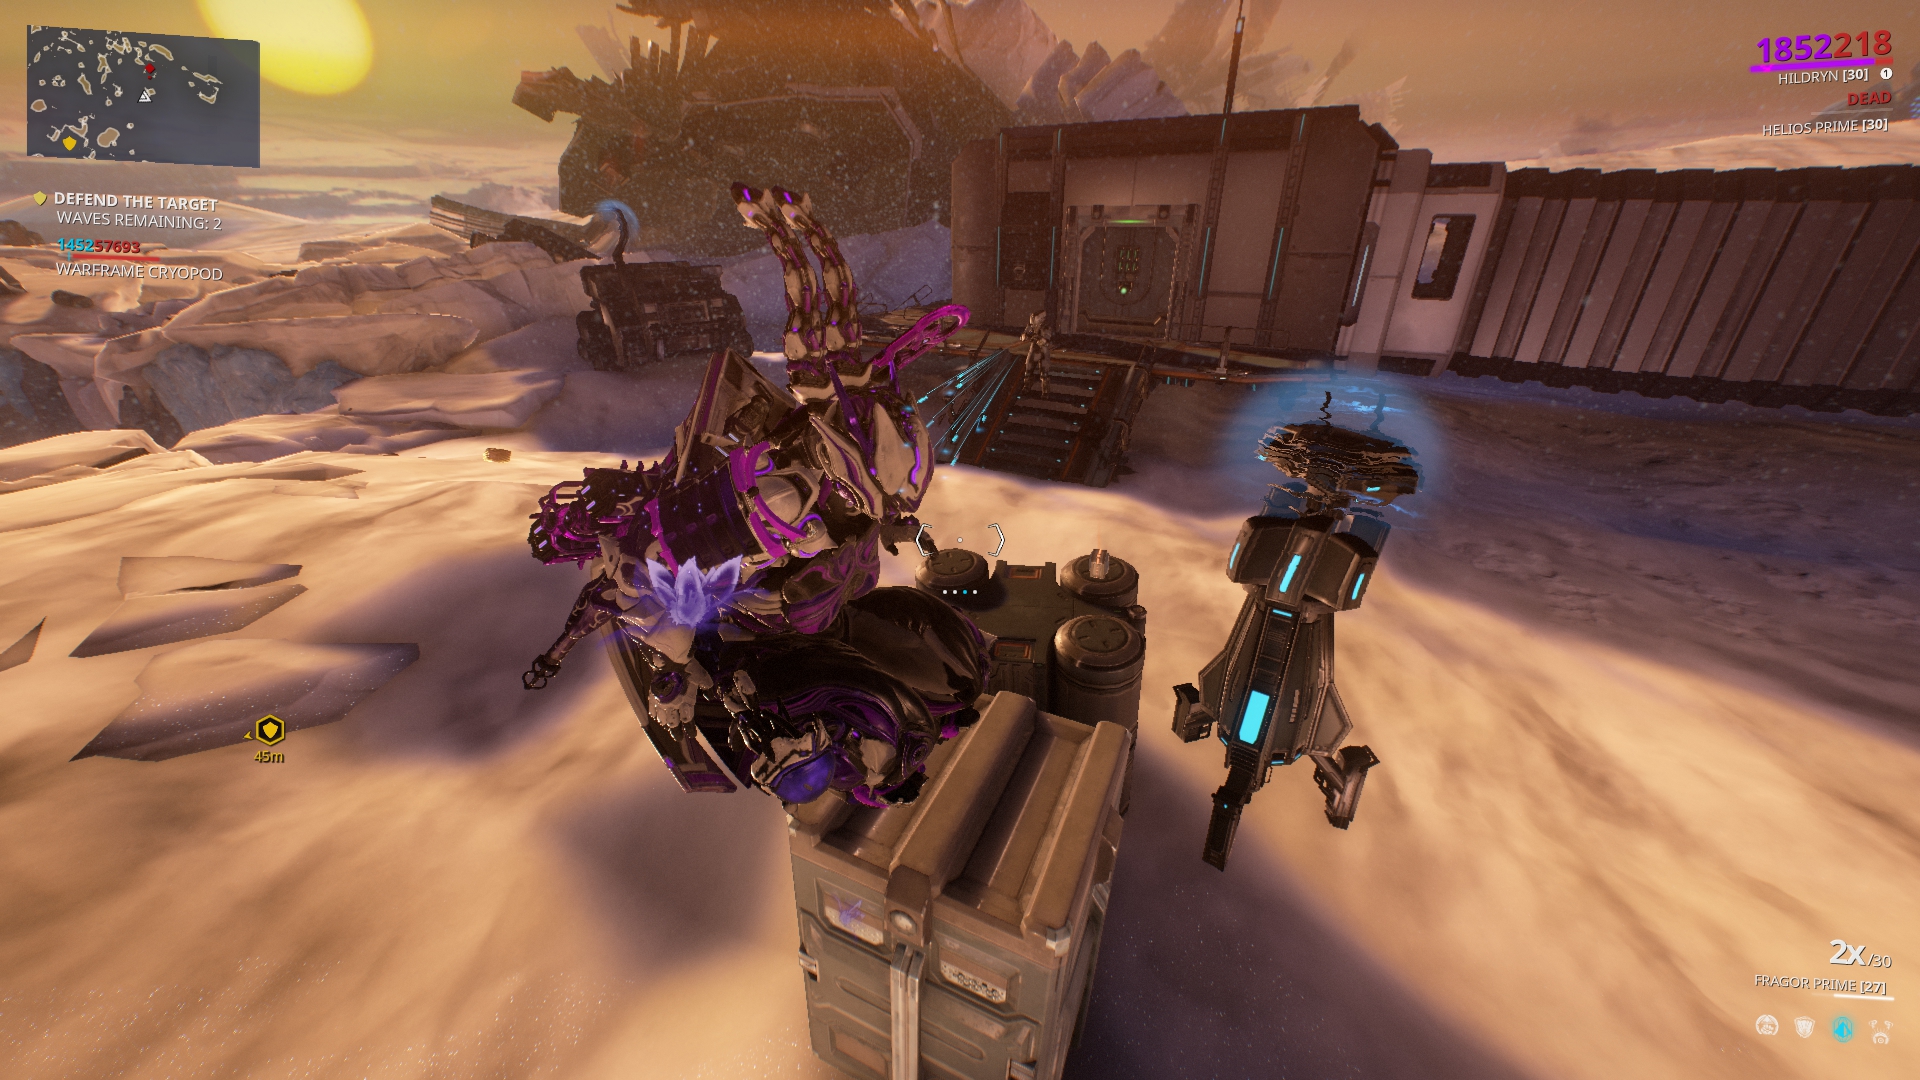
Your main source of damage is augmented Pillage (#2). For this augment to deal damage, the enemy will need to be in range of Haven (#3). Pillage should give you more than enough shields back to spam it indefinitely, but you will need to be relatively close to the enemy to actually deal damage.
That being said, you will also want to remain close to the defense target. This will not only encourage enemies to attack into your limitless shields instead of the target, but also allow Haven to restore the shields of the target. Wait for your enemies to be about a bullet jump away. Get in, drop your burn from Pillage, and then get back to the defense target. The fire from Pillage will tick over time, killing most enemies with one or two casts.
Blazing Pillage will CC humanoid Corpus through heat procs, but if there are mechanical enemies that you need to CC, this is the time to use the Fragor. The slam attack will knock down targets and stop them from hitting the defense target.
Give the Defense Target a Break
You won’t be able to stop all of the enemies from dealing damage to the defense target. Every wave, try to leave the last enemy alive and give the defense target a chance to regain its health and shields. Once you are down to one enemy, use the terrain to line of sight it so that it can’t hit you. If it can’t hit you for too long, it will go for the defense target instead, so every five seconds or so, jump or otherwise move into its line of sight to keep its attention.
Some waves you’ll accidentally kill every enemy and go right on to the next wave, but as long as you are healing the defense target back to full every few waves, you should never fail from it being destroyed.
15 waves will take a long time. Be ready for this mission to take a while and require your attention pretty much the entire fight. You only have to do this mission once (twice if you plan to give a Grendel to the Helminth Chrysalis), so take it slow, especially once you get near the end.
Notable Enemies
You will fight two Bursas in the last wave (#15). Generally the Bursas will focus on you, but try to go into the last wave with the defense target at full health to be safe. Take out the rest of the enemies first, then use you Fragor to take the Bursas down, using Pillage to refill your shields as needed.
Nullifier Crewman will stop your Pillage from dealing damage or giving you shields. Use a full charge shot from Balefire (#1) augmented with Balefire Surge. This will permanently break their nullify bubble, making the just normal crewmen.
Other Grendel Missions
- > Chassis: Icefields of Riddah – 15 Wave Defense
- Systems: Mine of Karishh – 800 Cryotic Excavation
- Neuroptics: Archaeo-Freighter – 20 Minute Survival